Eliminate Blurry Pics: A Guide to Perfect iPhone Snapshots
Eliminate Blurry Pics: A Guide to Perfect iPhone Snapshots
When new, your iPhone works perfectly without any problems, and the chances of facing issues are lower. However, as time goes by, issues may start to surface, and that’s okay. One of the common issues that can affect your iPhone camera is blurry images. With this, images shot from your iPhone won’t be clear and crisp.
If you’re facing this issue, various factors could be causing your iPhone’s camera to be blurry. But before rushing to a nearby repair shop, here are different solutions to help you fix your blurry iPhone camera.
1. Remove the Protective Film From Your Camera Lens
You might have installed a protective film on the camera glass to prevent your iPhone camera lens from being damaged if you accidentally drop your device. Such a move is done in good faith to extend your iPhone’s lifespan .
However, a protective film might obstruct the light entering your lens if not installed correctly, leading your iPhone to shoot blurry images. This might also be the case if the protective film is scratched. Thankfully, fixing this is easy.
Remove the protective film, and your problem will be fixed. If the front-facing camera is affected, ensure that your screen protector (if you have one installed) is not obstructing the lens.
2. Clean Your Camera Lens

Cameras are allergic to dust, fingerprints, smudges, and other debris. If there are smudges, dust, or any debris on your iPhone’s camera lenses, images won’t be clear because of the obstruction. You can fix this by cleaning your camera lenses.Apple recommends you use a dry microfiber cloth to clean your camera lens.
However, even so, there are cases where this might not work. For example, if there’s debris inside the lens, you have no option but to take your device to an Apple Store or an Apple Authorized Service Provider. You should also do the same if you notice damage to your camera’s protector glass (the glass covering the camera lens).
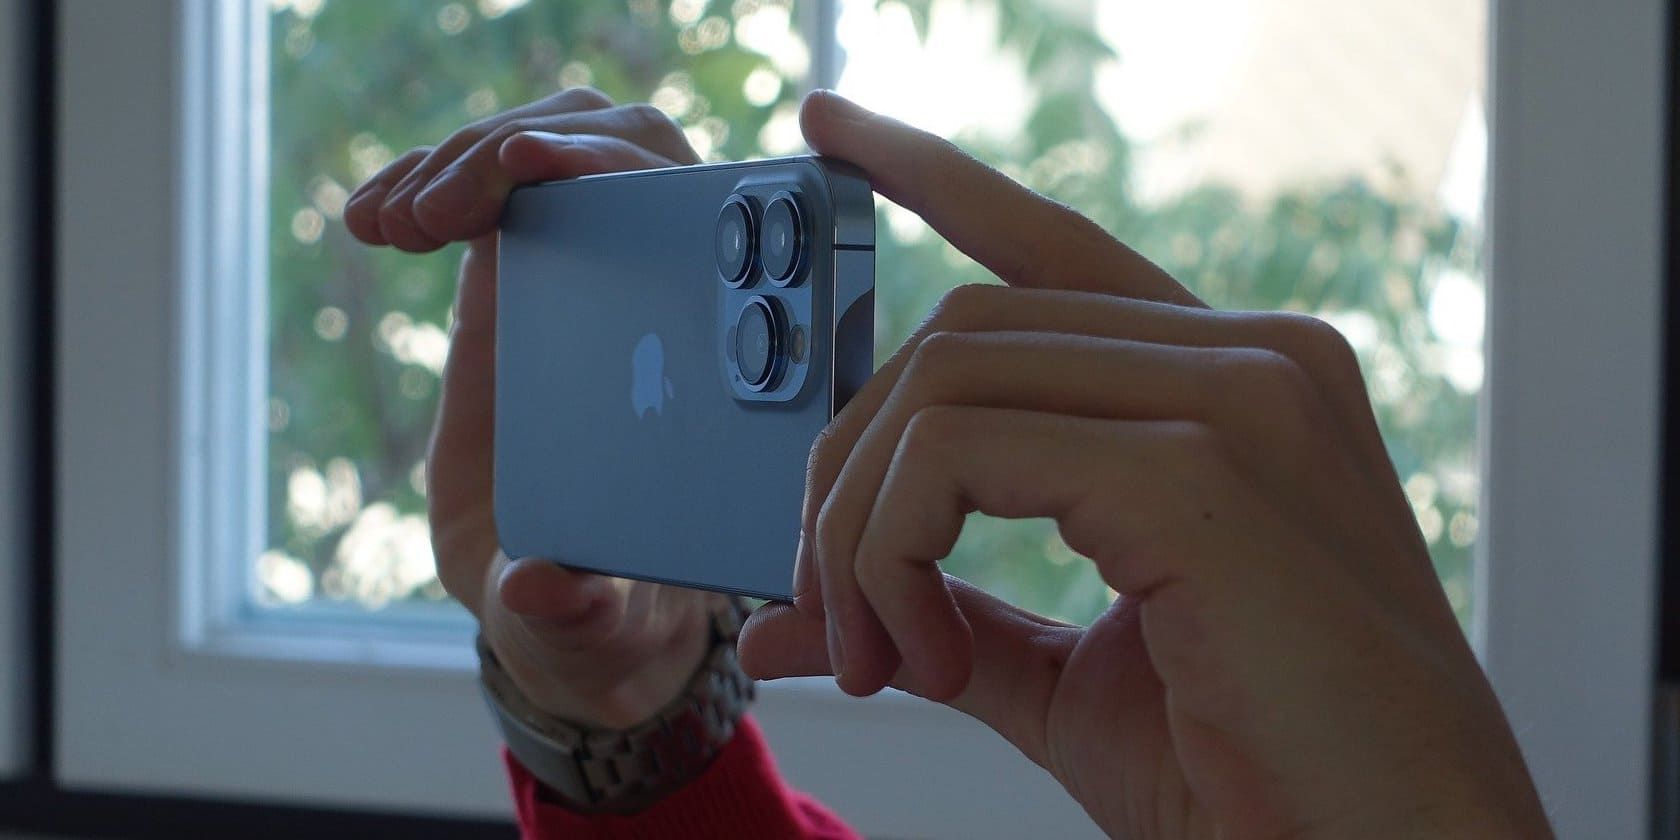
3. Keep Your Hands Steady While Shooting
Shooting clear images also requires you to be steady. Even if everything else works fine, but your hands are shaky while shooting, your photos will look blurry because of the motion. And camera lenses are specifically sensitive to movement. Keep your hands steady while pressing the Shutter button for the best results.
You can achieve this by not holding your breath while shooting and ensuring that you press the capture button at the end of exhaling. Using volume buttons instead of the Shutter button to capture can also improve stability.
If you struggle with this, you can place your iPhone on a surface, or if you’re ready to spend a few bucks, you can invest in a tripod stand for your iPhone.
For expert recommendations, check out our roundup of the best phone tripods . If you’re the DIY type and are willing to invest time in making your own, here are cheap and easy DIY smartphone tripod stands that will keep you engaged this weekend.
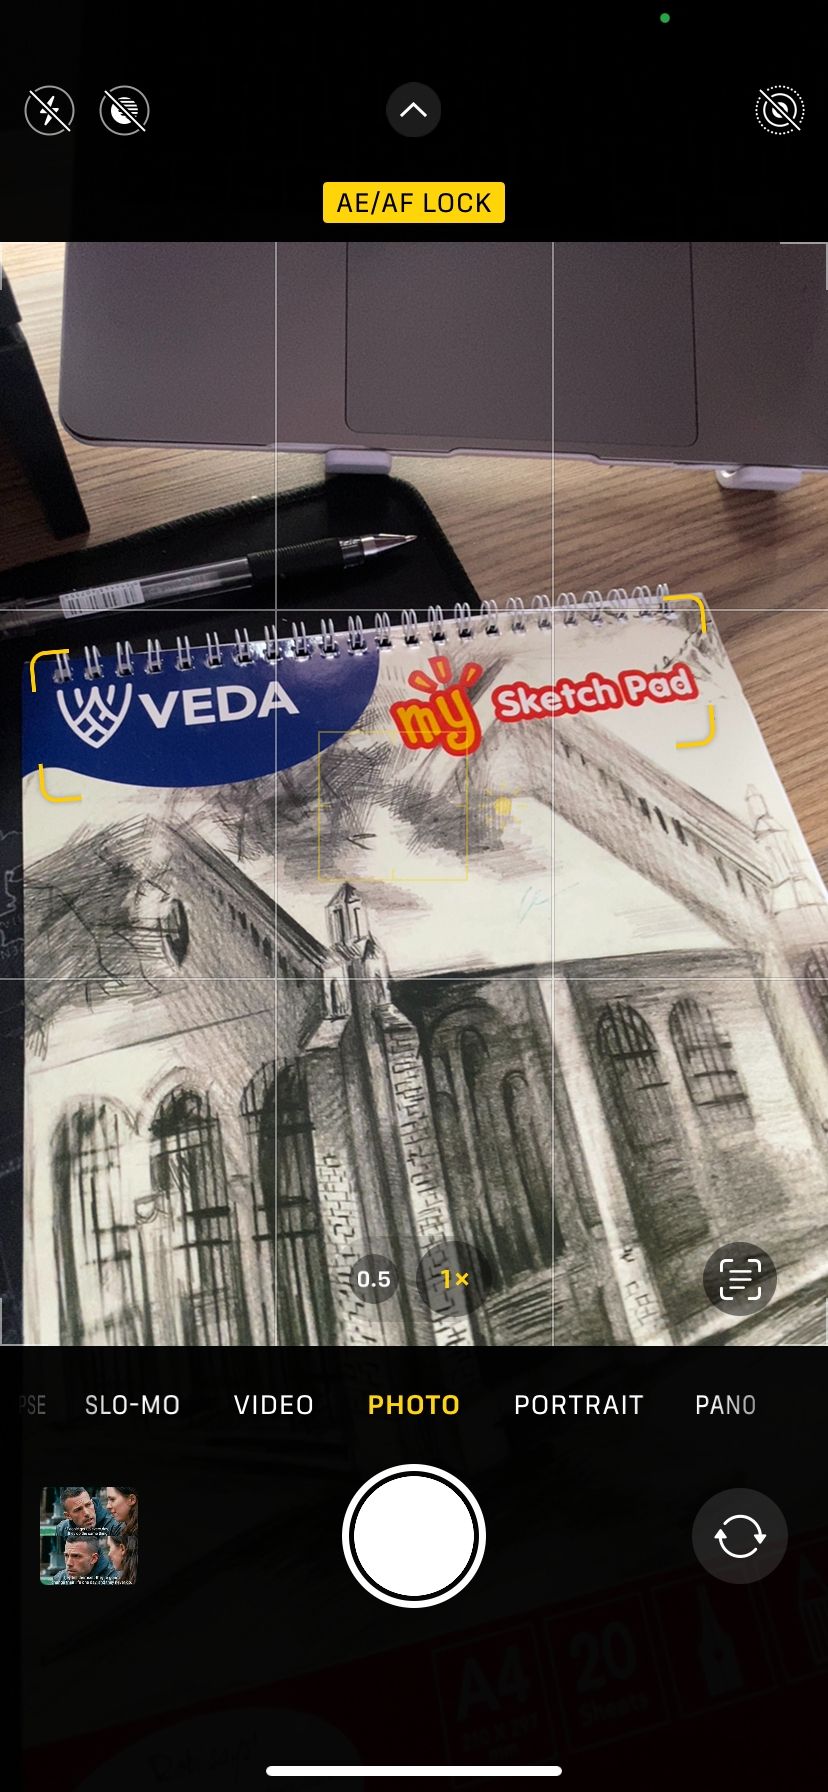
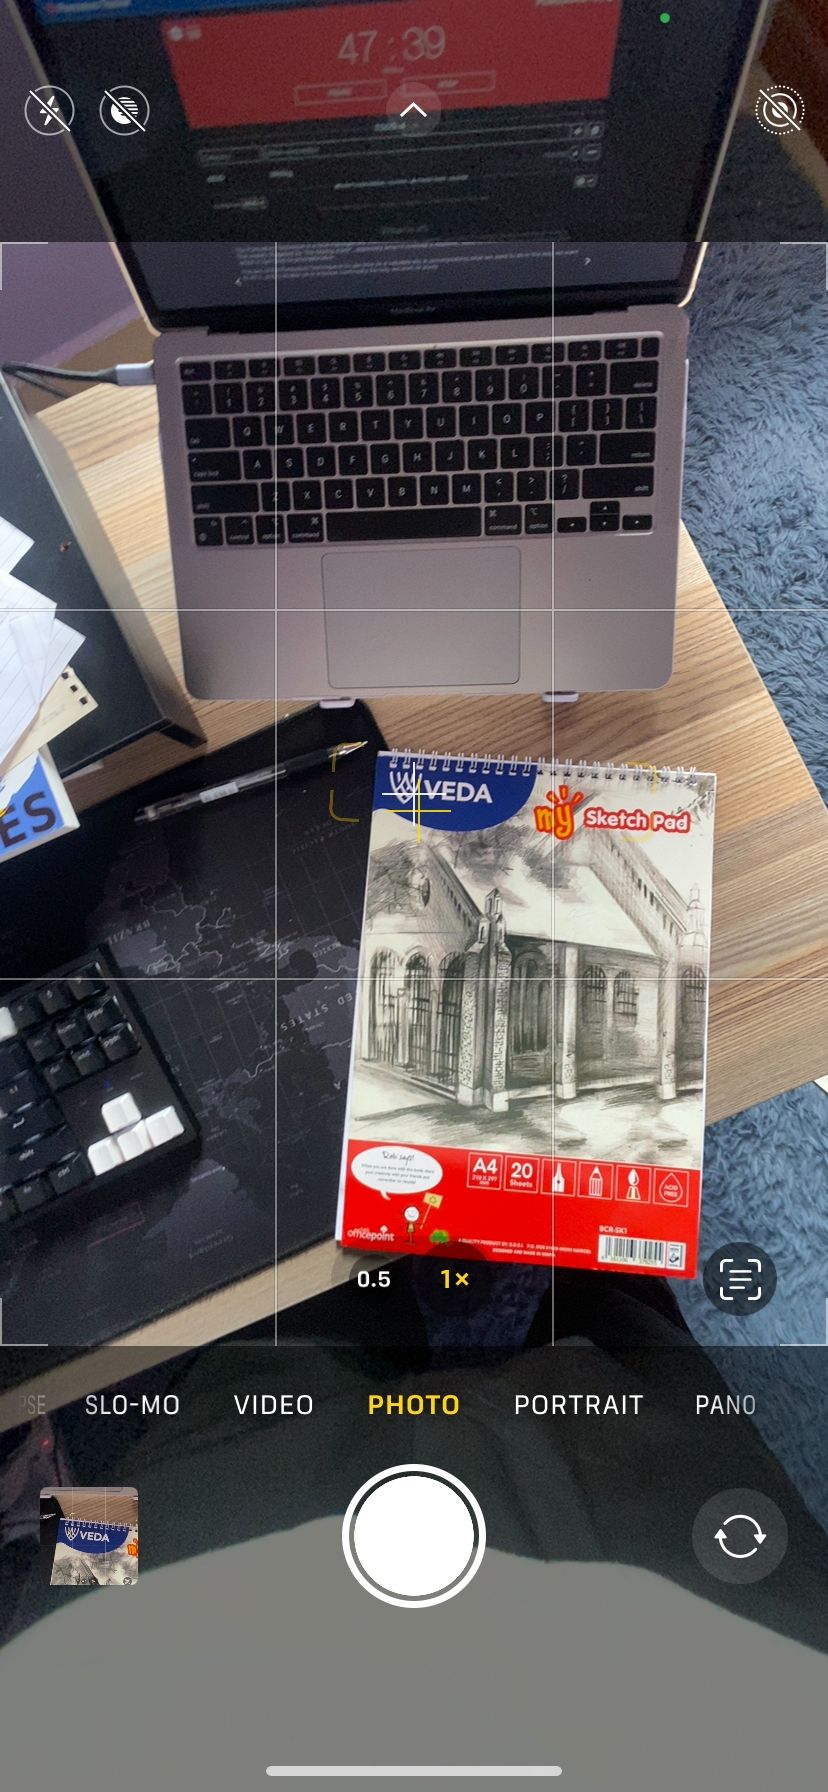
4. Disable the AE/AF Lock
Auto-exposure (AE) and Auto-focus (AF) features on your iPhone camera are important for setting fixed focus and exposure values. AE/AF ensures that your device always retains the exposure and focus on the subject. Even if you change the distance between you and the subject by either walking towards or away from it, your device will not refocus.
This is perfect as long as you remain in the same position. But if the distance between your device and the subject changes, the AE/AF lock will cause your images to look blurry. If the feature is enabled, you’ll see a yellow box withAE/AF Lock in your camera’s view.

Close
You can turn it off by tapping anywhere in the camera preview. This will ensure that your iPhone automatically refocuses when you or the subject moves. You should also explore more iPhone camera settings for taking better photos .
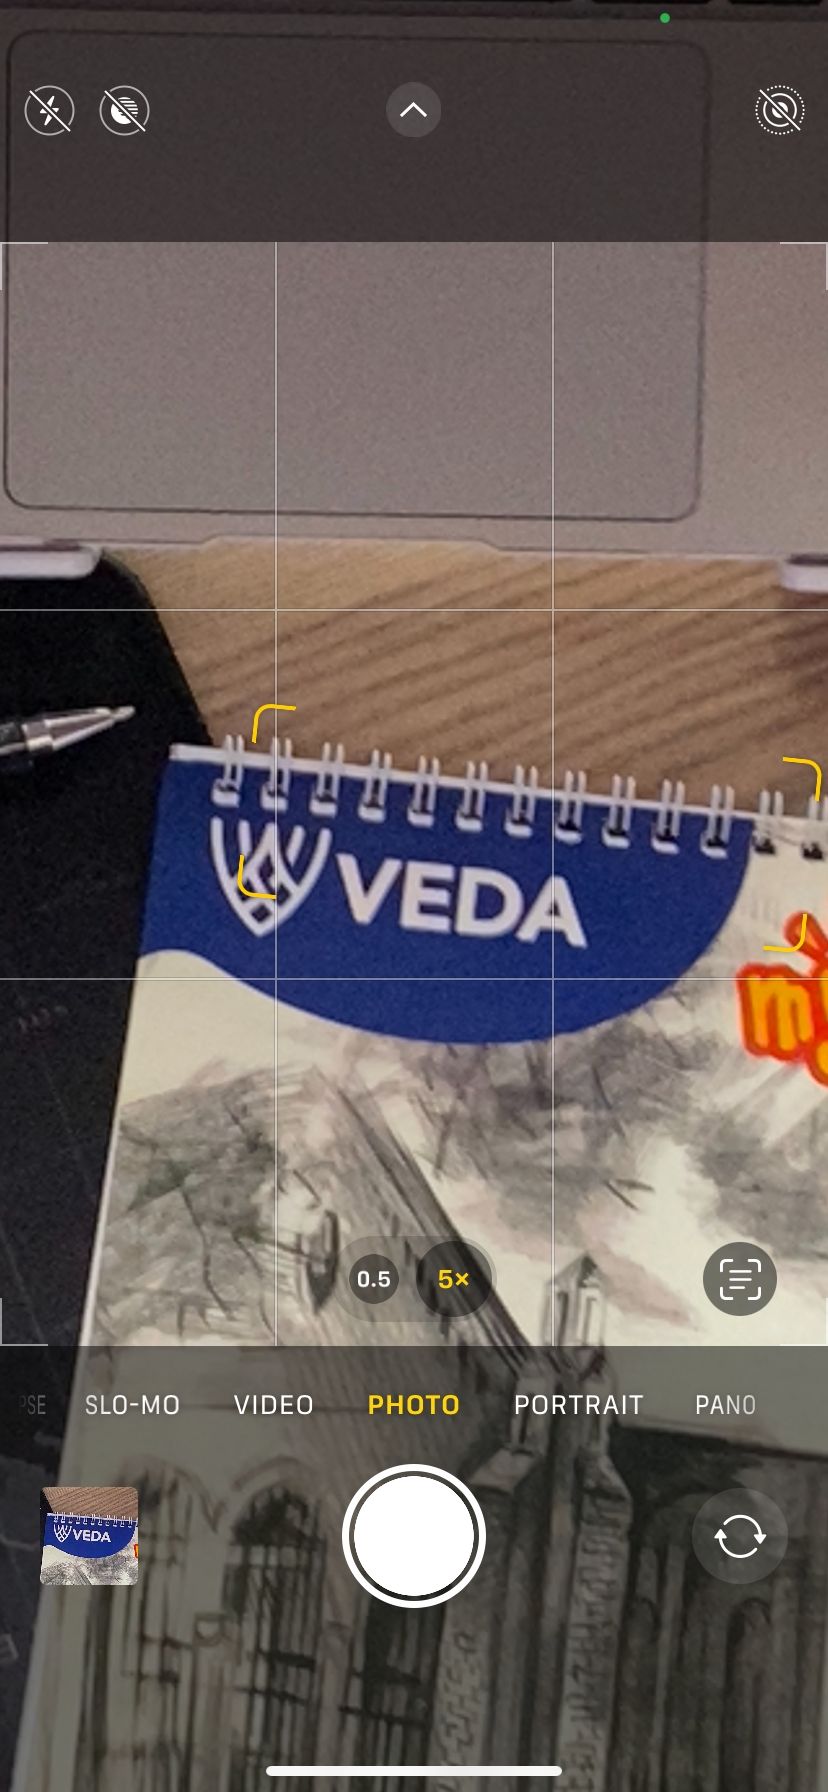
5. Reduce Zoom Levels
Another reason that could lead to blurry photos on iPhone is if you’ve zoomed in. Depending on your iPhone model, you may have access to different zoom levels. If, for example, you have the iPhone 15 Pro, you have access to 5x optical zoom and 25x digital zoom. For the iPhone 14 Pro, optical zoom is capped at 3x, whereas digital zoom is capped at 15x.
But the more you zoom in, the more your images lose details. Images will lose their sharpness and become blurry at maximum zoom levels. If you’ve zoomed in, reduce the zoom until you can capture the image without quality degradation.
Close
We recommend using optical zoom instead of digital zoom to get the best results. You can see this by tapping the number at the bottom of your image preview with the Camera app open. You can pinch out with two fingers to slightly increase the level to a point where the image still looks detailed. However, just remember that while digital zoom gives you a better range, the quality won’t be nearly as good.
6. Remove Accessories From Your iPhone
If you have magnetic or metallic accessories on your iPhone, they might interfere with your camera’s ability to focus. Common culprits include phone cases and camera accessories like a magnetic lens mount or a lens converter.
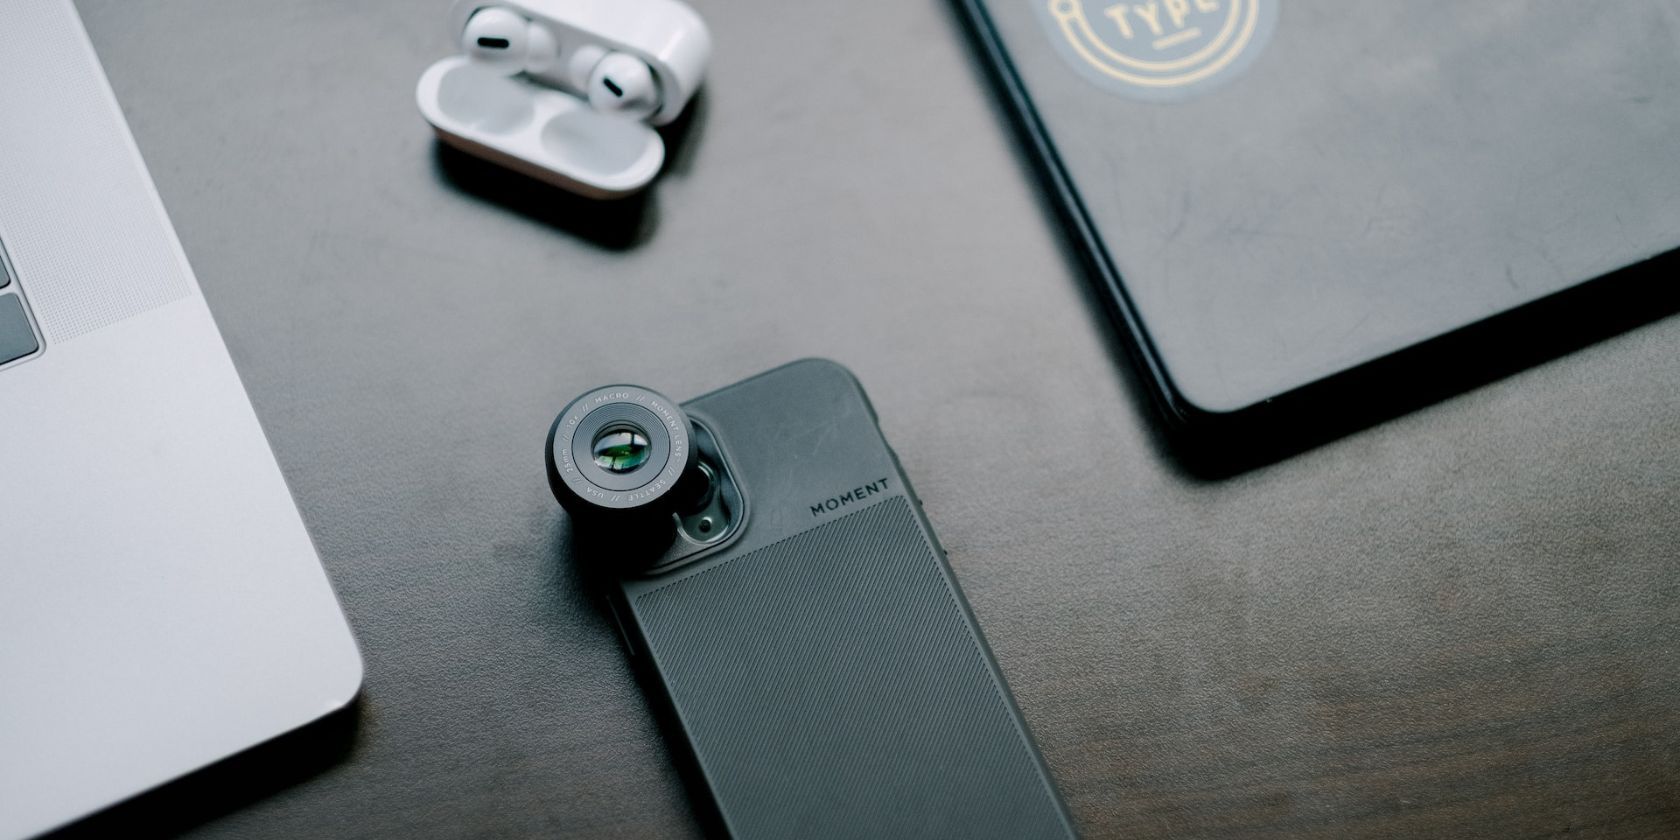
These accessories commonly cause motion blur in low-light situations, according to Apple. So, remove the accessories and try taking a photo, then see if the issue has been fixed. If this fixes your blurry iPhone camera, remove the accessory whenever you want to shoot.
7. Restart Your iPhone
As a last resort, you should restart your iPhone . iOS, despite its refinement, is never perfect; you’ll occasionally encounter glitches and bugs. So, if none of the solutions above have fixed your problem, try restarting your device.
You might not be a believer in this catch-all solution, but it’s been proven that restarting fixes most smartphone problems . Go ahead and do it, then open your iPhone’s Camera app again and check if your problem is fixed.
Take Clear Pictures on Your iPhone
Taking clear images on your iPhone requires the software and hardware to be in great condition or set up correctly. If your iPhone’s camera has been taking blurry pictures, try all the solutions above.
If all else fails and you’re confident you haven’t damaged your iPhone’s camera, you should contact Apple support. An expert should be able to provide a concrete answer for your troubles. They might even recommend a camera repair or replacement if it’s a factory defect.
Also read:
- [New] Adding Sparkle to Your Content Incorinasing Unique Story Emojis for 2024
- 11 Ways to Fix When Your AirPods Are Undetected by Apple's 'Find My'
- 6 Fixes to Unfortunately WhatsApp has stopped Error Popups On Motorola Moto G13 | Dr.fone
- From Hush to Boom: Easy Fixes for an iPhone’s Audio Issues
- Galactic Gateway Top 10 Sci-Fi Movies that Transcend Reality
- How to Easily Obtain and Install Gigabyte Z370P Drivers - Step-by-Step Guide with Downloads
- How to Fix Your iPhone Can't Be Seen in iTunes or Finder: Quick Solutions
- Illuminating Seamless Transitions in Song Production (Crossfade)
- In 2024, How Can I Catch the Regional Pokémon without Traveling On Xiaomi Civi 3 Disney 100th Anniversary Edition | Dr.fone
- In 2024, OBS Armada Cameras at Full Power Again
- Joining Forces in Video Marketing on YouTube
- Overcoming Common Challenges with iPhone Guided Access Functionality
- Reviving Your iPhone: Overcoming Limited Access when SOS Is Displayed on the Status Bar
- Secure Your Device Today: Discover Why iOS 15.3 Is a Must-Have Update
- Solve Your iPhone's Facial Recognition Problem with These 14 Proven Techniques
- Step-by-Step Guide to Correcting TDR Problems with atikmpag.sys in Windows 11
- Step-by-Step Guide: Converting Your Classic VHS Tapes Into Digital Format with DVD
- Struggling with a Non-Functioning Contacts App on Your iPhone? Discover 3 Easy Solutions!
- Urgent Update: How Essential Is It To Upgrade to iOS 15.3 Immediately?
- Title: Eliminate Blurry Pics: A Guide to Perfect iPhone Snapshots
- Author: Edward
- Created at : 2025-03-01 16:33:10
- Updated at : 2025-03-02 16:20:57
- Link: https://fox-that.techidaily.com/eliminate-blurry-pics-a-guide-to-perfect-iphone-snapshots/
- License: This work is licensed under CC BY-NC-SA 4.0.