
Essential iPhone Settings for Improved Visual Impairment Support

Essential iPhone Settings for Improved Visual Impairment Support
Smartphones are convenient all-in-one devices that help people do pretty much everything. However, not all are designed to suit the needs of blind people and people with visual impairments.
While the iPhone’s user interface is designed to be comfortable and easy to use for most people, it may still be challenging for people with visual impairments.
To bridge the gap between great display and accessibility, below are some of the iPhone’s accessibility features that can help people with visual impairments to use their iPhones with greater ease.
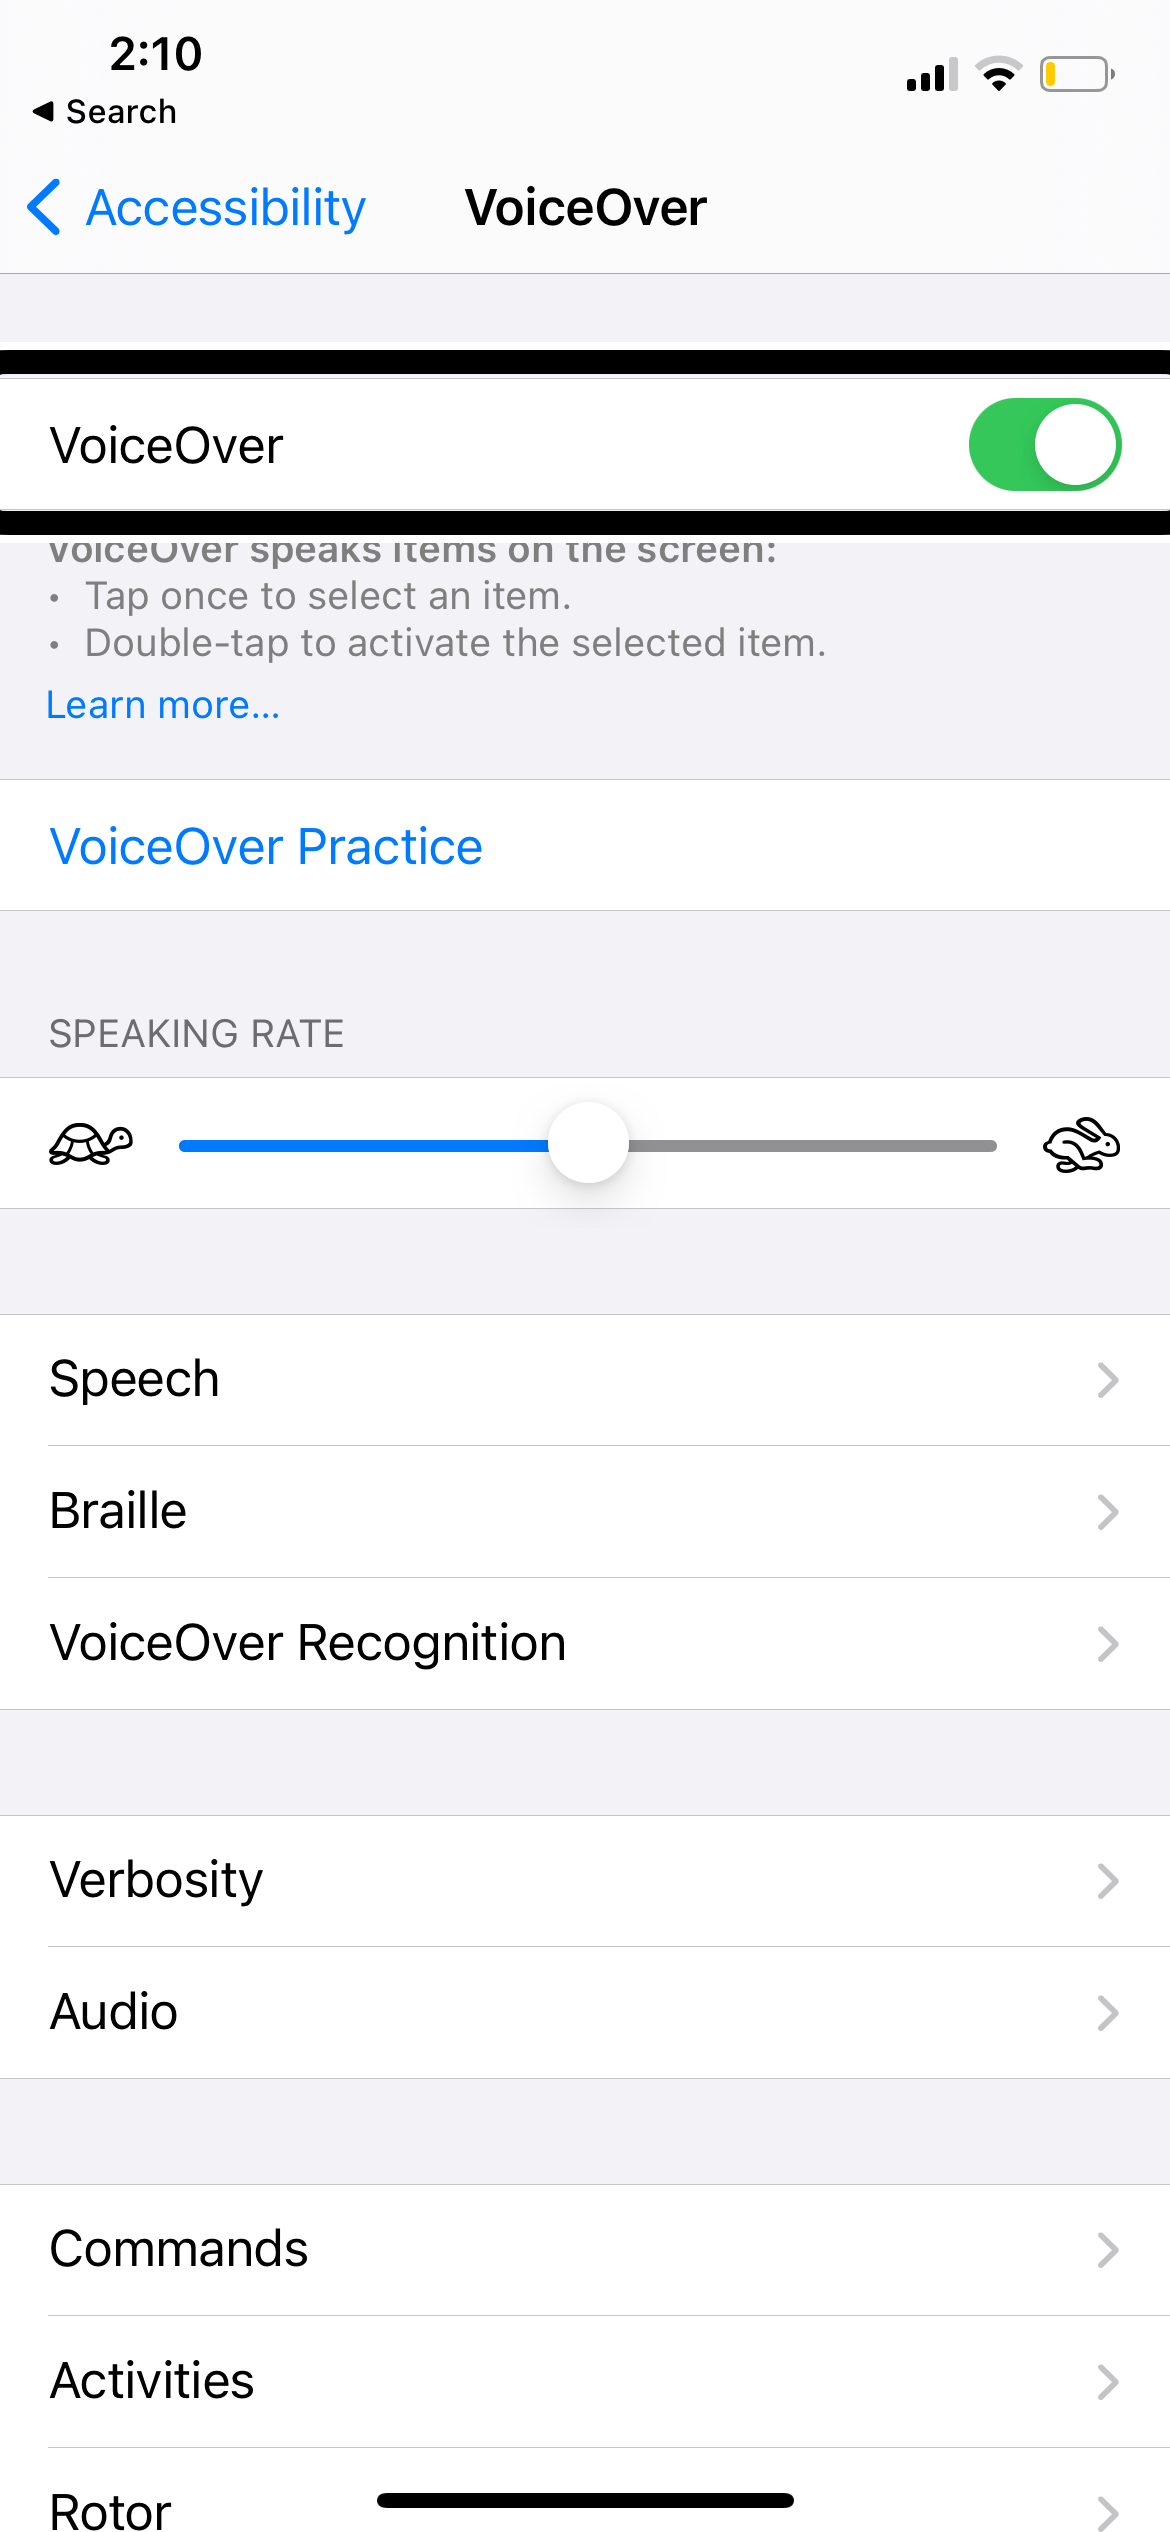
1. Enable VoiceOver
Close
With built-in voices that speak over 30 languages, Apple’s VoiceOver feature makes using an iPhone accessible to people with visual disabilities across the globe.
It’s an advanced screen-reading technology that gives you descriptions of everything that’s happening on your iPhone’s screen.
When turned on, your iPhone helps you better navigate it by giving you auditory descriptions of onscreen elements.
VoiceOver also features unique rotor gestures that act like a dial to make browsing content on your screen easier.
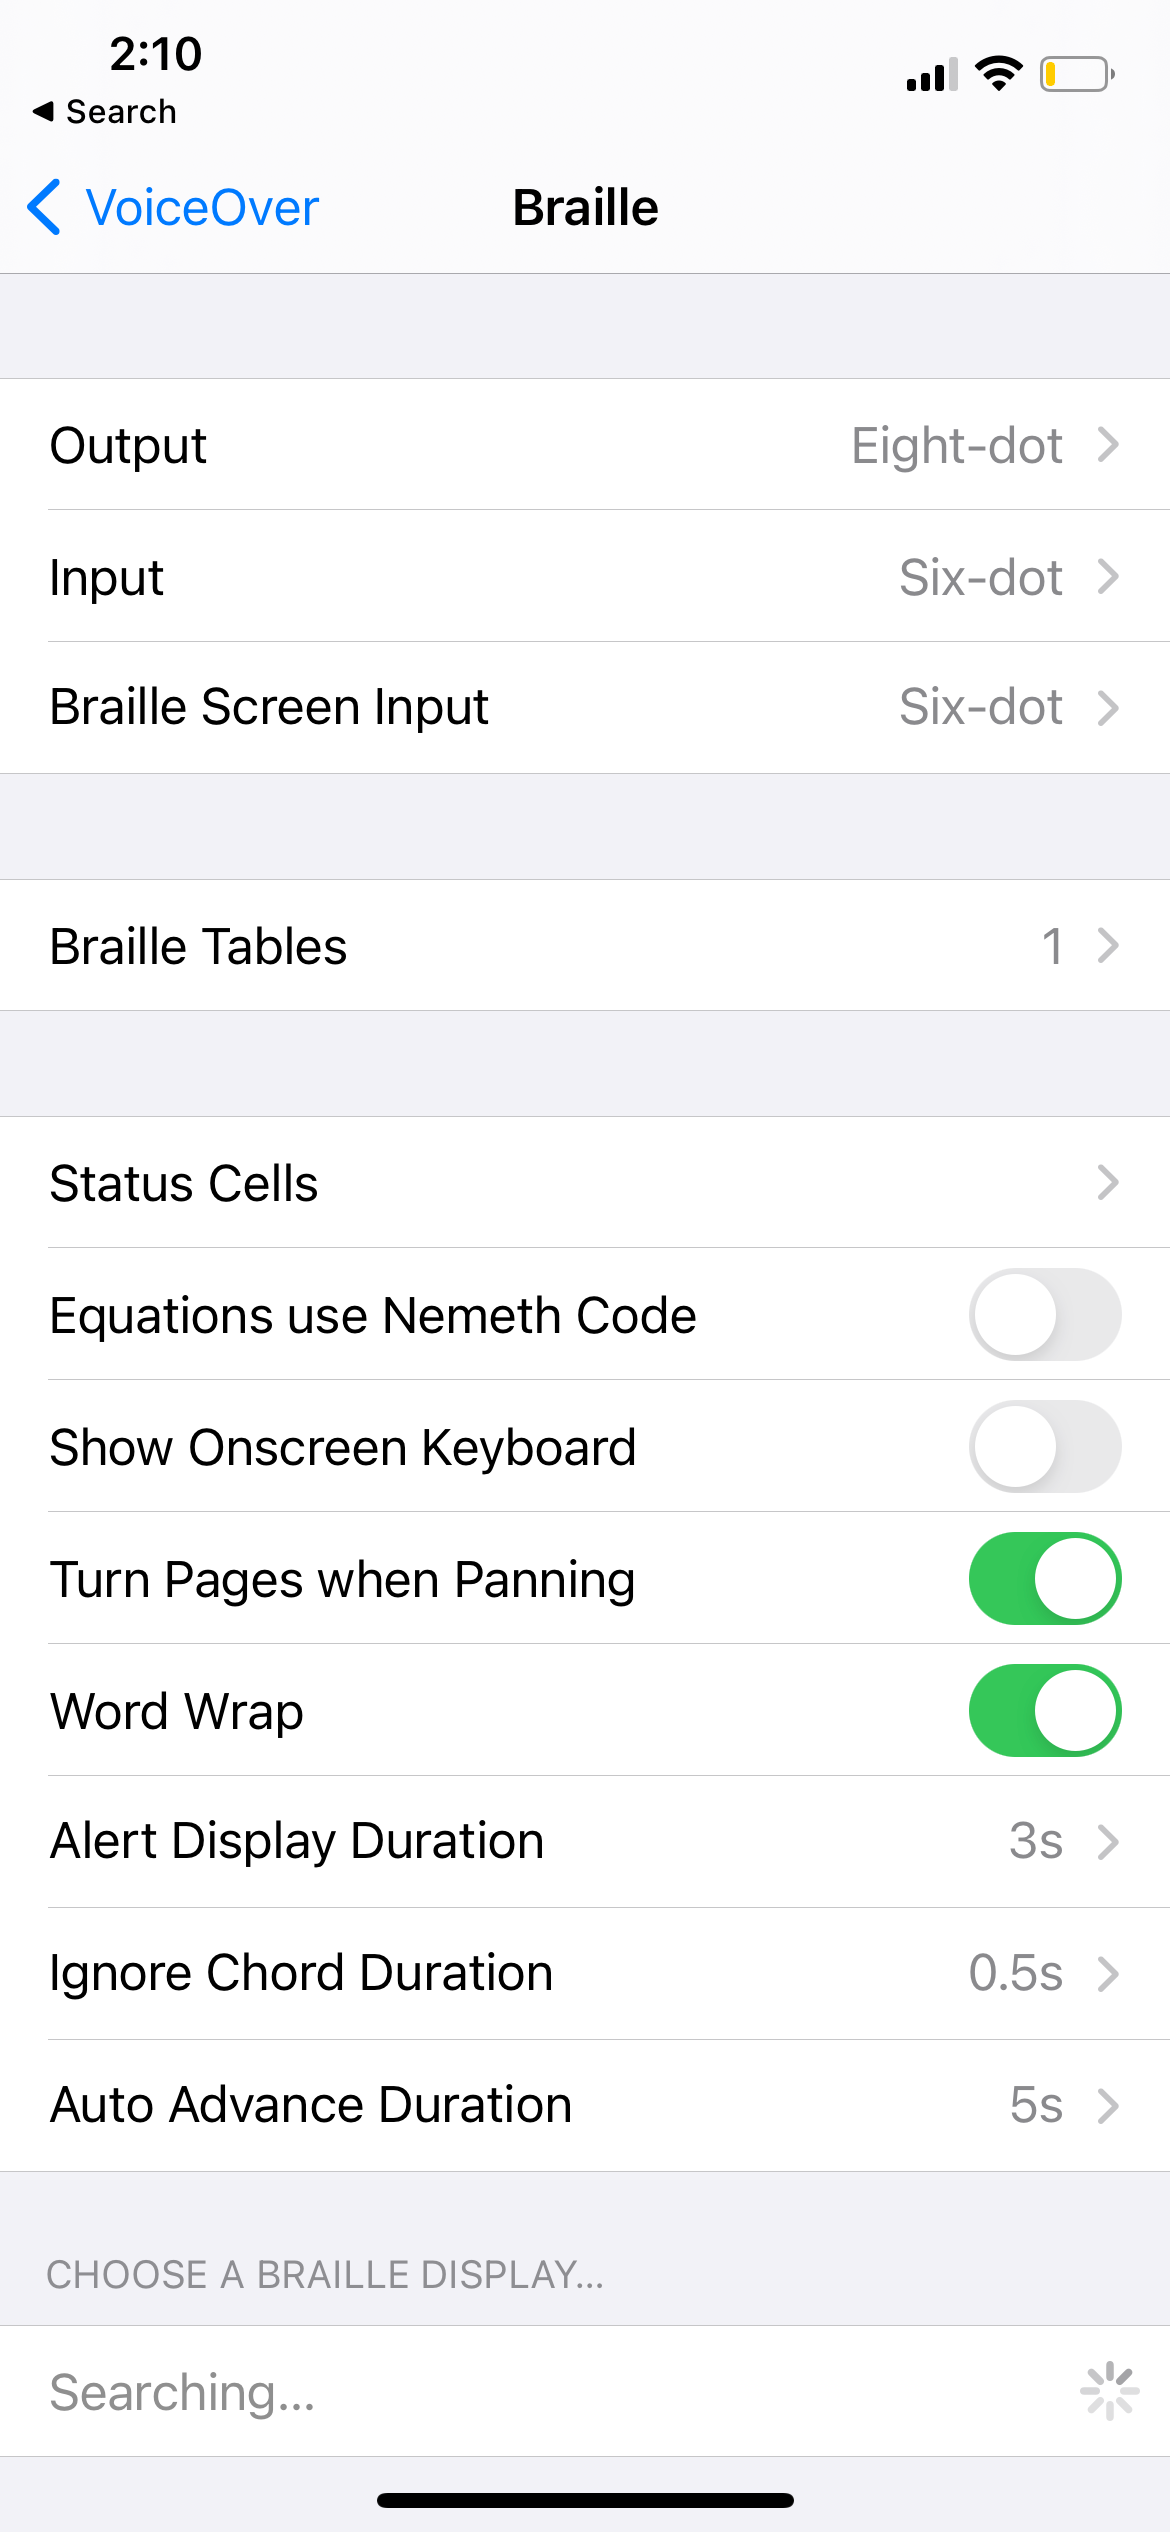
To input text, you can either connect a refreshable braille keyboard on your iPhone via Bluetooth or directly key texts on your iPhone’s touchscreen with theBraille Screen Input feature.
2. Watch Movies With Audio Descriptions
People who are blind and have visual impairments may have some challenges enjoying watching television, plays, theater performances, and movies.
But they can use audio-described media along with a headset where they receive verbal descriptions of what’s happening to get the most out of the experience if they want.
Close
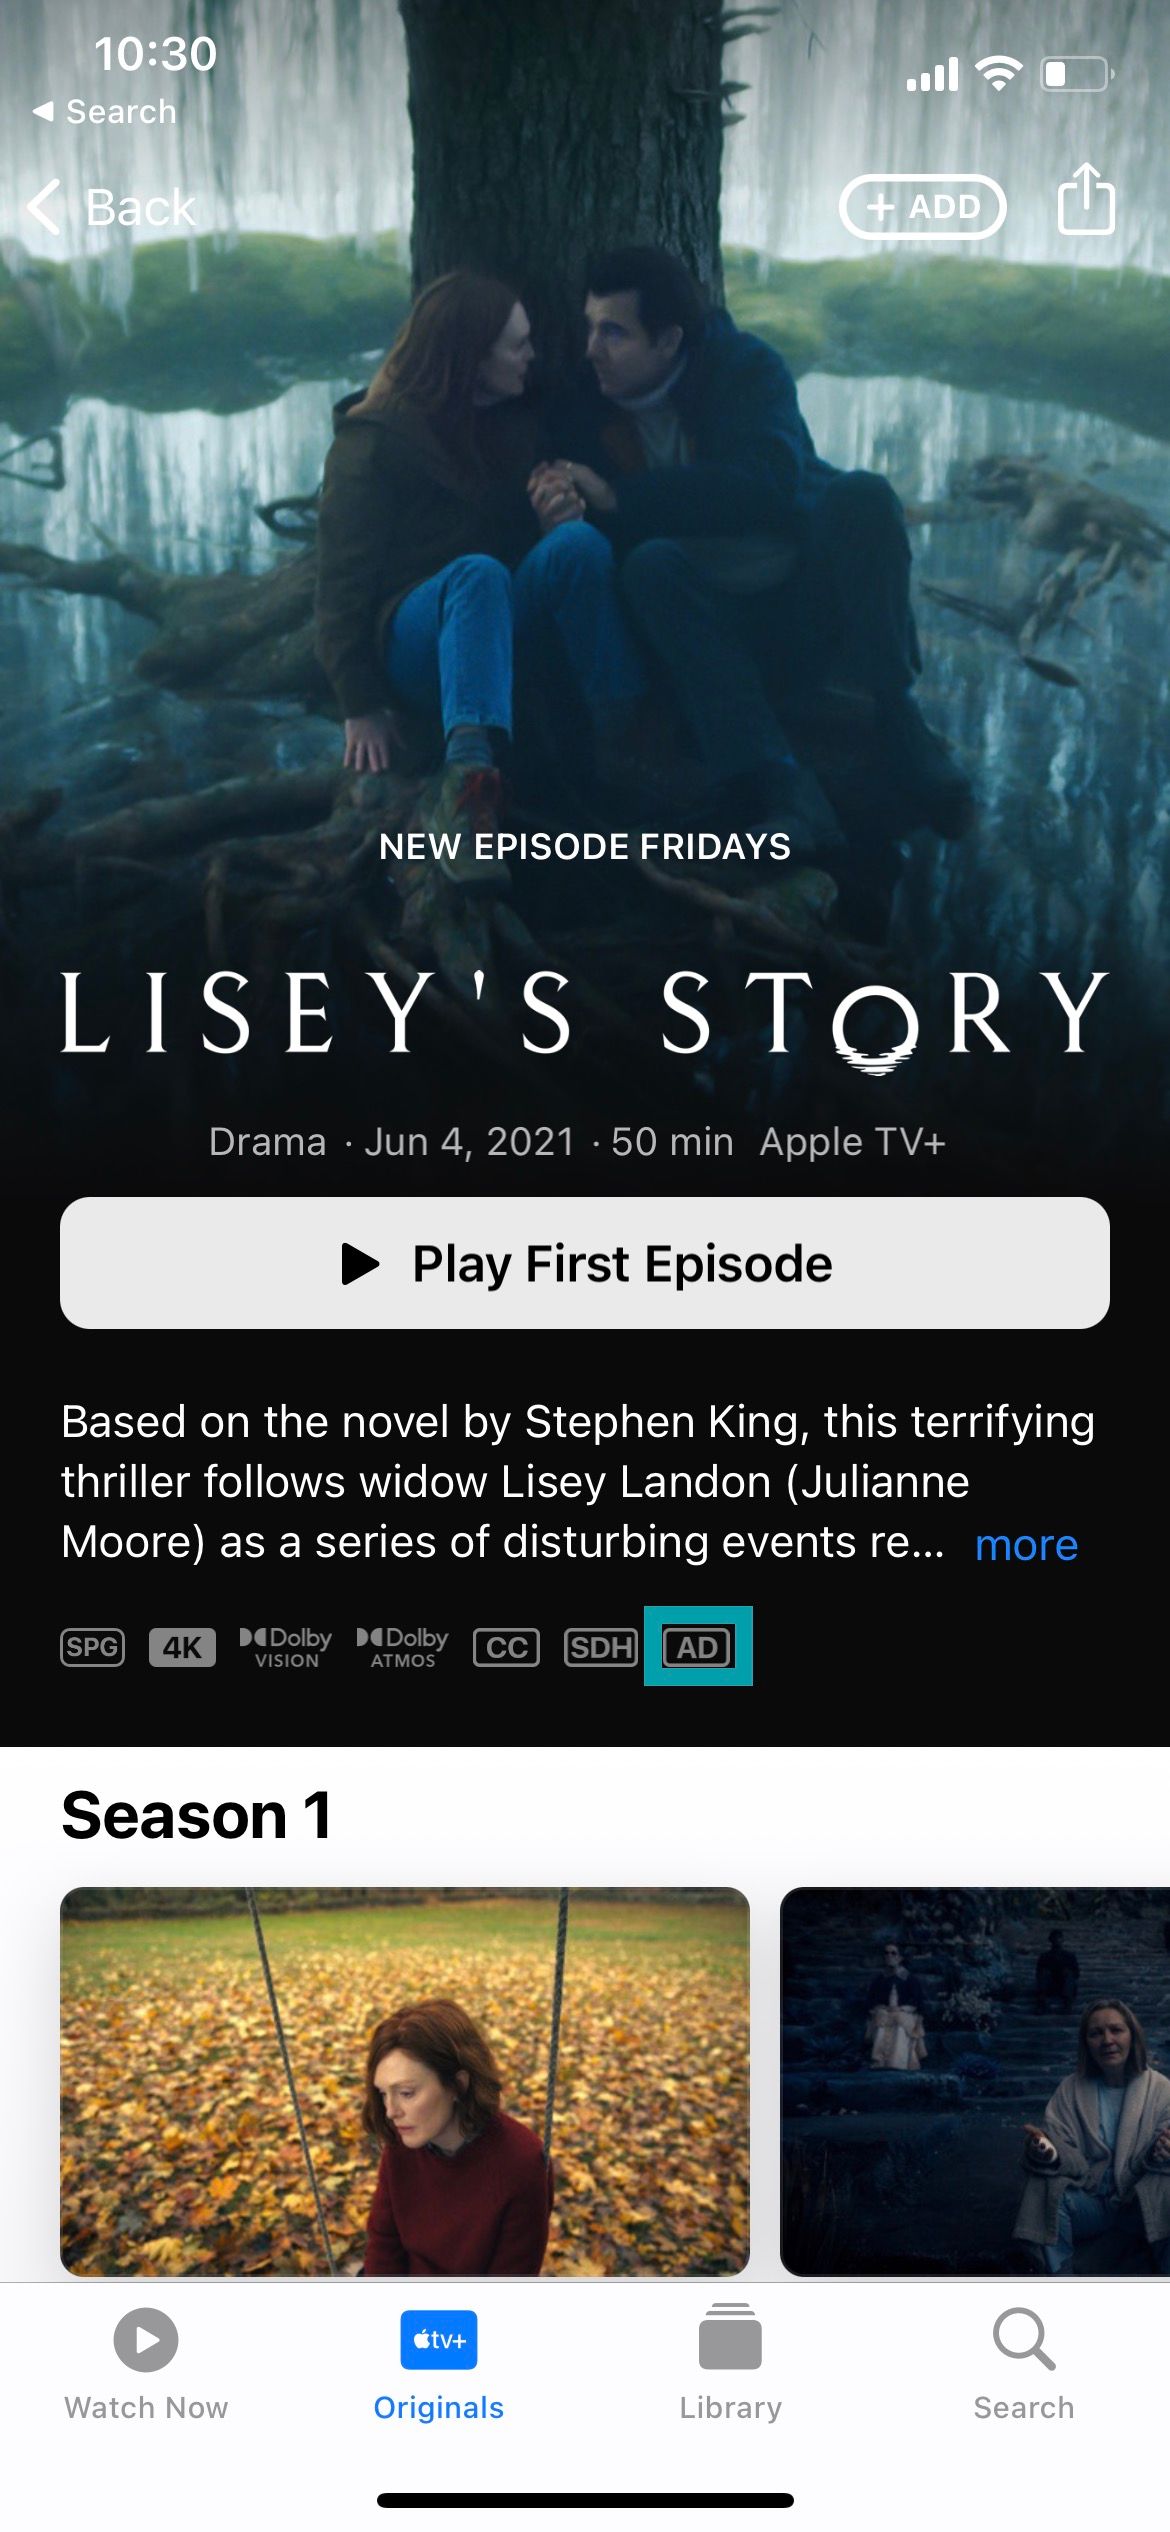
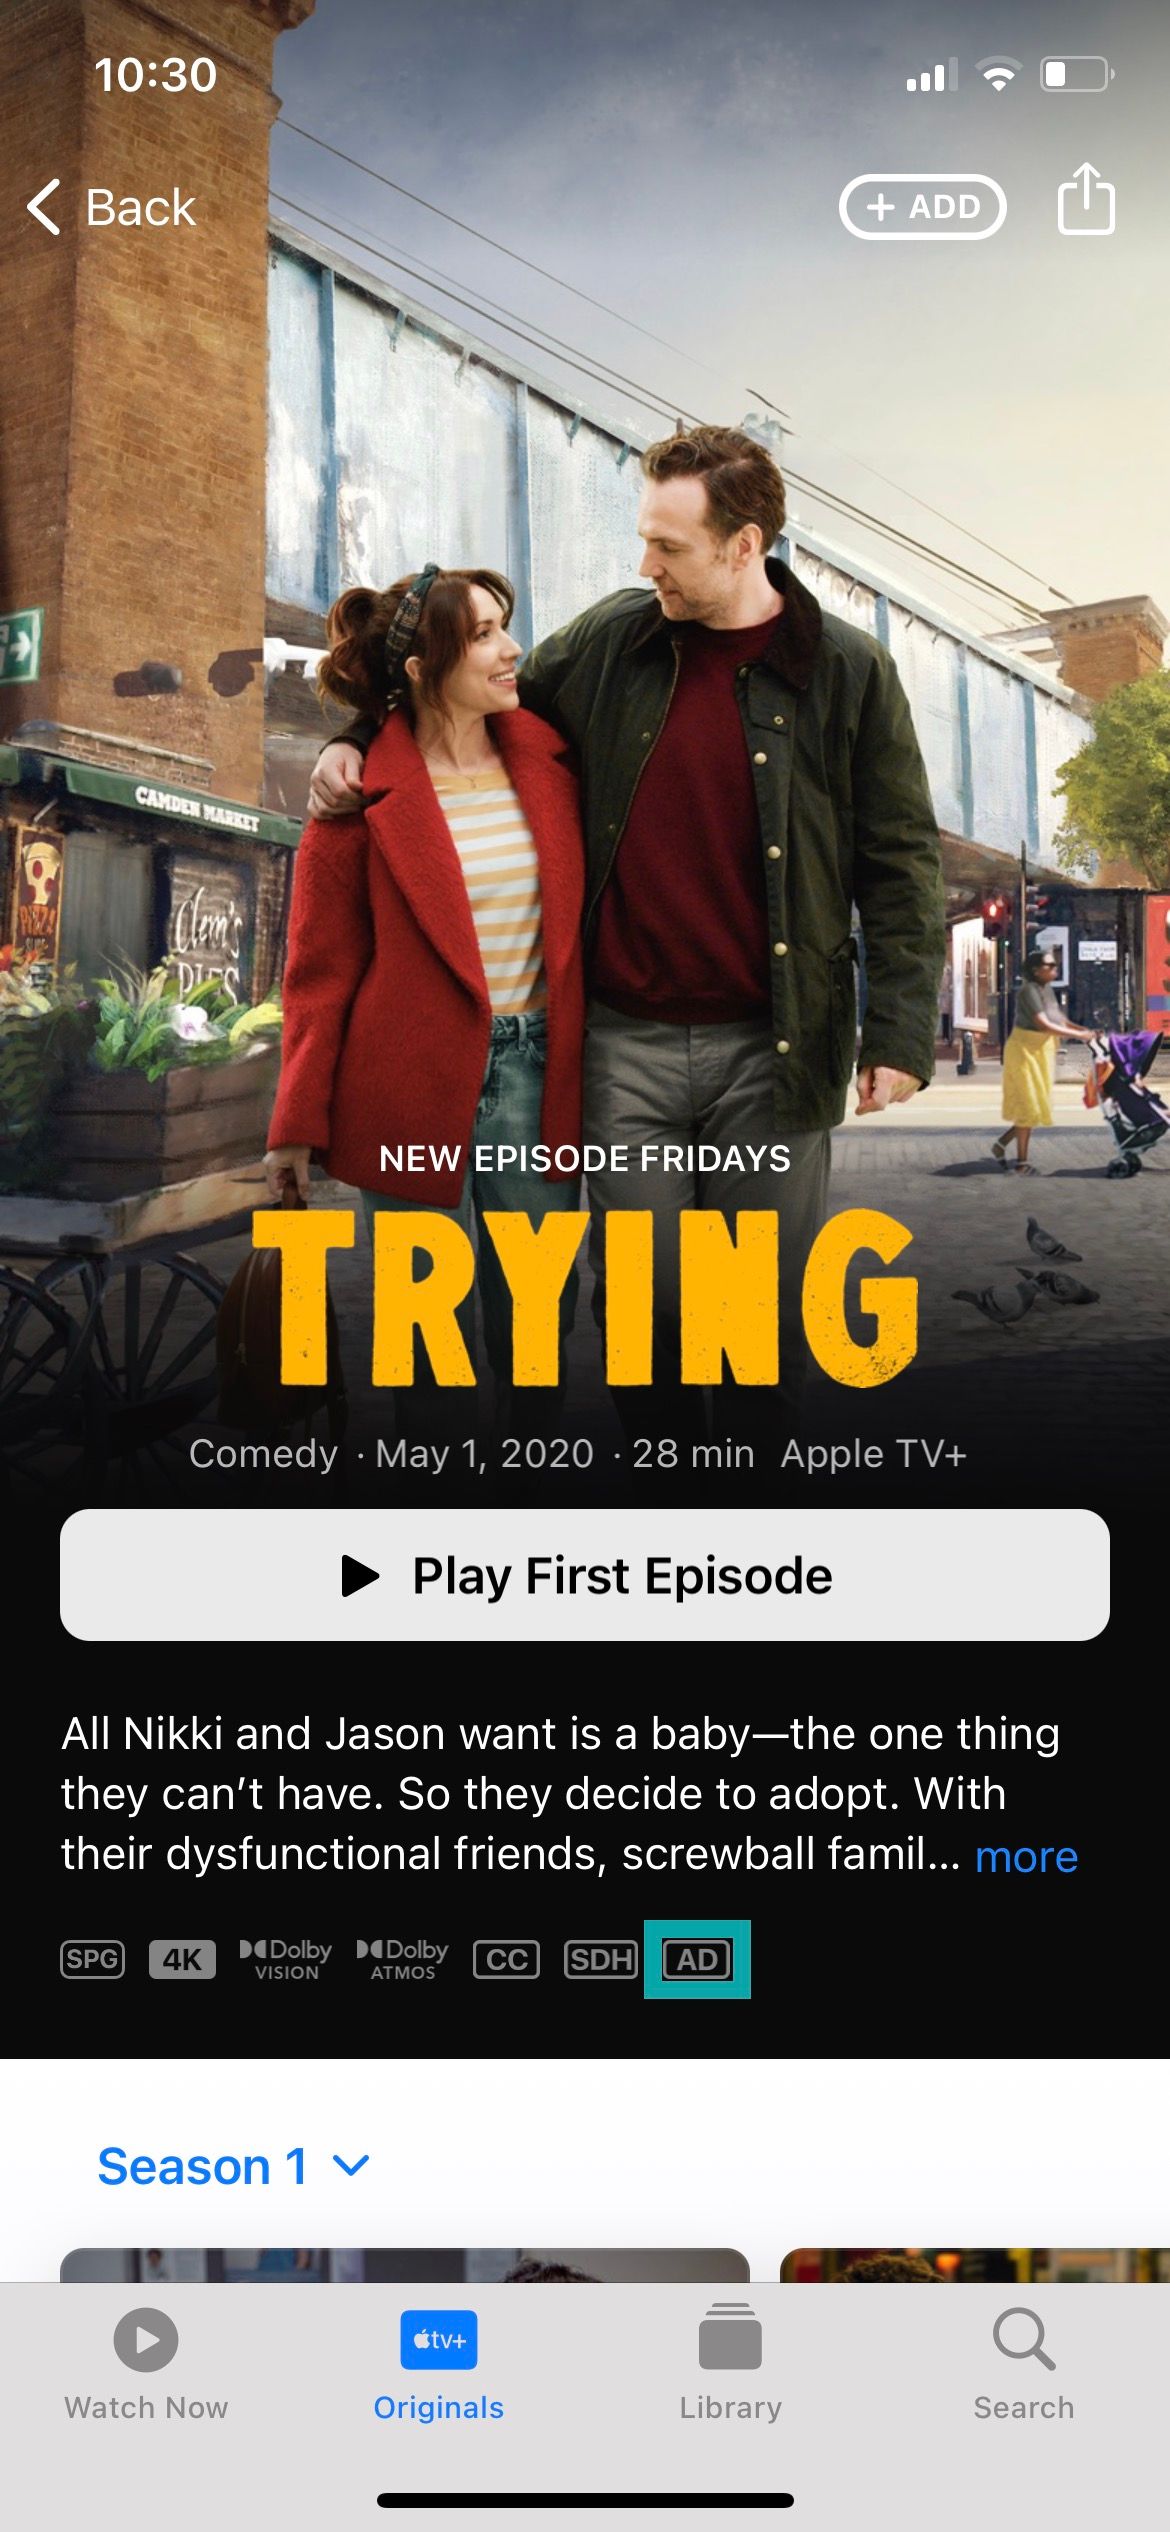
Movies and series on Apple TV come with detailed audio descriptions to ensure that they get full details about the scene. You can check this by looking at the audio description (AD) icon with the list of other icons like closed captioning (CC) and subtitles for the deaf or hard-of-hearing (SDH) under the description.
To automatically play audio descriptions when available, go toSettings >Accessibility >Audio Descriptions , and toggle it on.
3. Use Your iPhone as a Magnifier
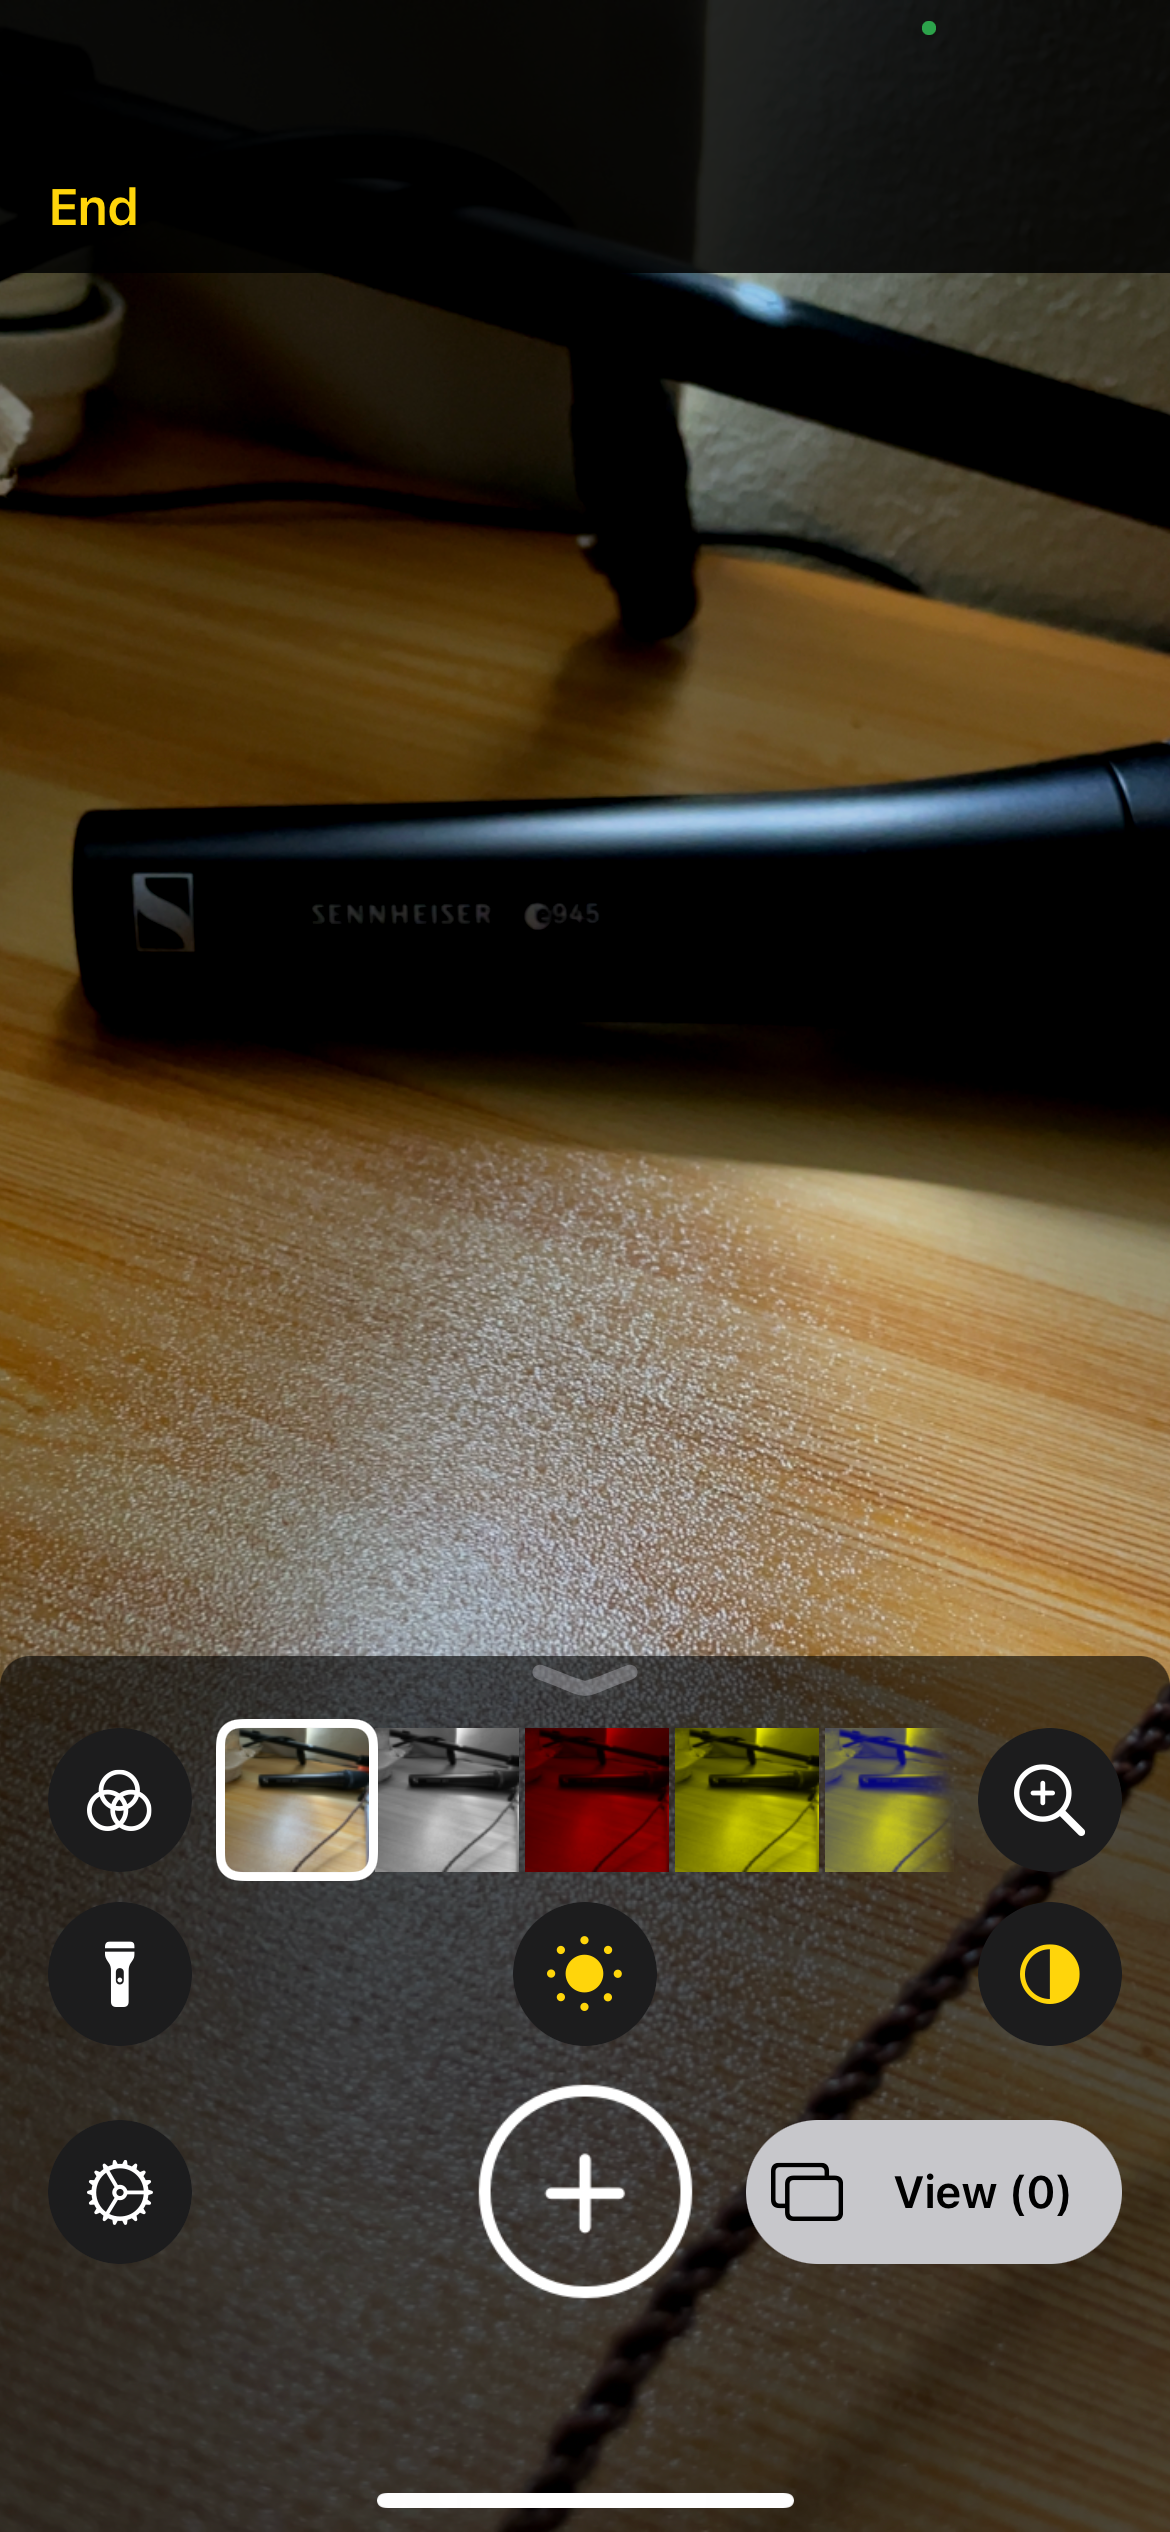
The iPhone’s Magnifier tool helps you see better by turning your iPhone into a digital magnifying glass.
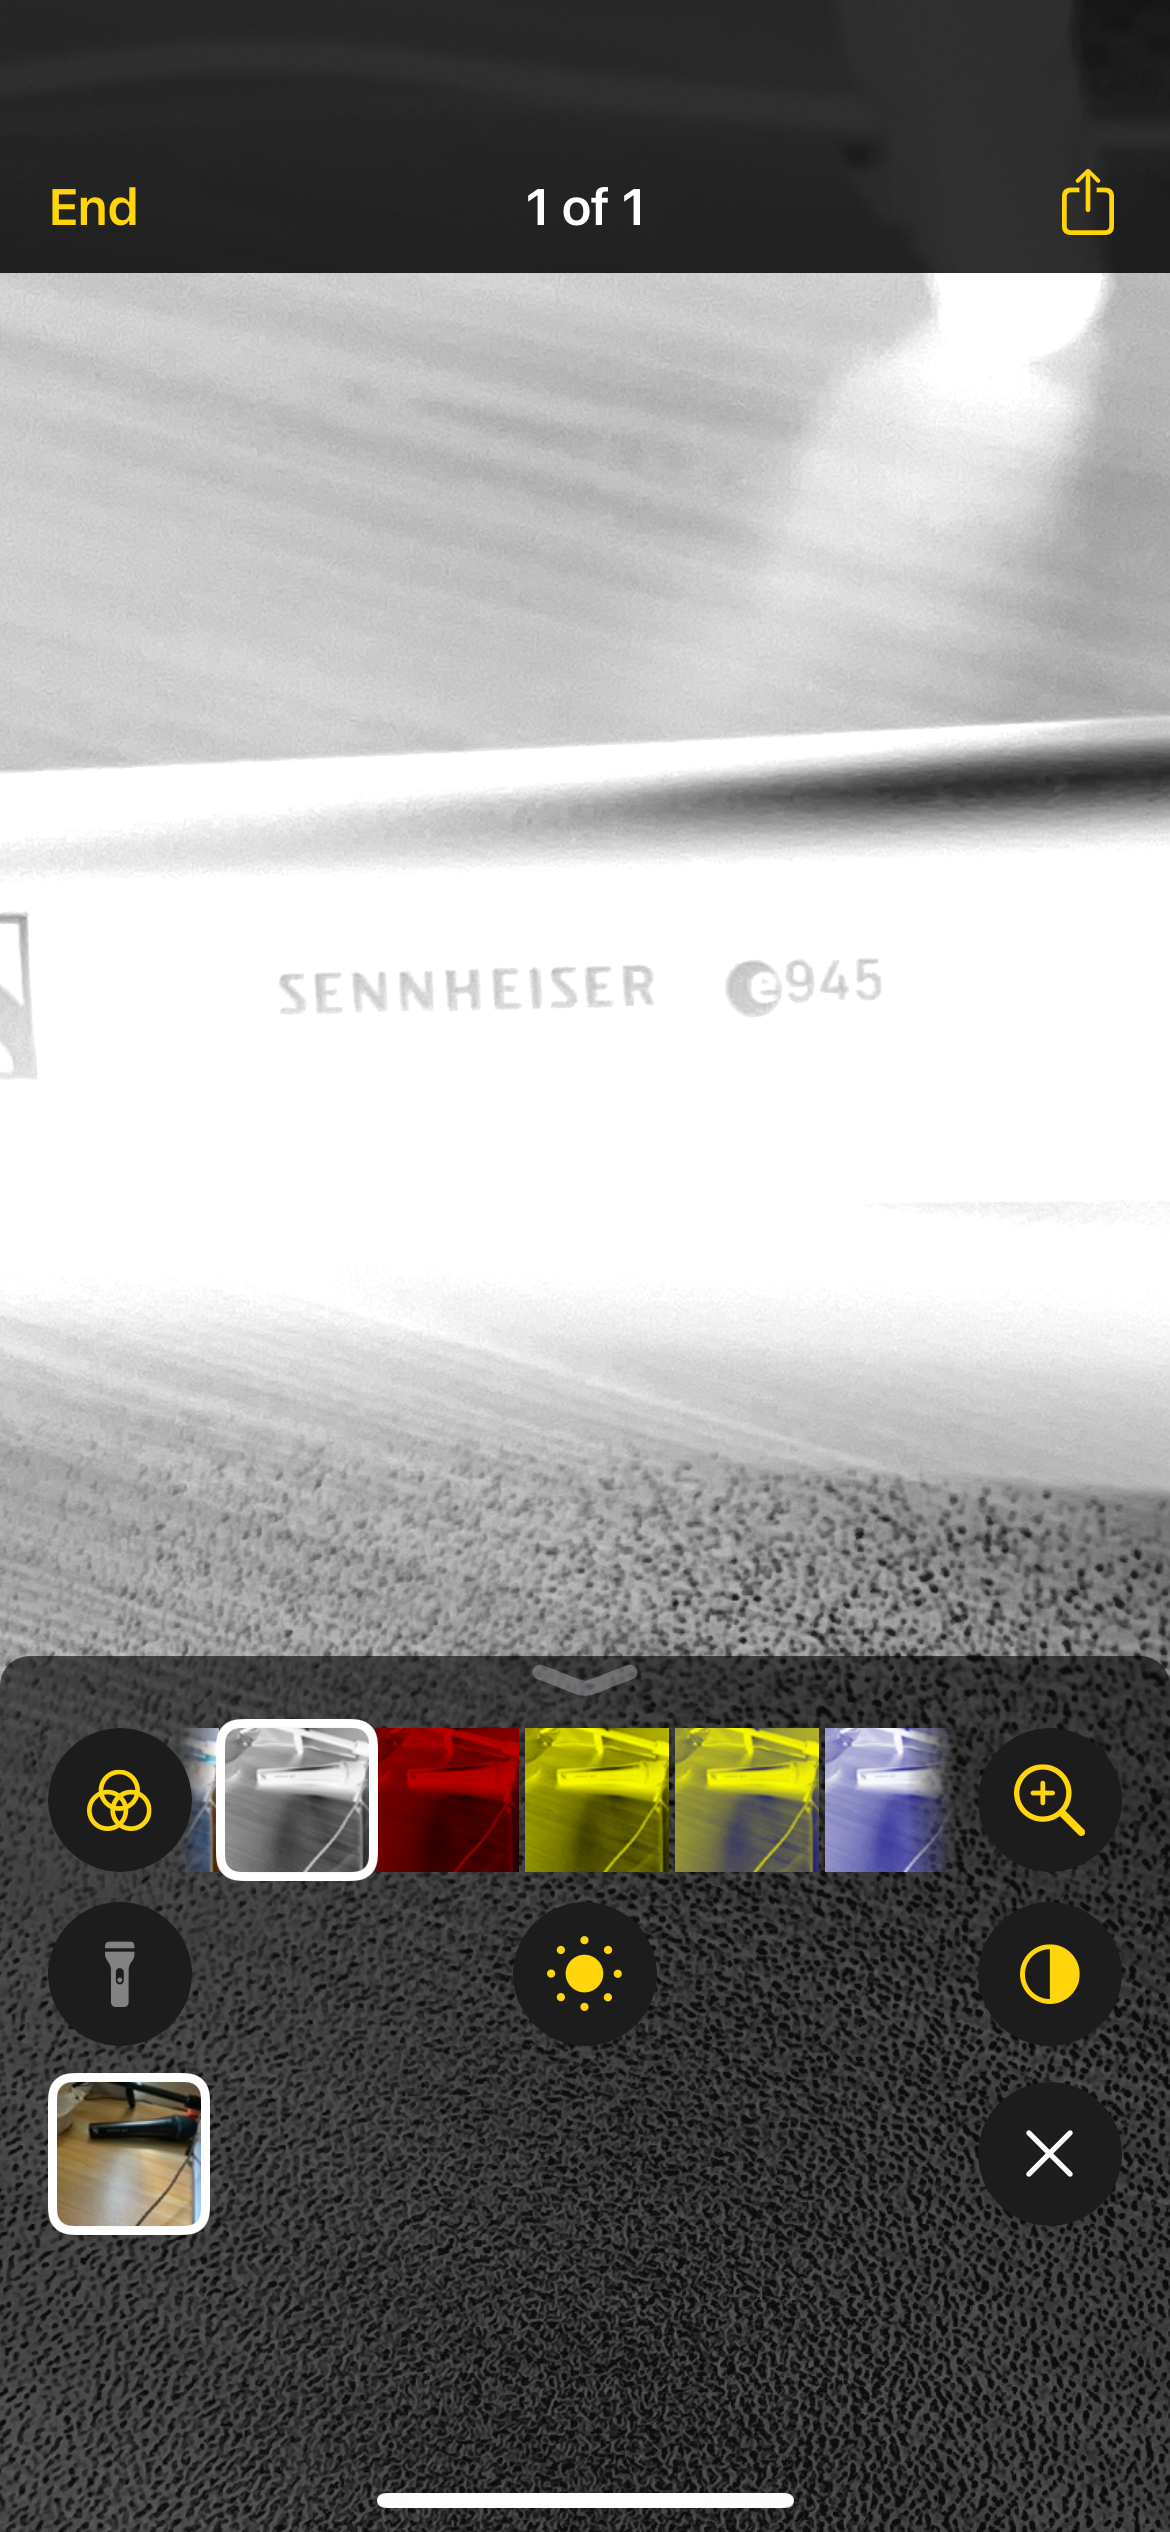
If you find a menu or a street sign and you can’t see it clearly even after squinting for a while, simply take your phone, open theMagnifier , and freeze the frame.
Close
The app comes with several image adjustment features that allow you to use various color filters, adjust brightness levels, change the image contrast, to aid you in making sense of the image.
You can also make use of your device’s flash to illuminate objects with a quick tap on the app. Don’t worry about zooming a lot and making the image blurry and pixelated; it’s usually still crisp enough to read.
4. Zoom Your Screen
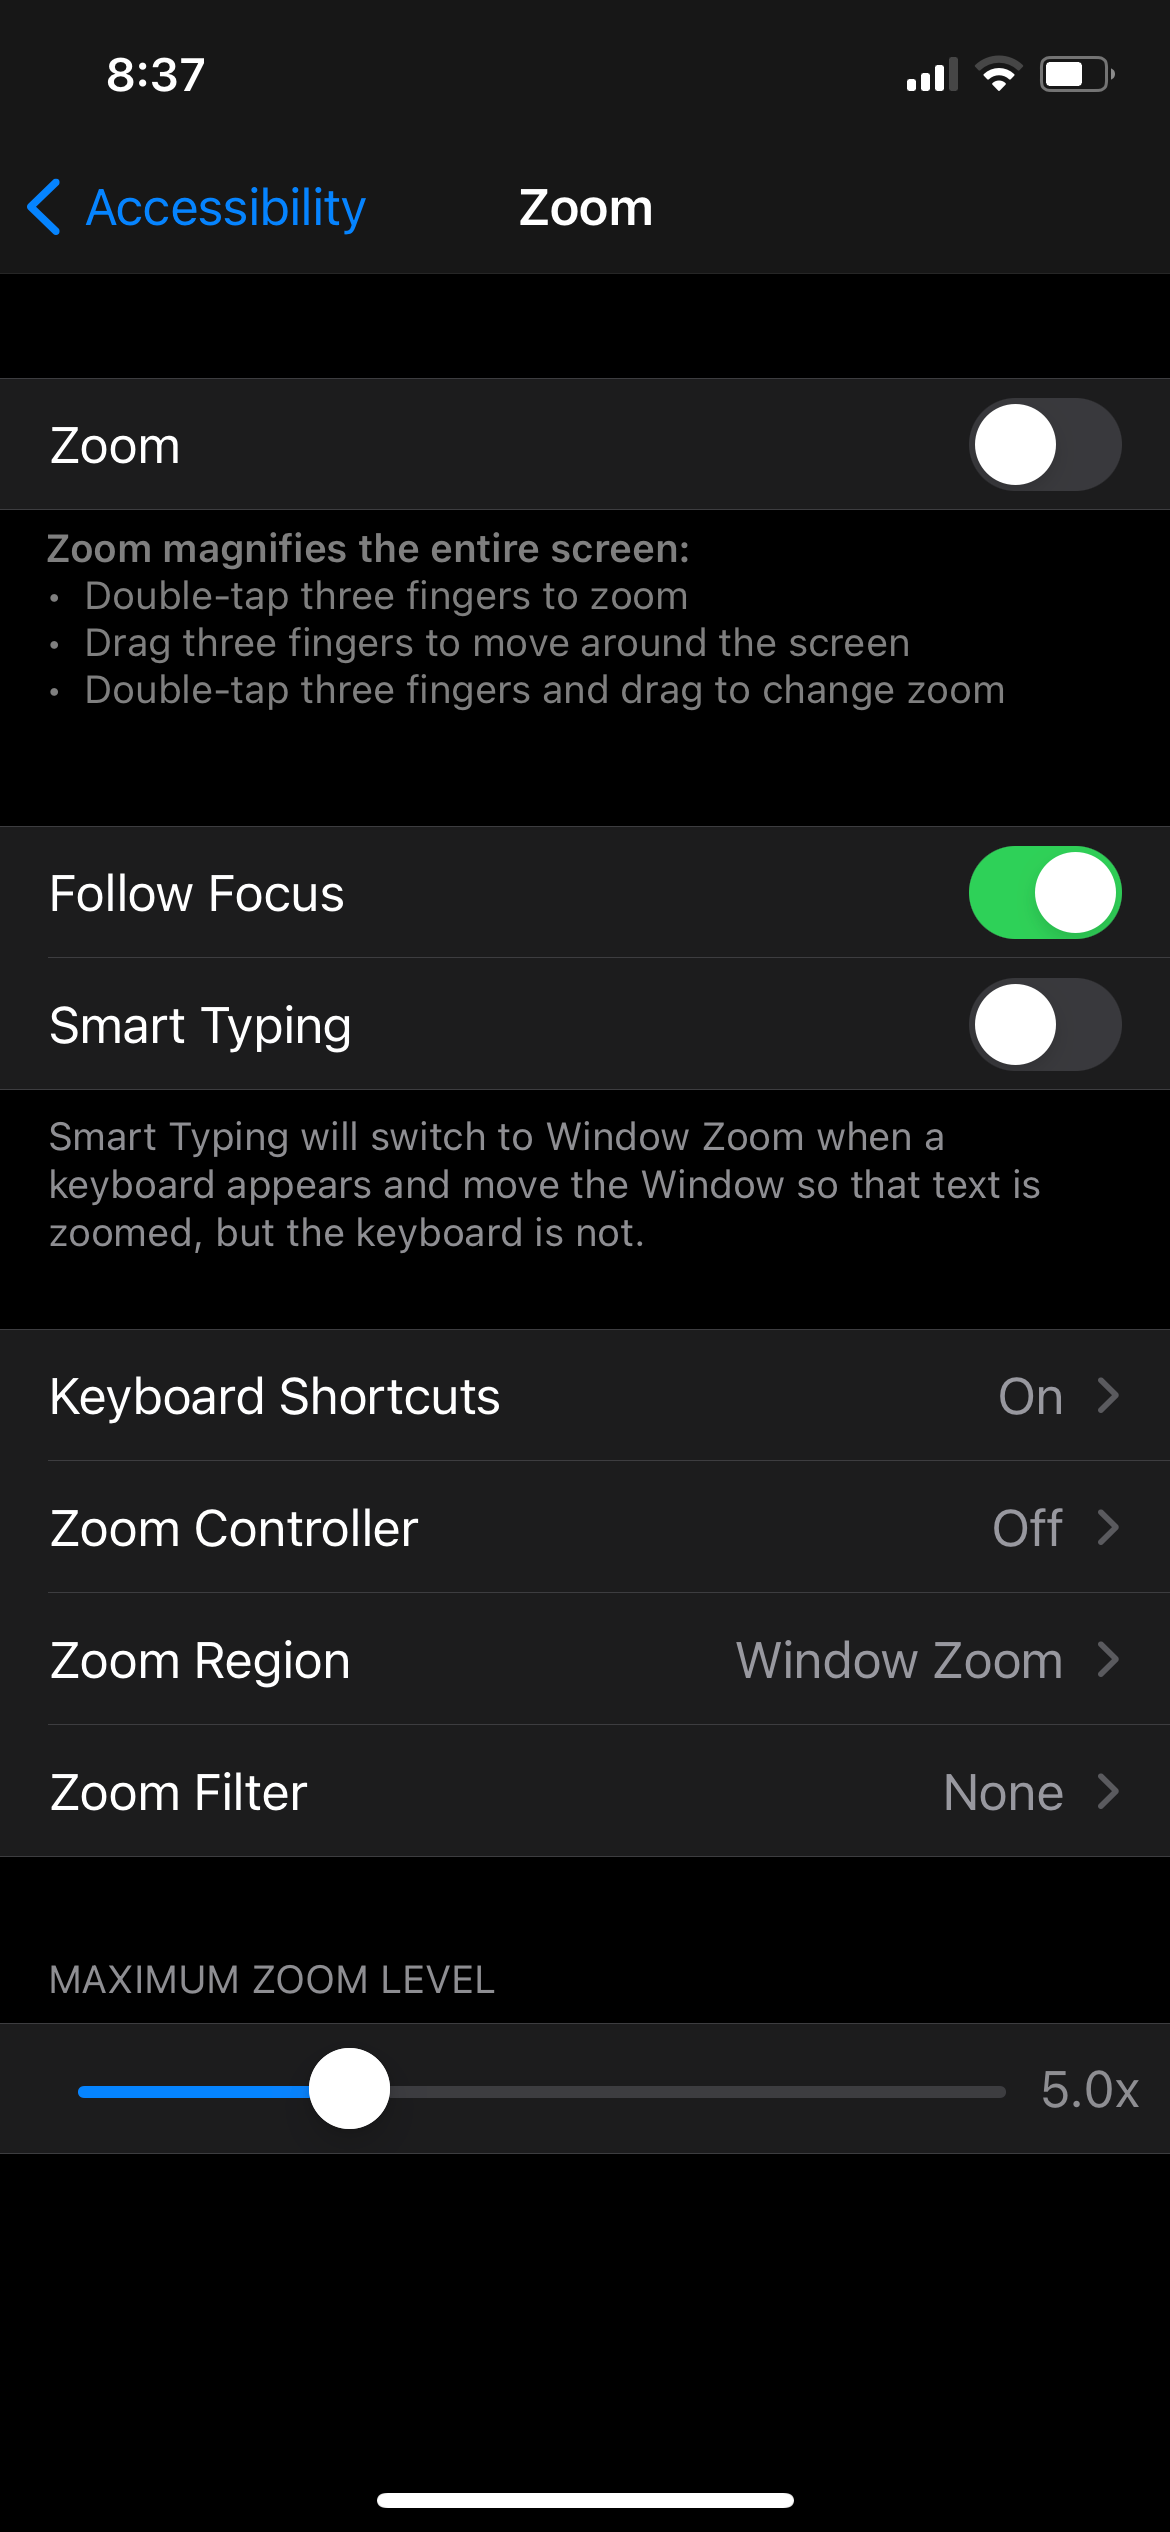
Whereas Magnifier enlarges the world around you,Zoom magnifies the contents on your device.
Close
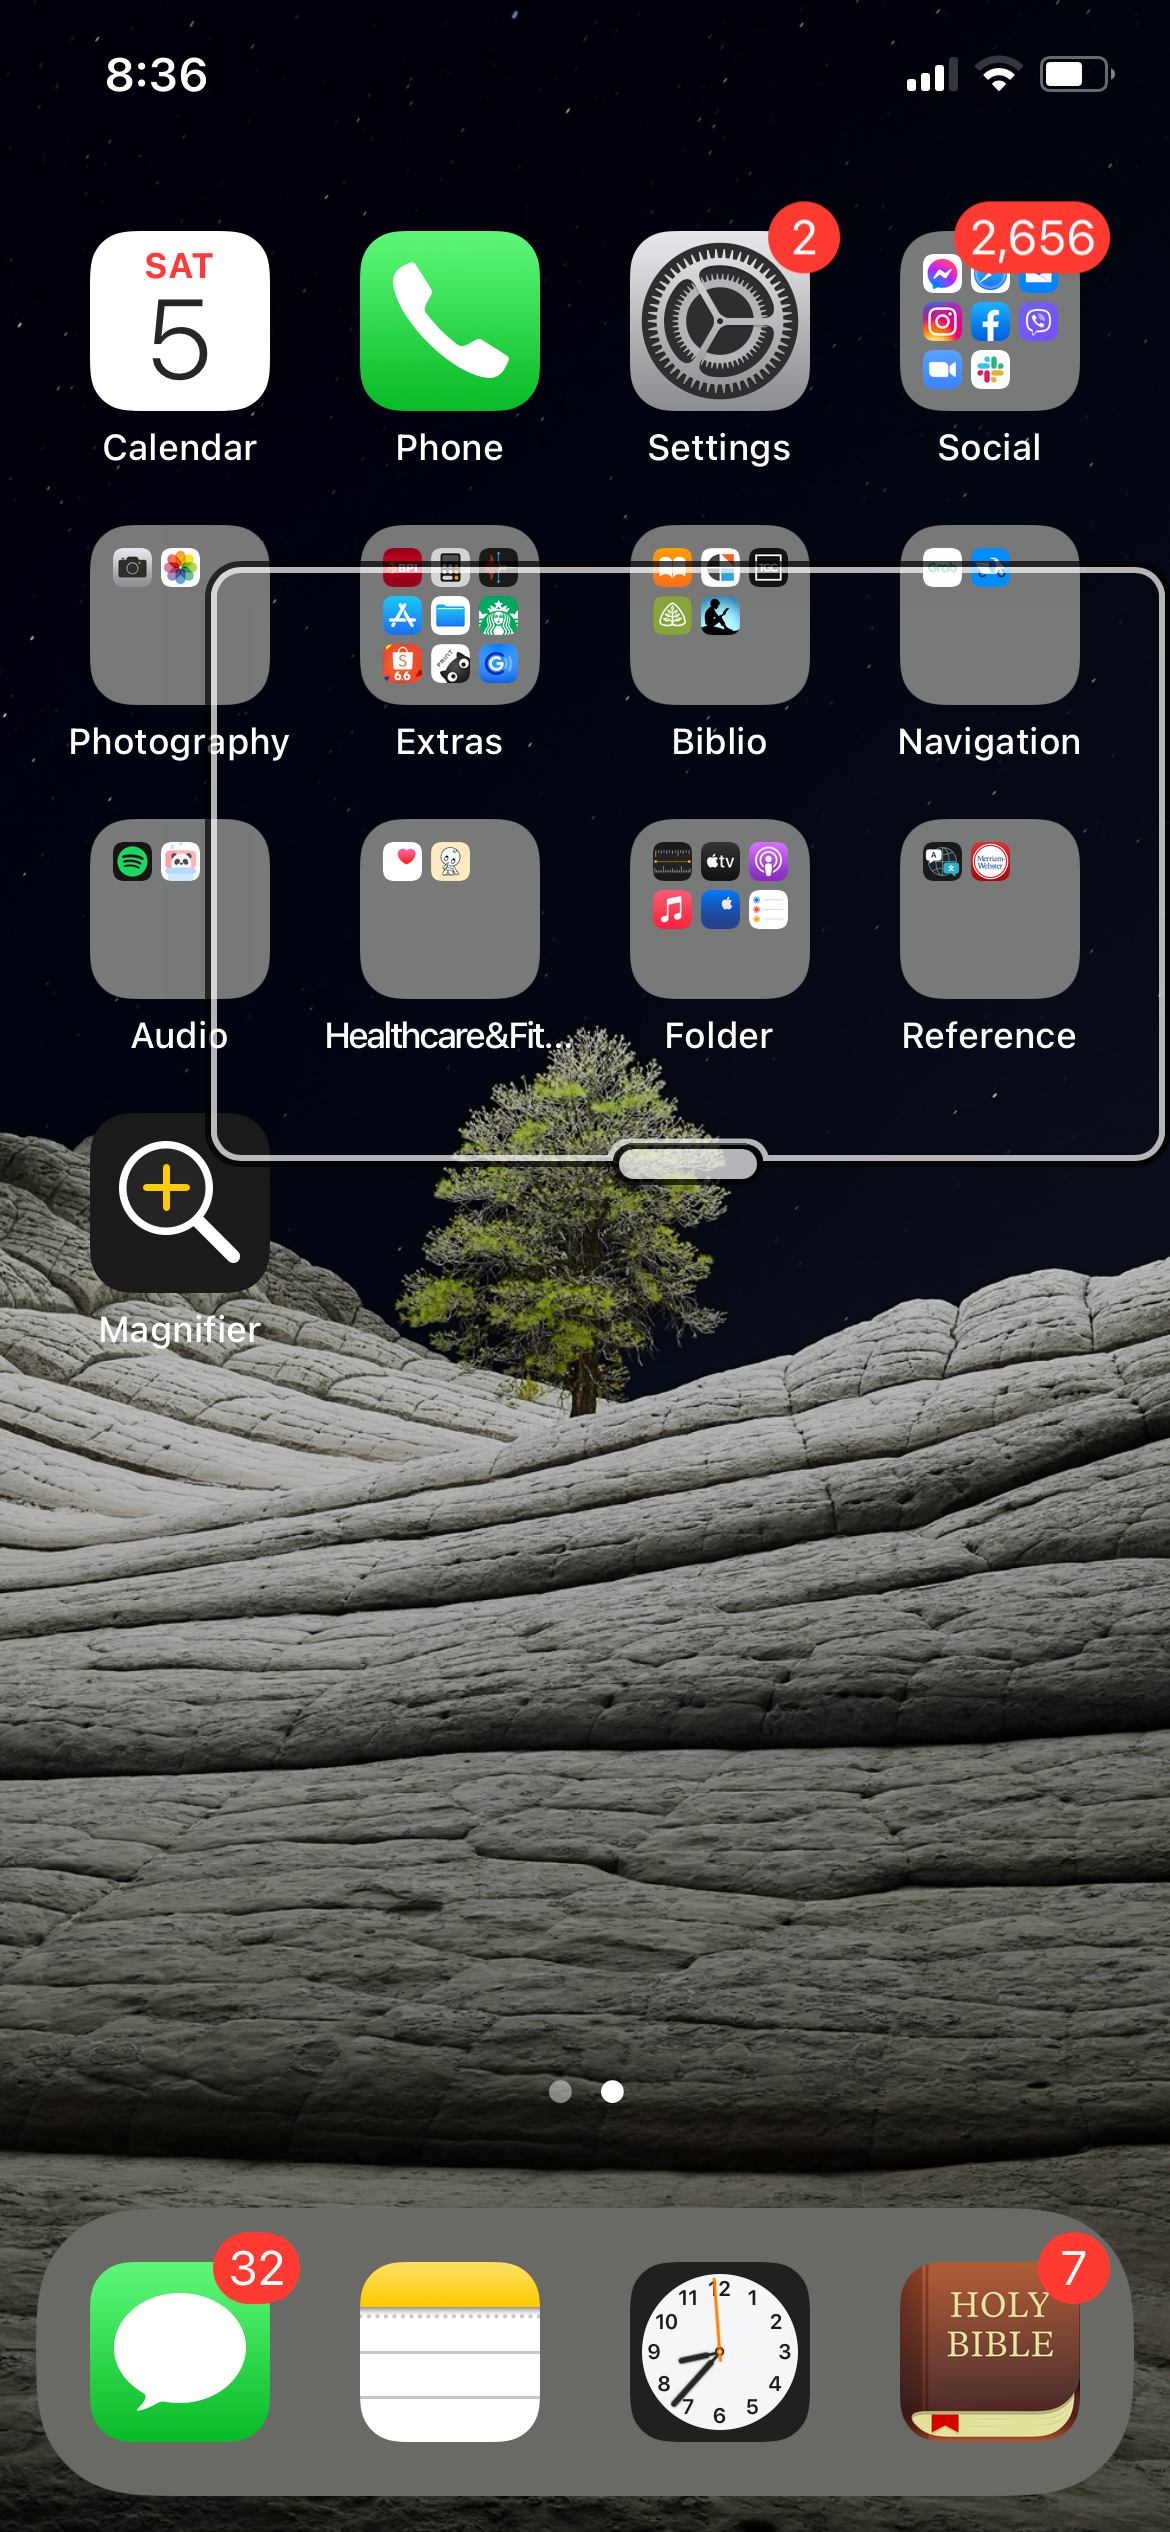
You can choose betweenFull Screen Zoom, which enlarges the entire screen, orWindow Zoom , which looks like a hovering rectangular magnifying glass that you can move around to magnify contents on your screen.
Enable Zoom by going toSettings >Accessibility >Zoom .
Related:Ways to Reduce Eye Strain From Your iPhone
Note: Screenshots do not capture zoomed images, hence the second photo showing the Window Zoom without screen magnification.
5. Modify Your Display
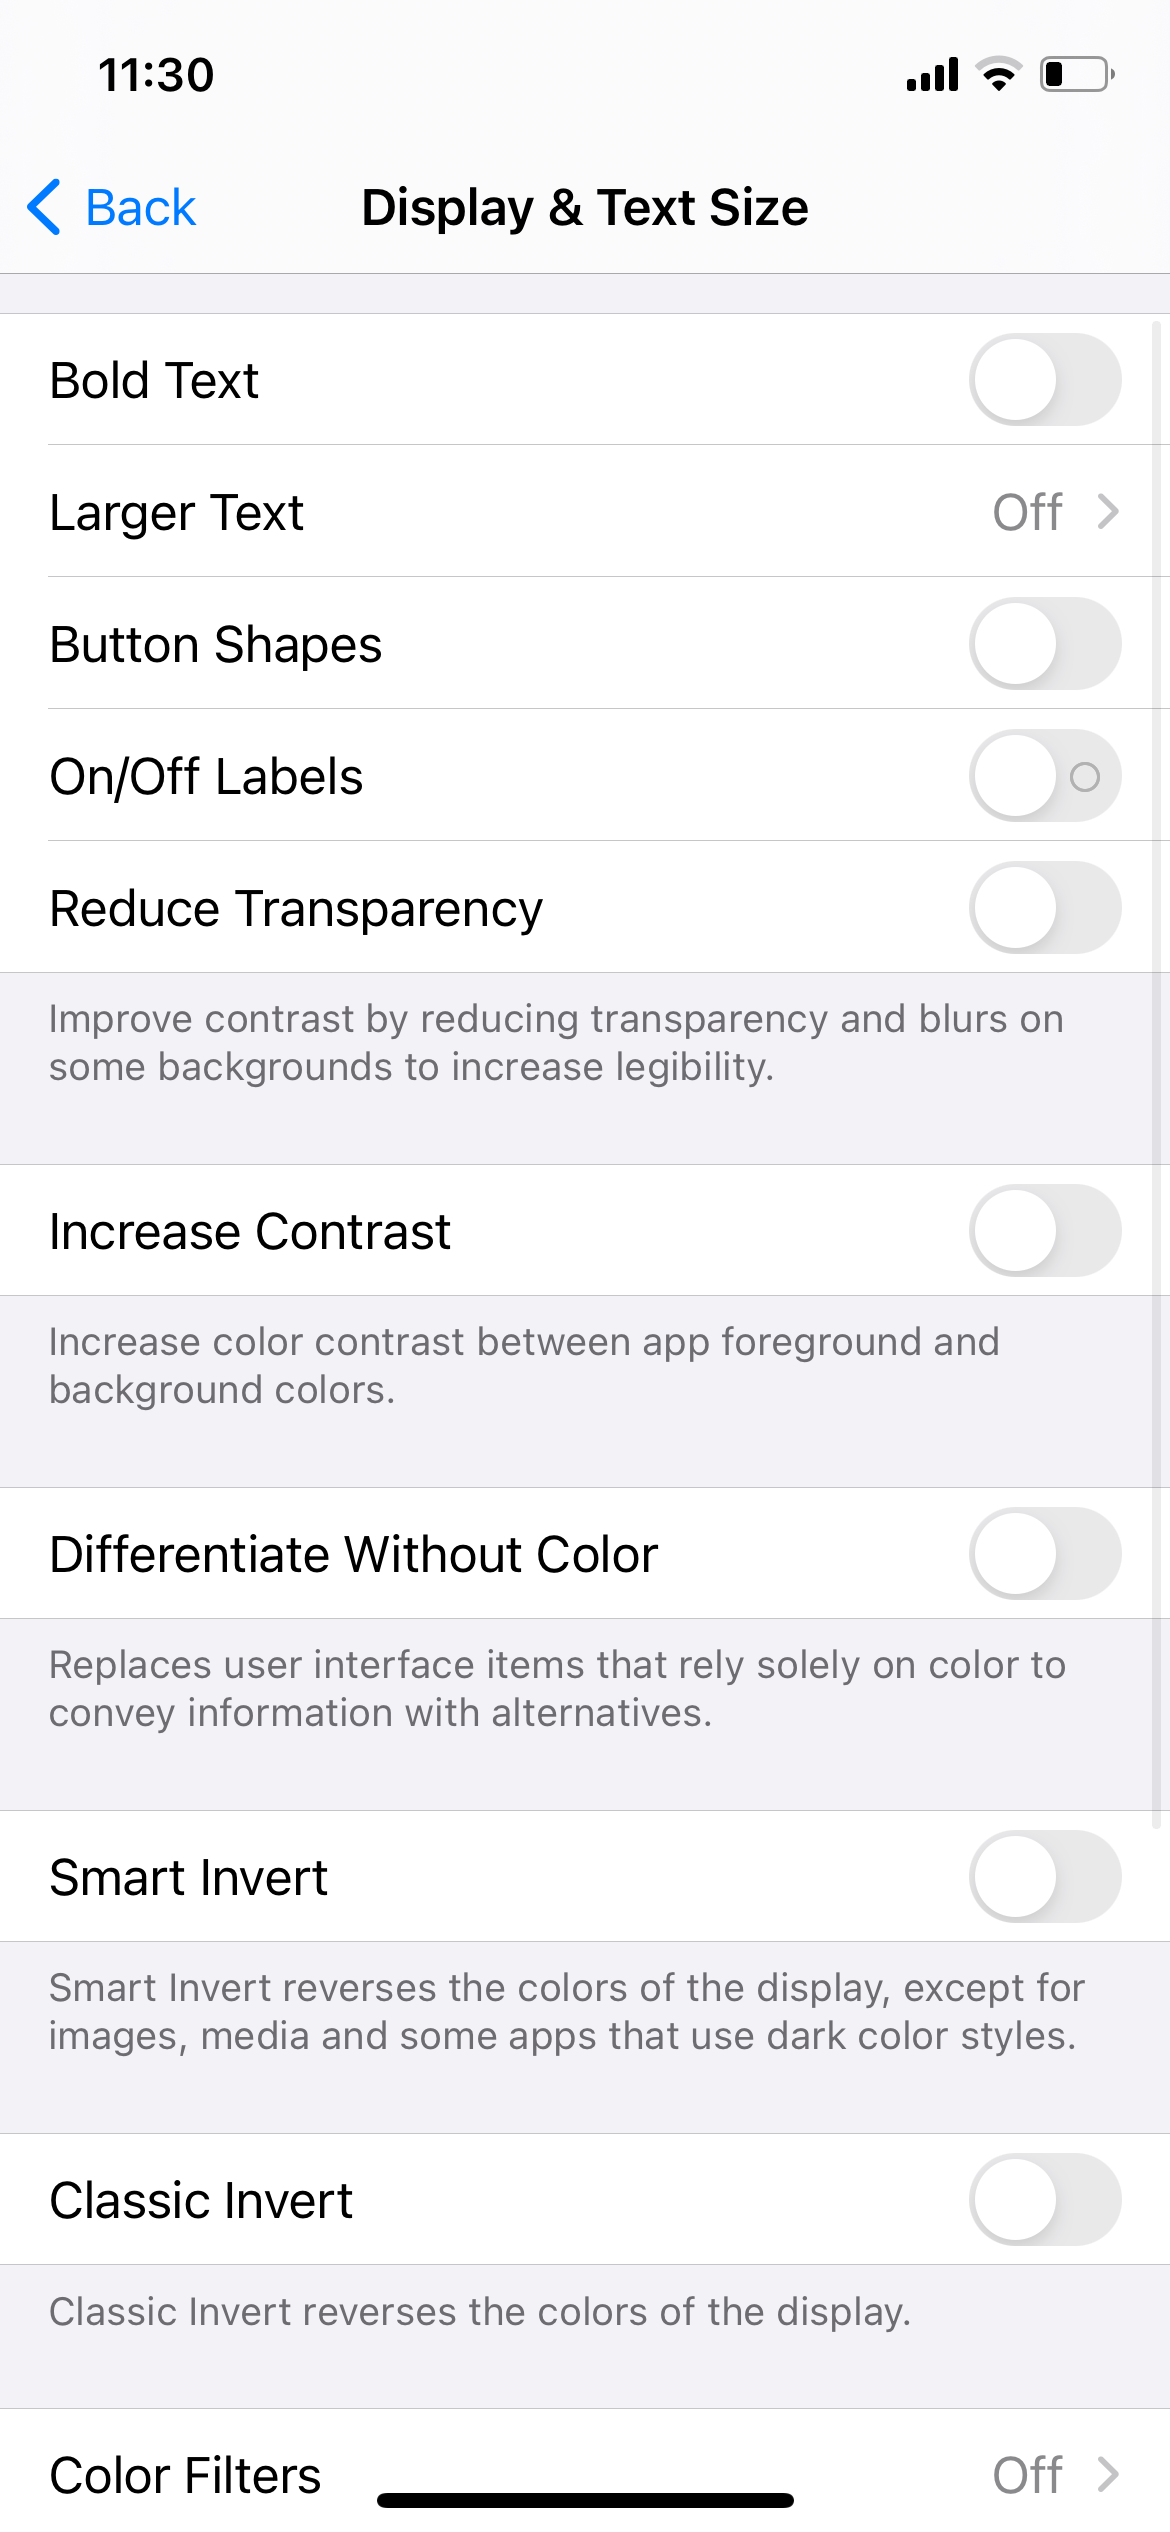
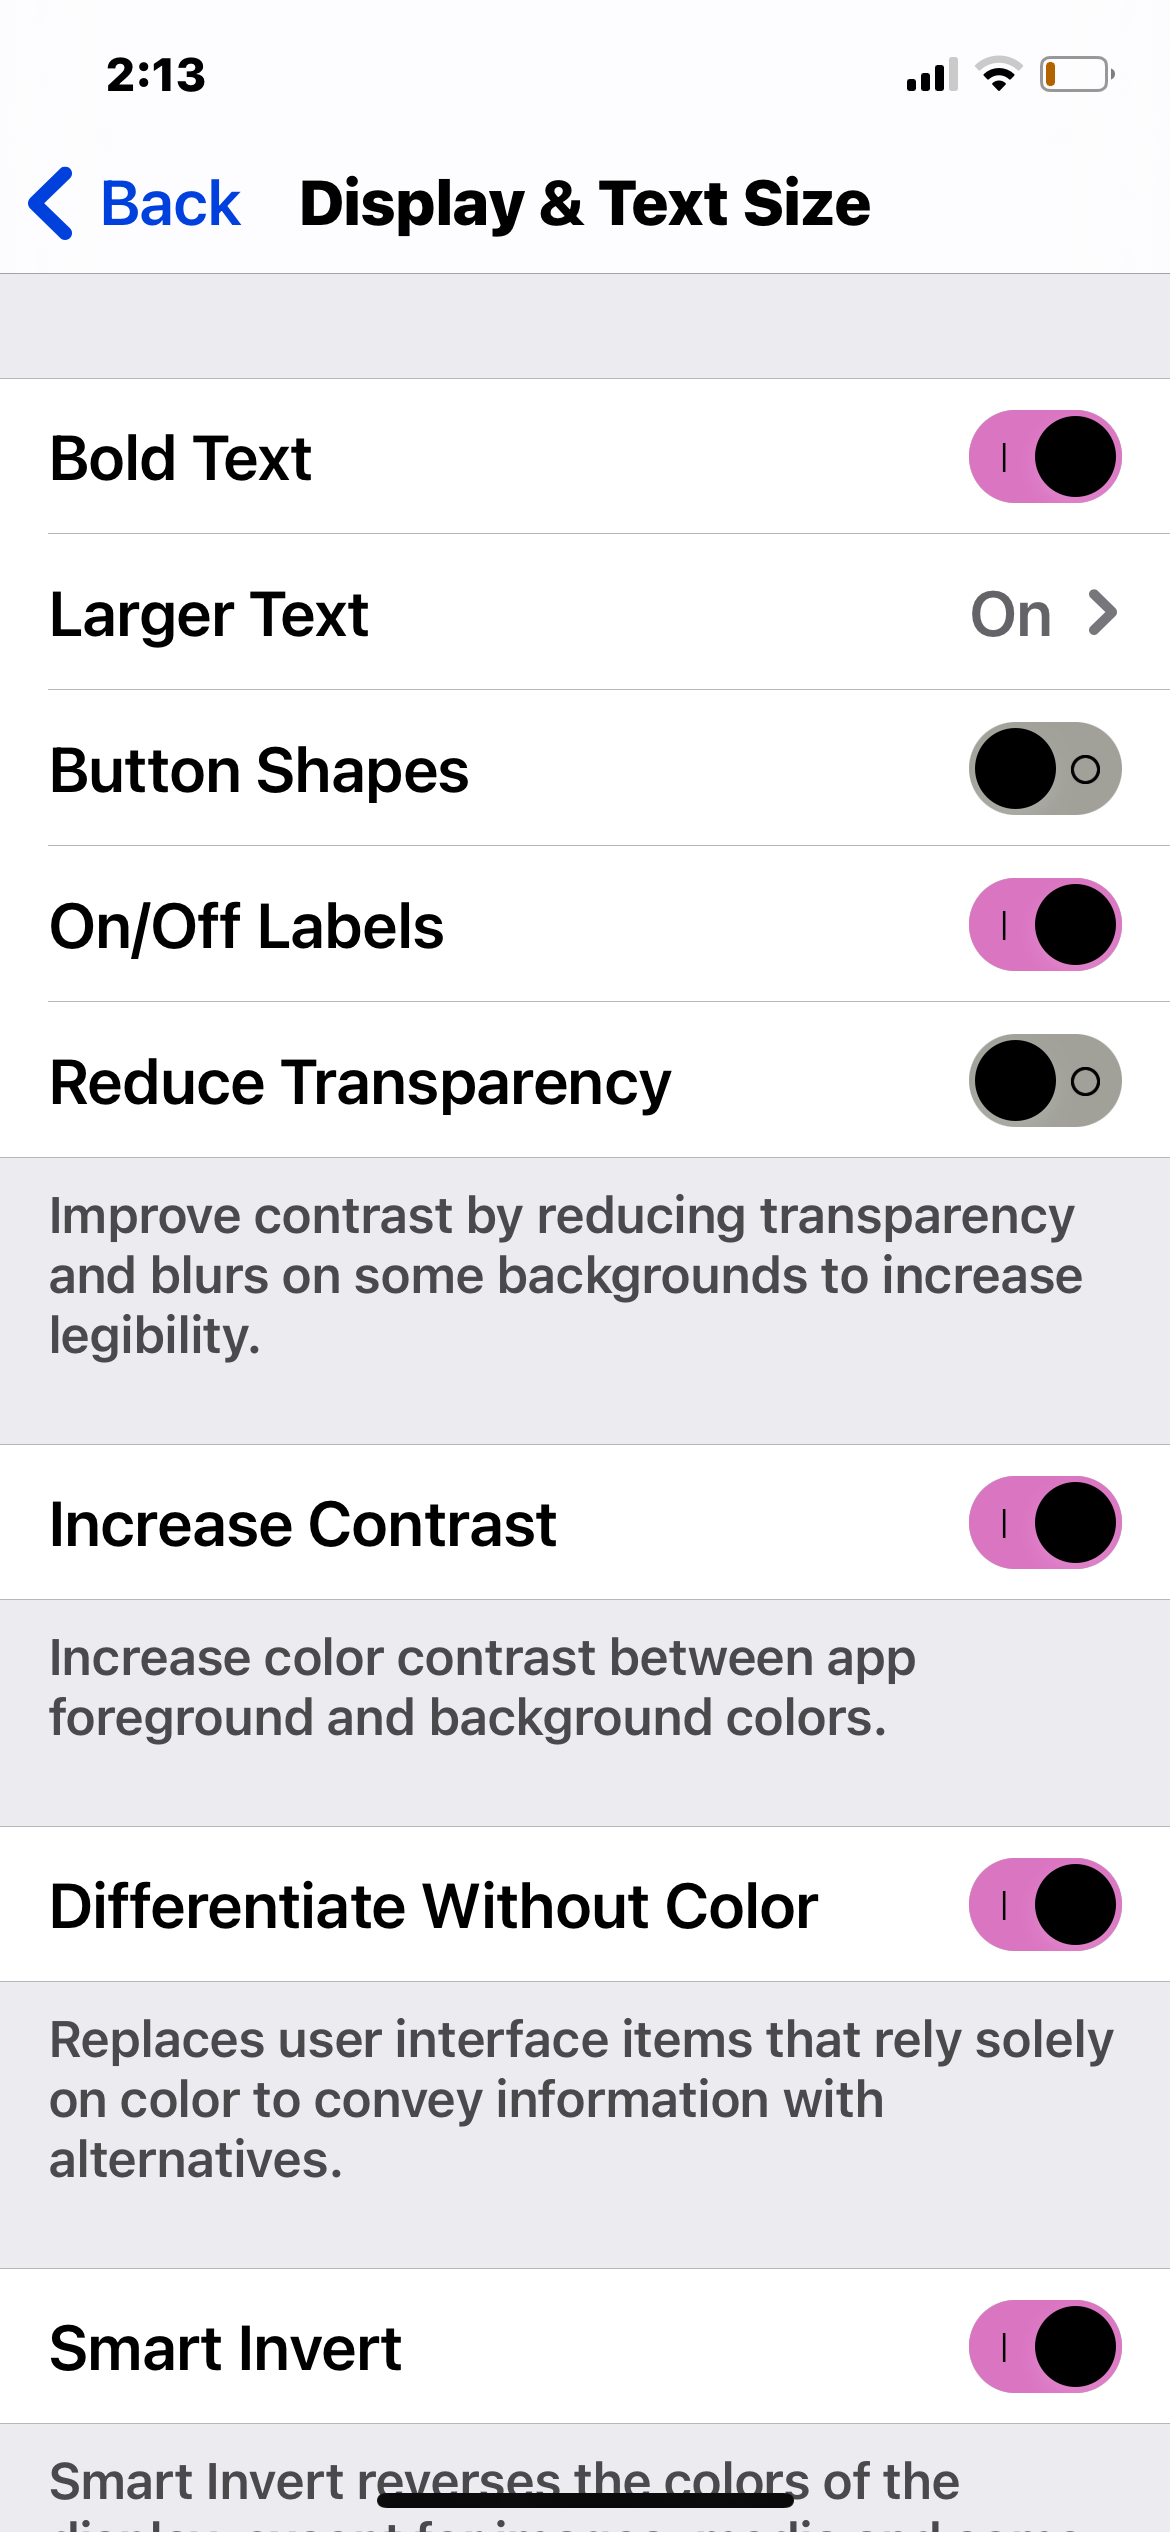
Zooming your screen may require you to inconveniently move and scroll through your screen more than you would like. Alternatively, you can adjust your iPhone’s display and text size. This is especially helpful for people who are colorblind or have other vision impairments.
Close
Your iPhone has various display accommodations to suit your needs:
- Bold Text: Displays texts in boldface.
- Larger Text: Allows you to change the text size with the Font Size slider.
- Button Shapes: Underlines texts that you can tap.
- On/Off Labels: Puts labelsI andO on toggles, for on and off, respectively.
- Reduce Transparency: Increases legibility and improves contrast by lessening the blur and transparency on certain backgrounds.
- Increase Contrast: Heightens the color contrast to make the foreground pop from the background.
- Differentiate Without Color: Replaces buttons and other user interface items that rely solely on color so that people who are colorblind can better discern them. For example, game avatars that look the same but vary in color can be shown with symbols so a colorblind person can quickly locate their players.
- Smart Invert orClassic Invert: Reverses your iPhone’s display colors, excluding images and other media that utilize a dark color display.
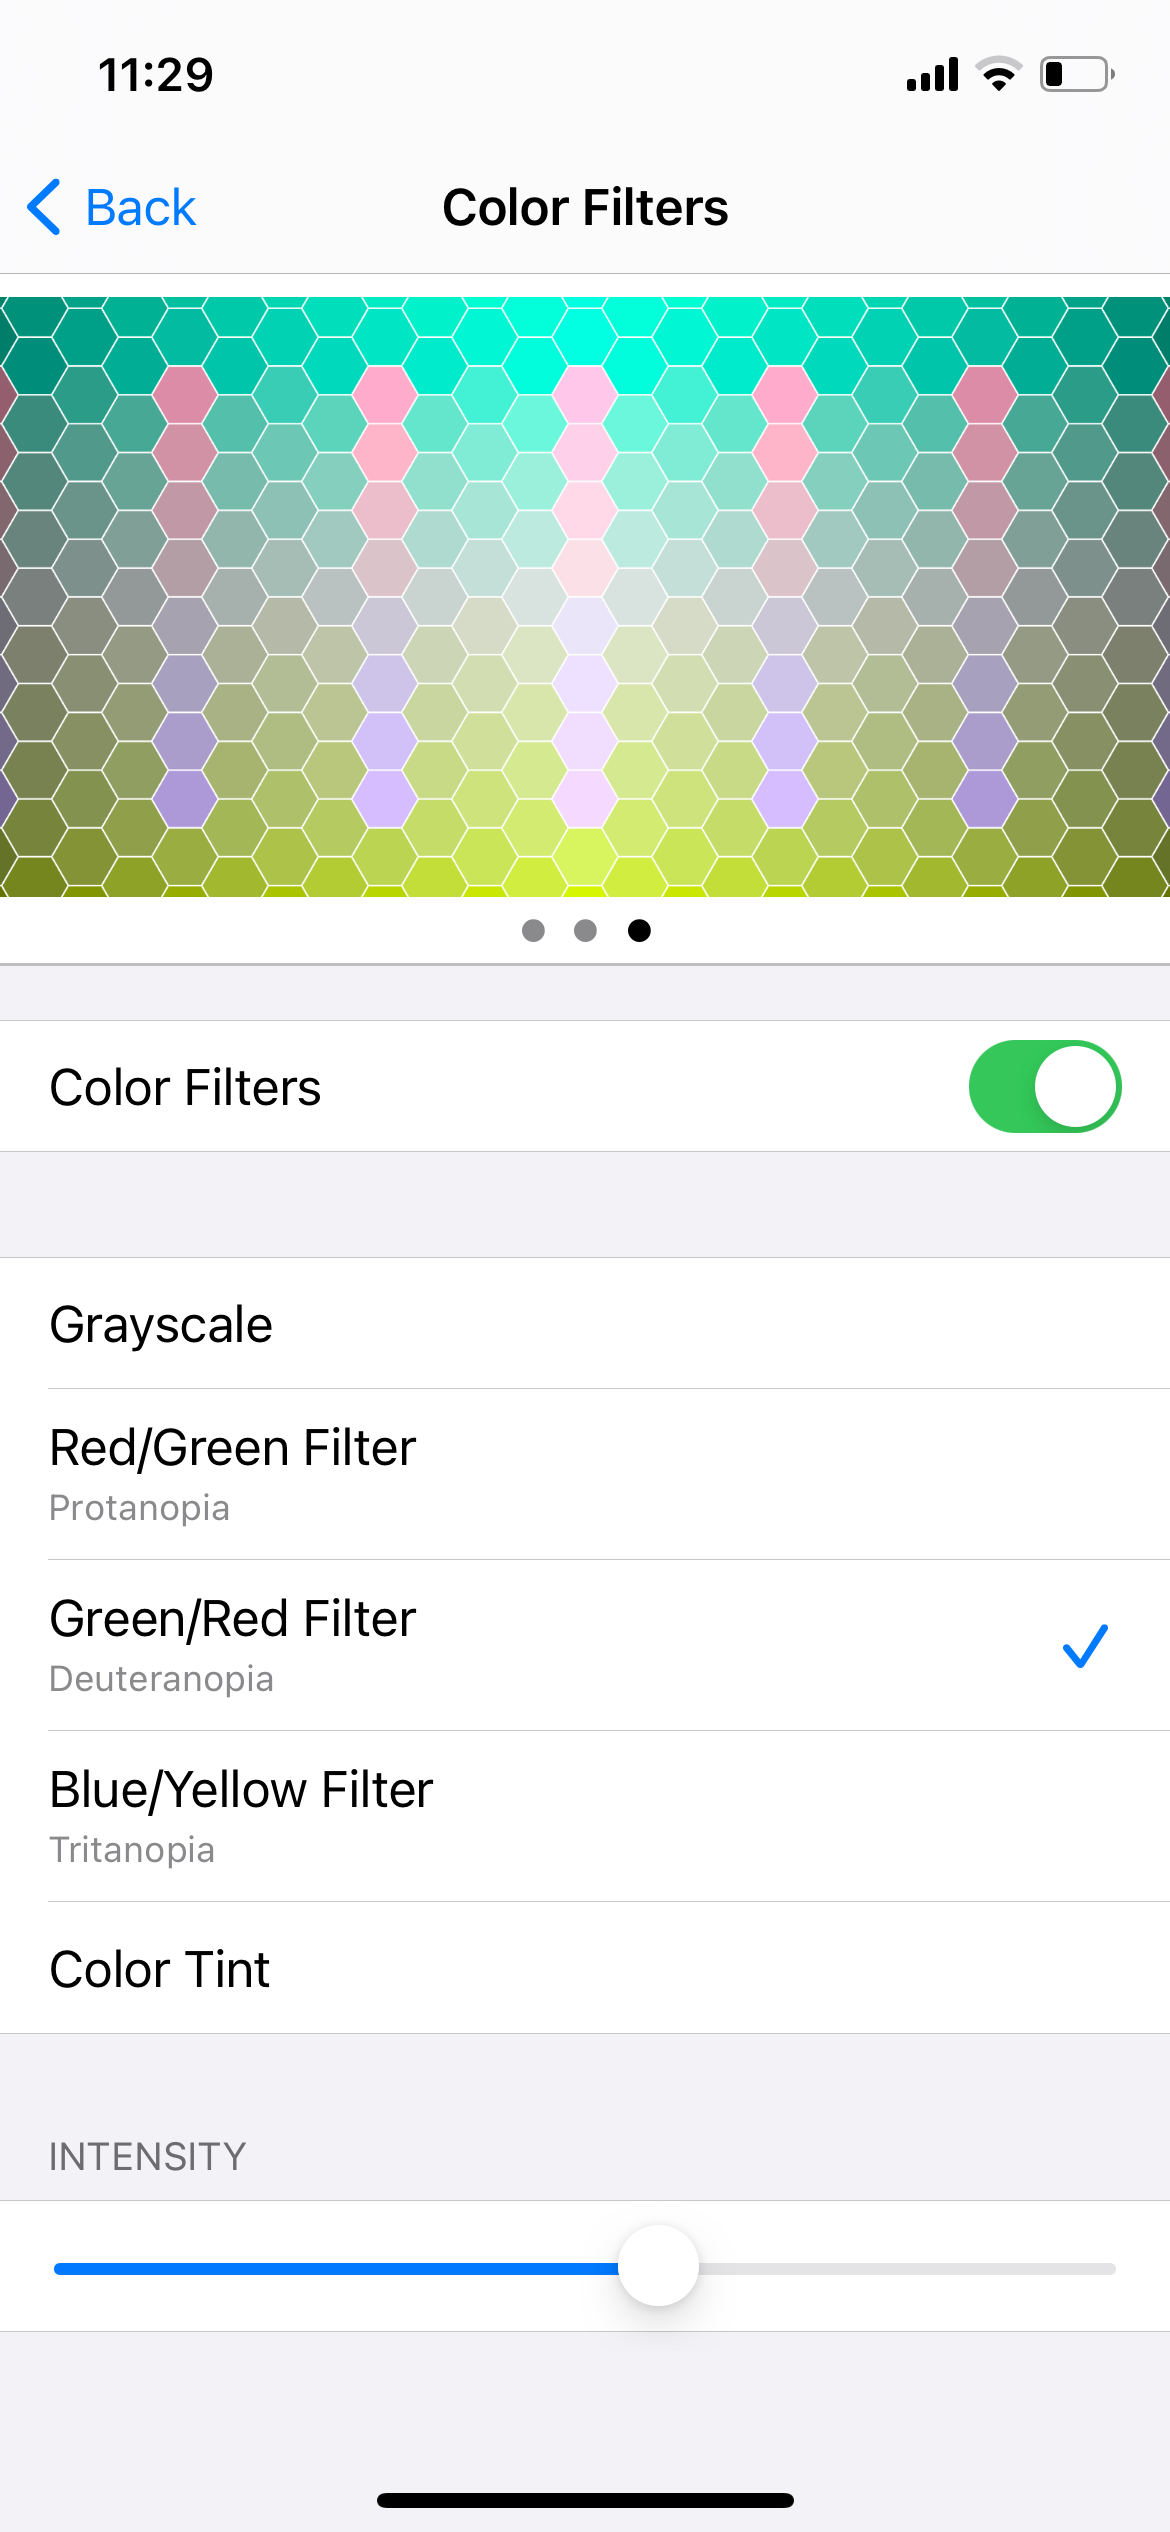
- Color Filters: Applies color filters to adjust the display for various colorblindness.
- Reduce White Point: Reduces the display’s brightness intensity.
- Auto-Brightness: Uses your iPhone’s ambient light sensor to adjust the display screen brightness to match your current light condition.
6. Turn On Dark Mode
Close
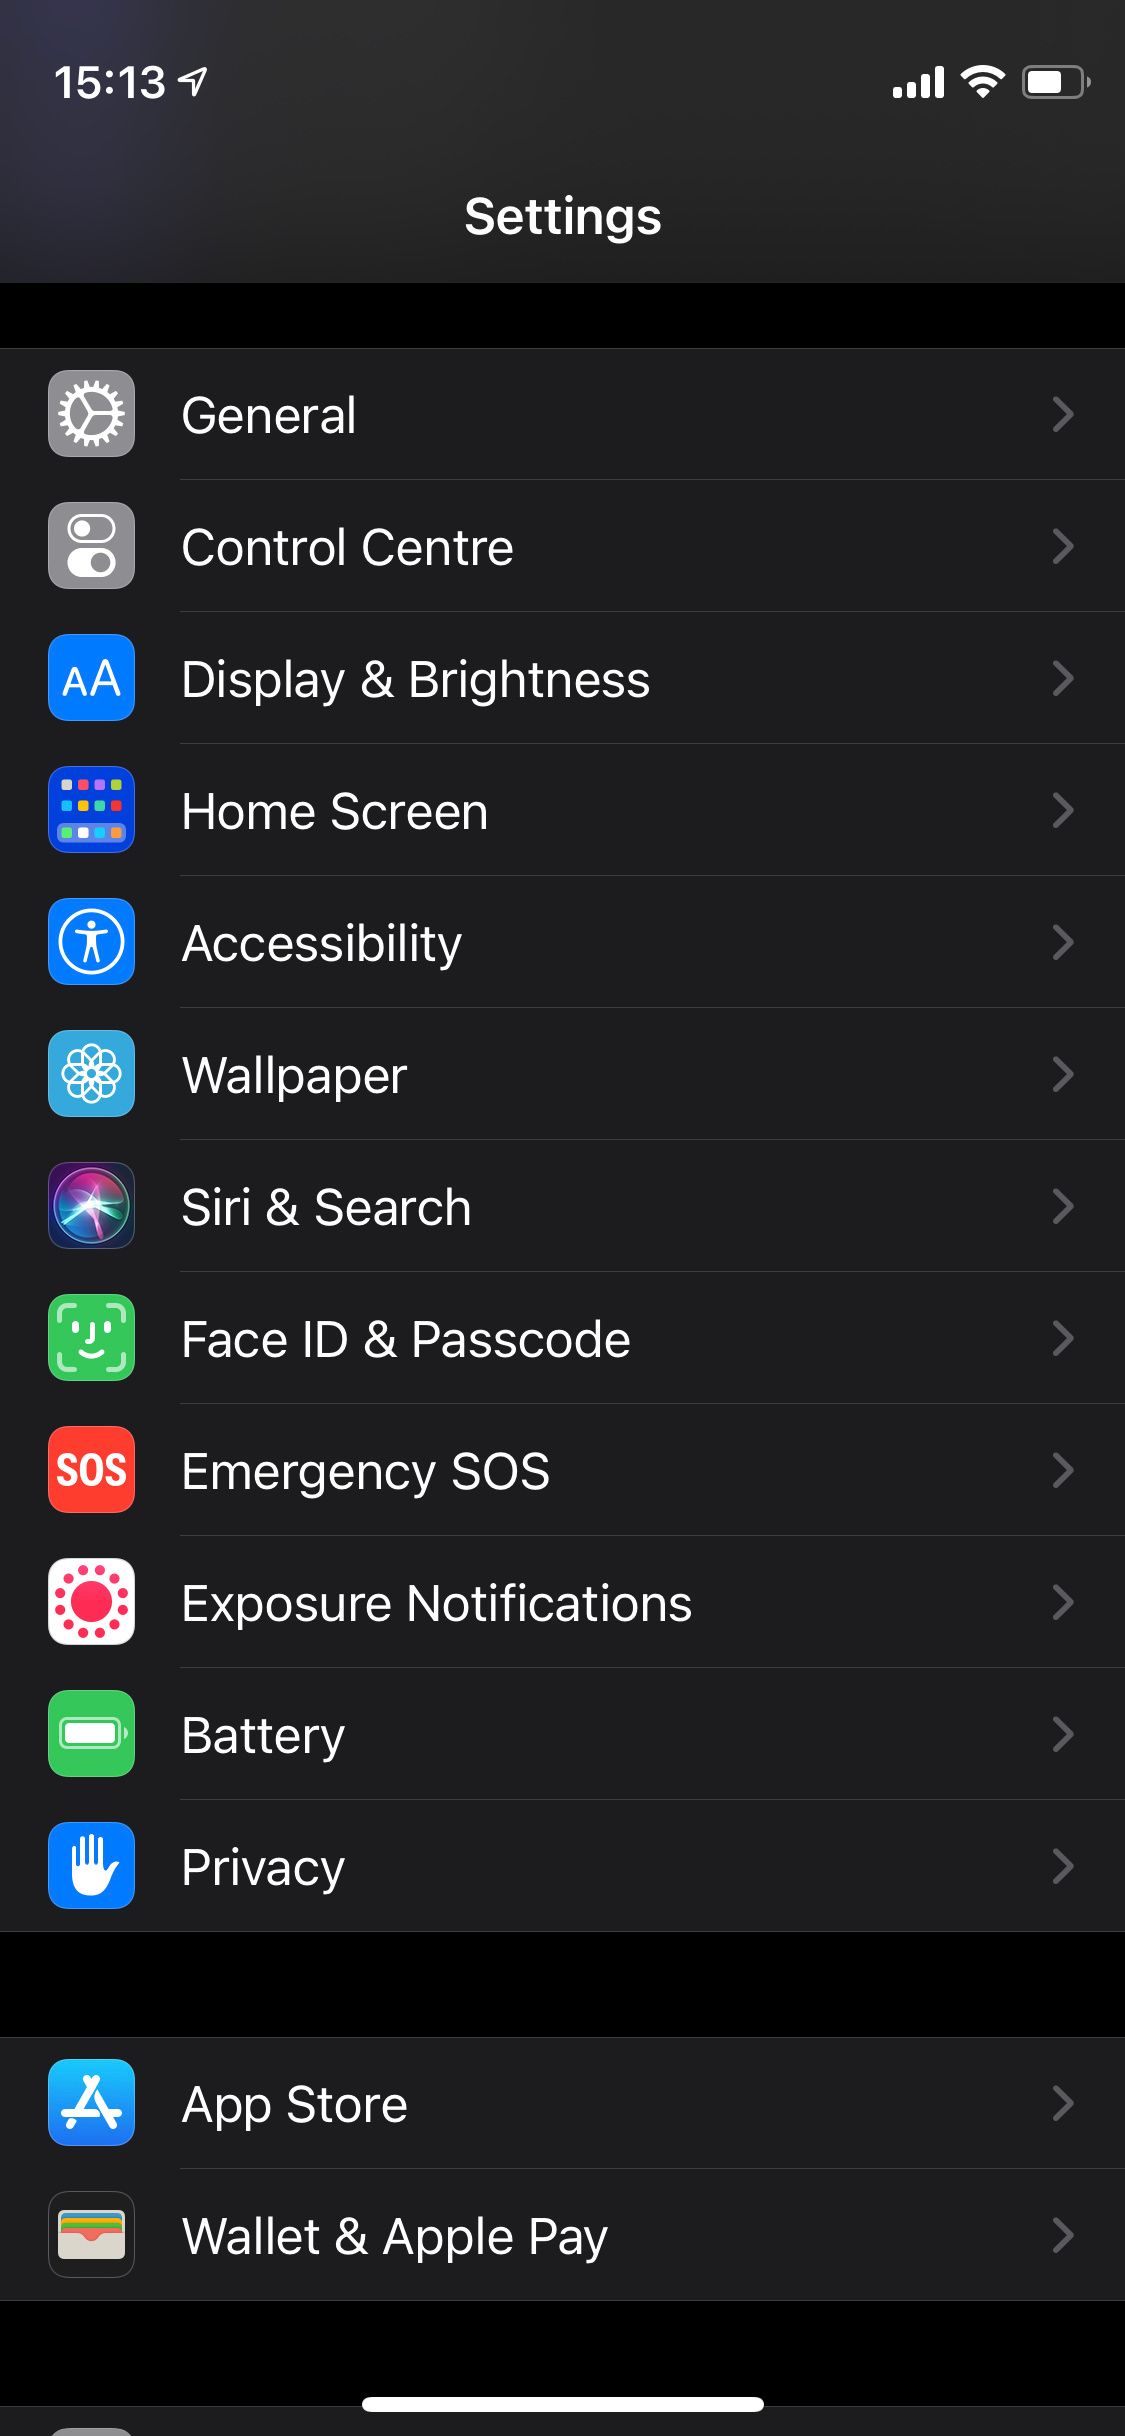
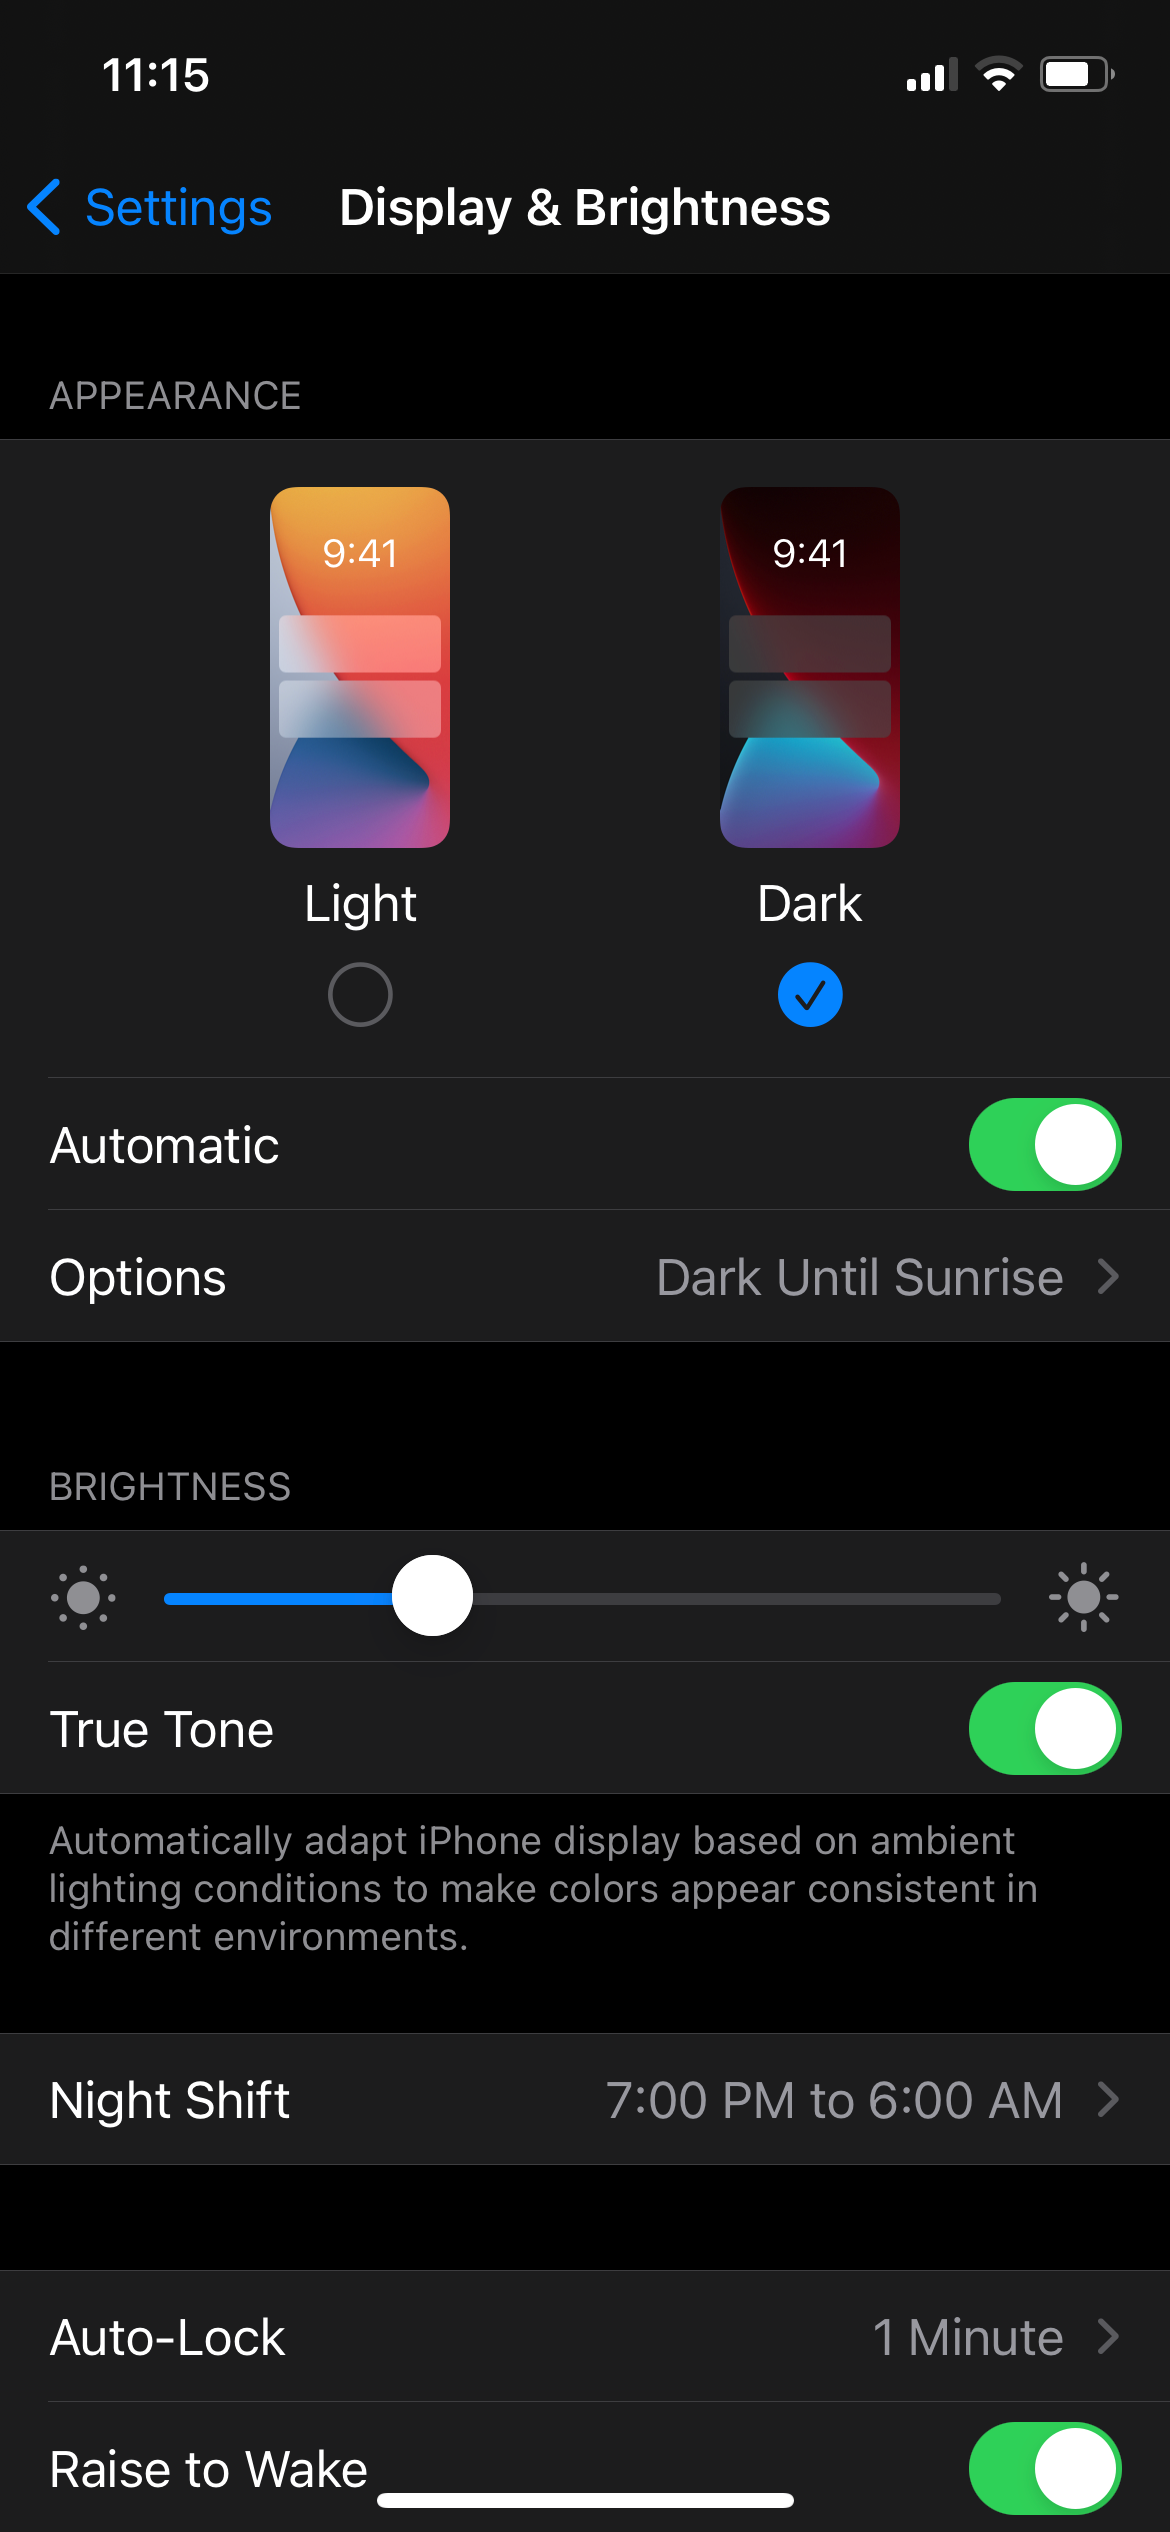
When you need to work in low-light environments, you can change your iPhone’s display toDark Mode to make reading easier. The dark color scheme transforms your entire screen and puts light texts against darker backgrounds.
Don’t worry about manually changing this feature every day. You can schedule your iPhone to change its appearance from light to dark by going toSettings >Display & Brightness , then toggleAutomatic on.
7. Use Dictation to Enter Text
Typing on your iPhone’s keyboard can still be a hassle despite enlarging the fonts.
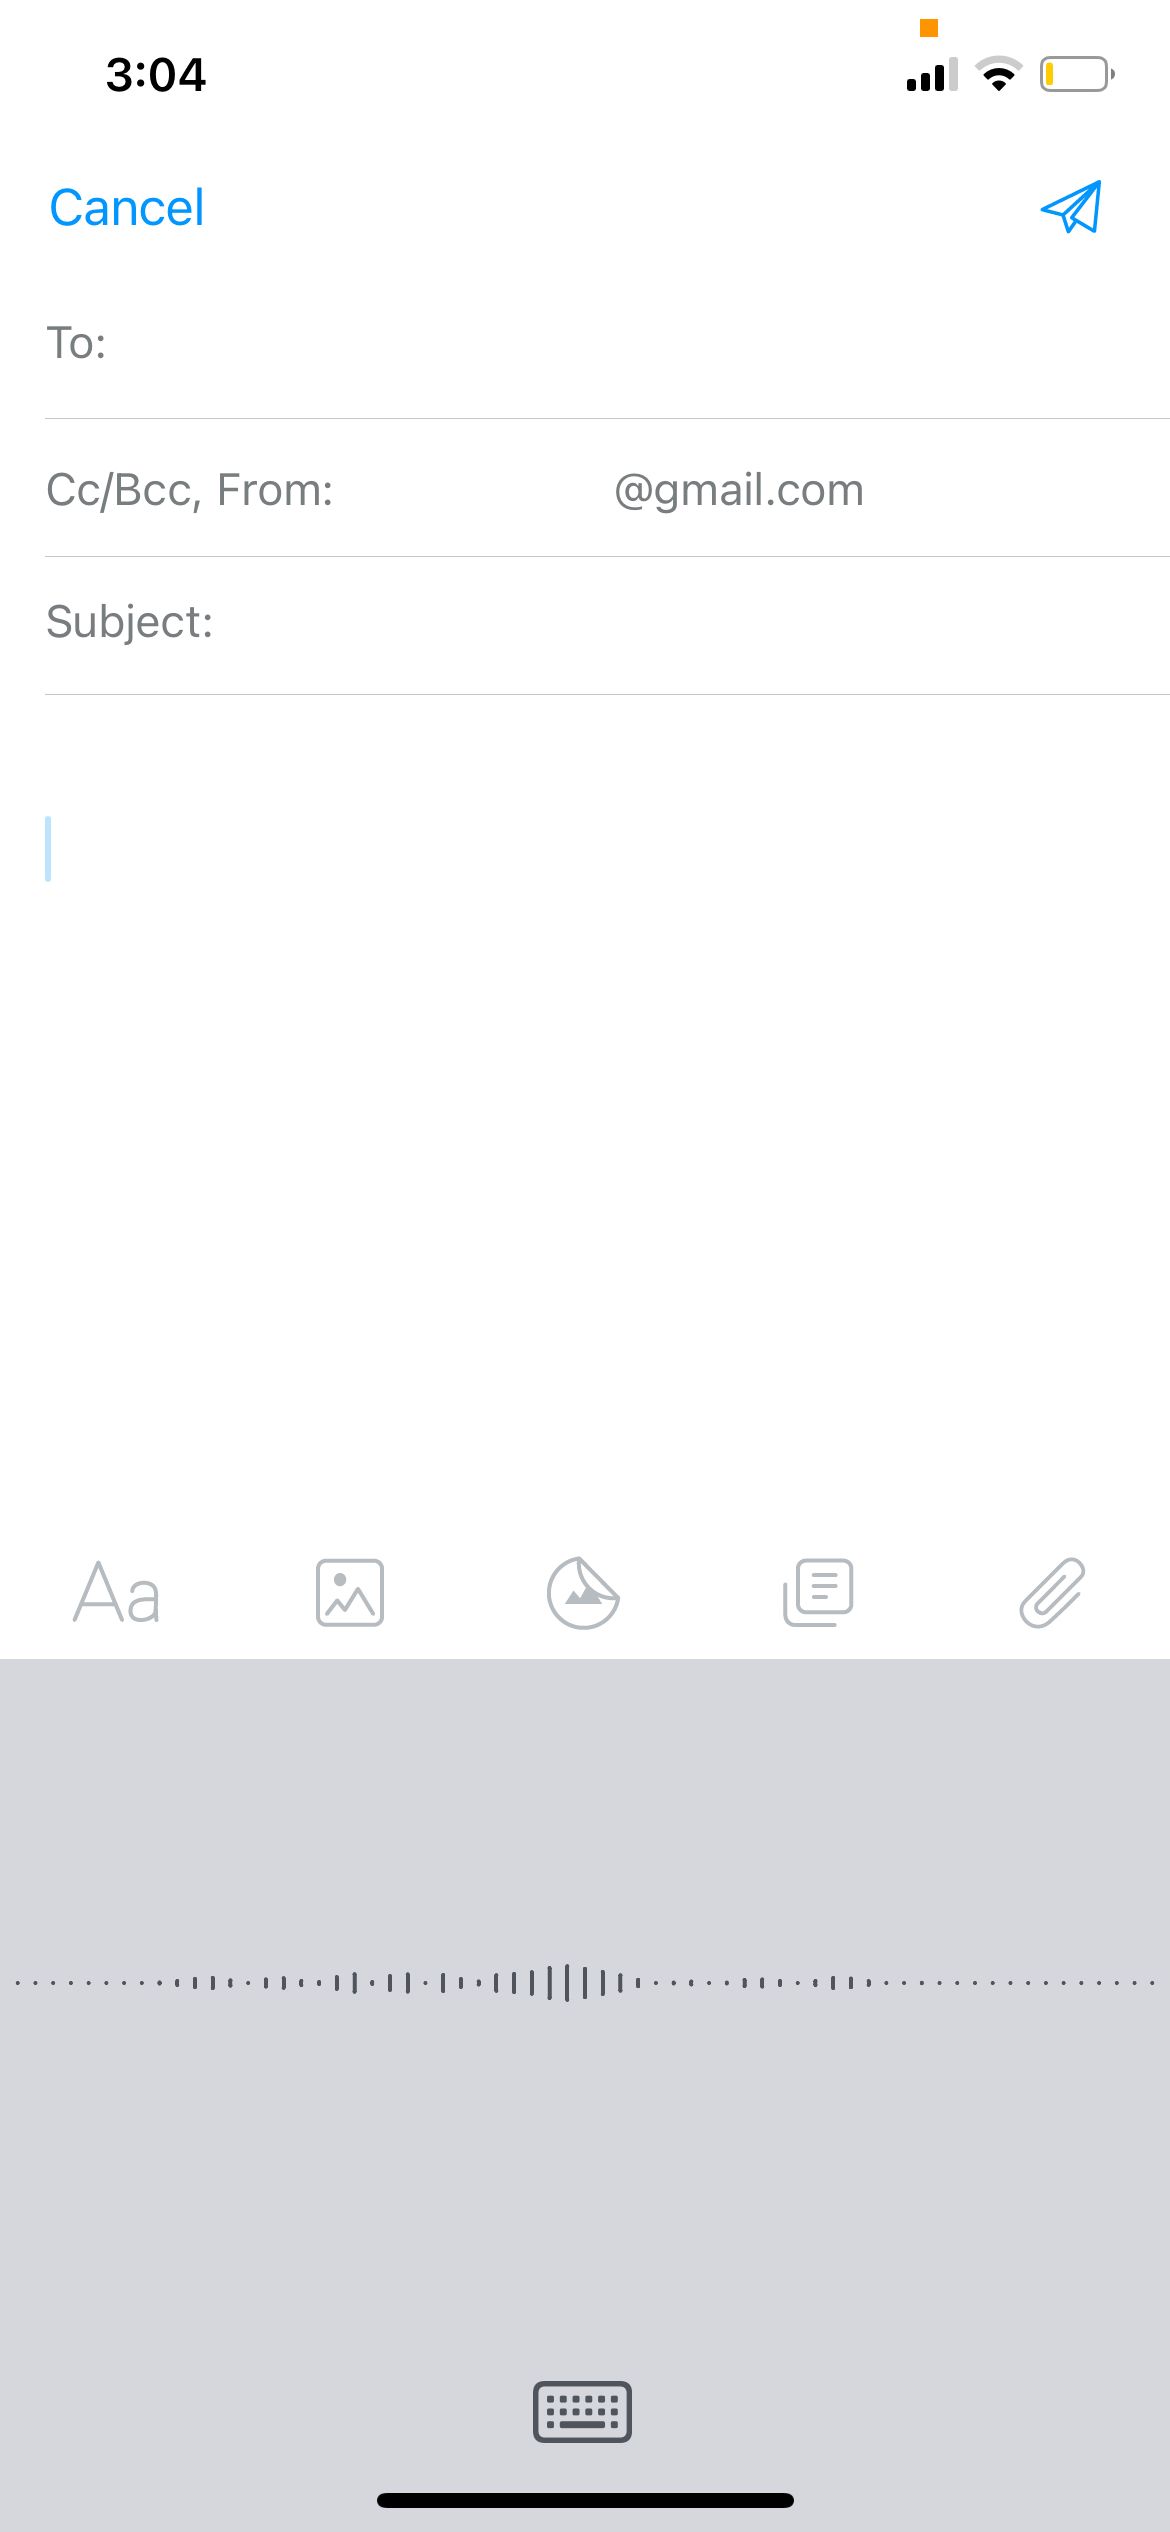
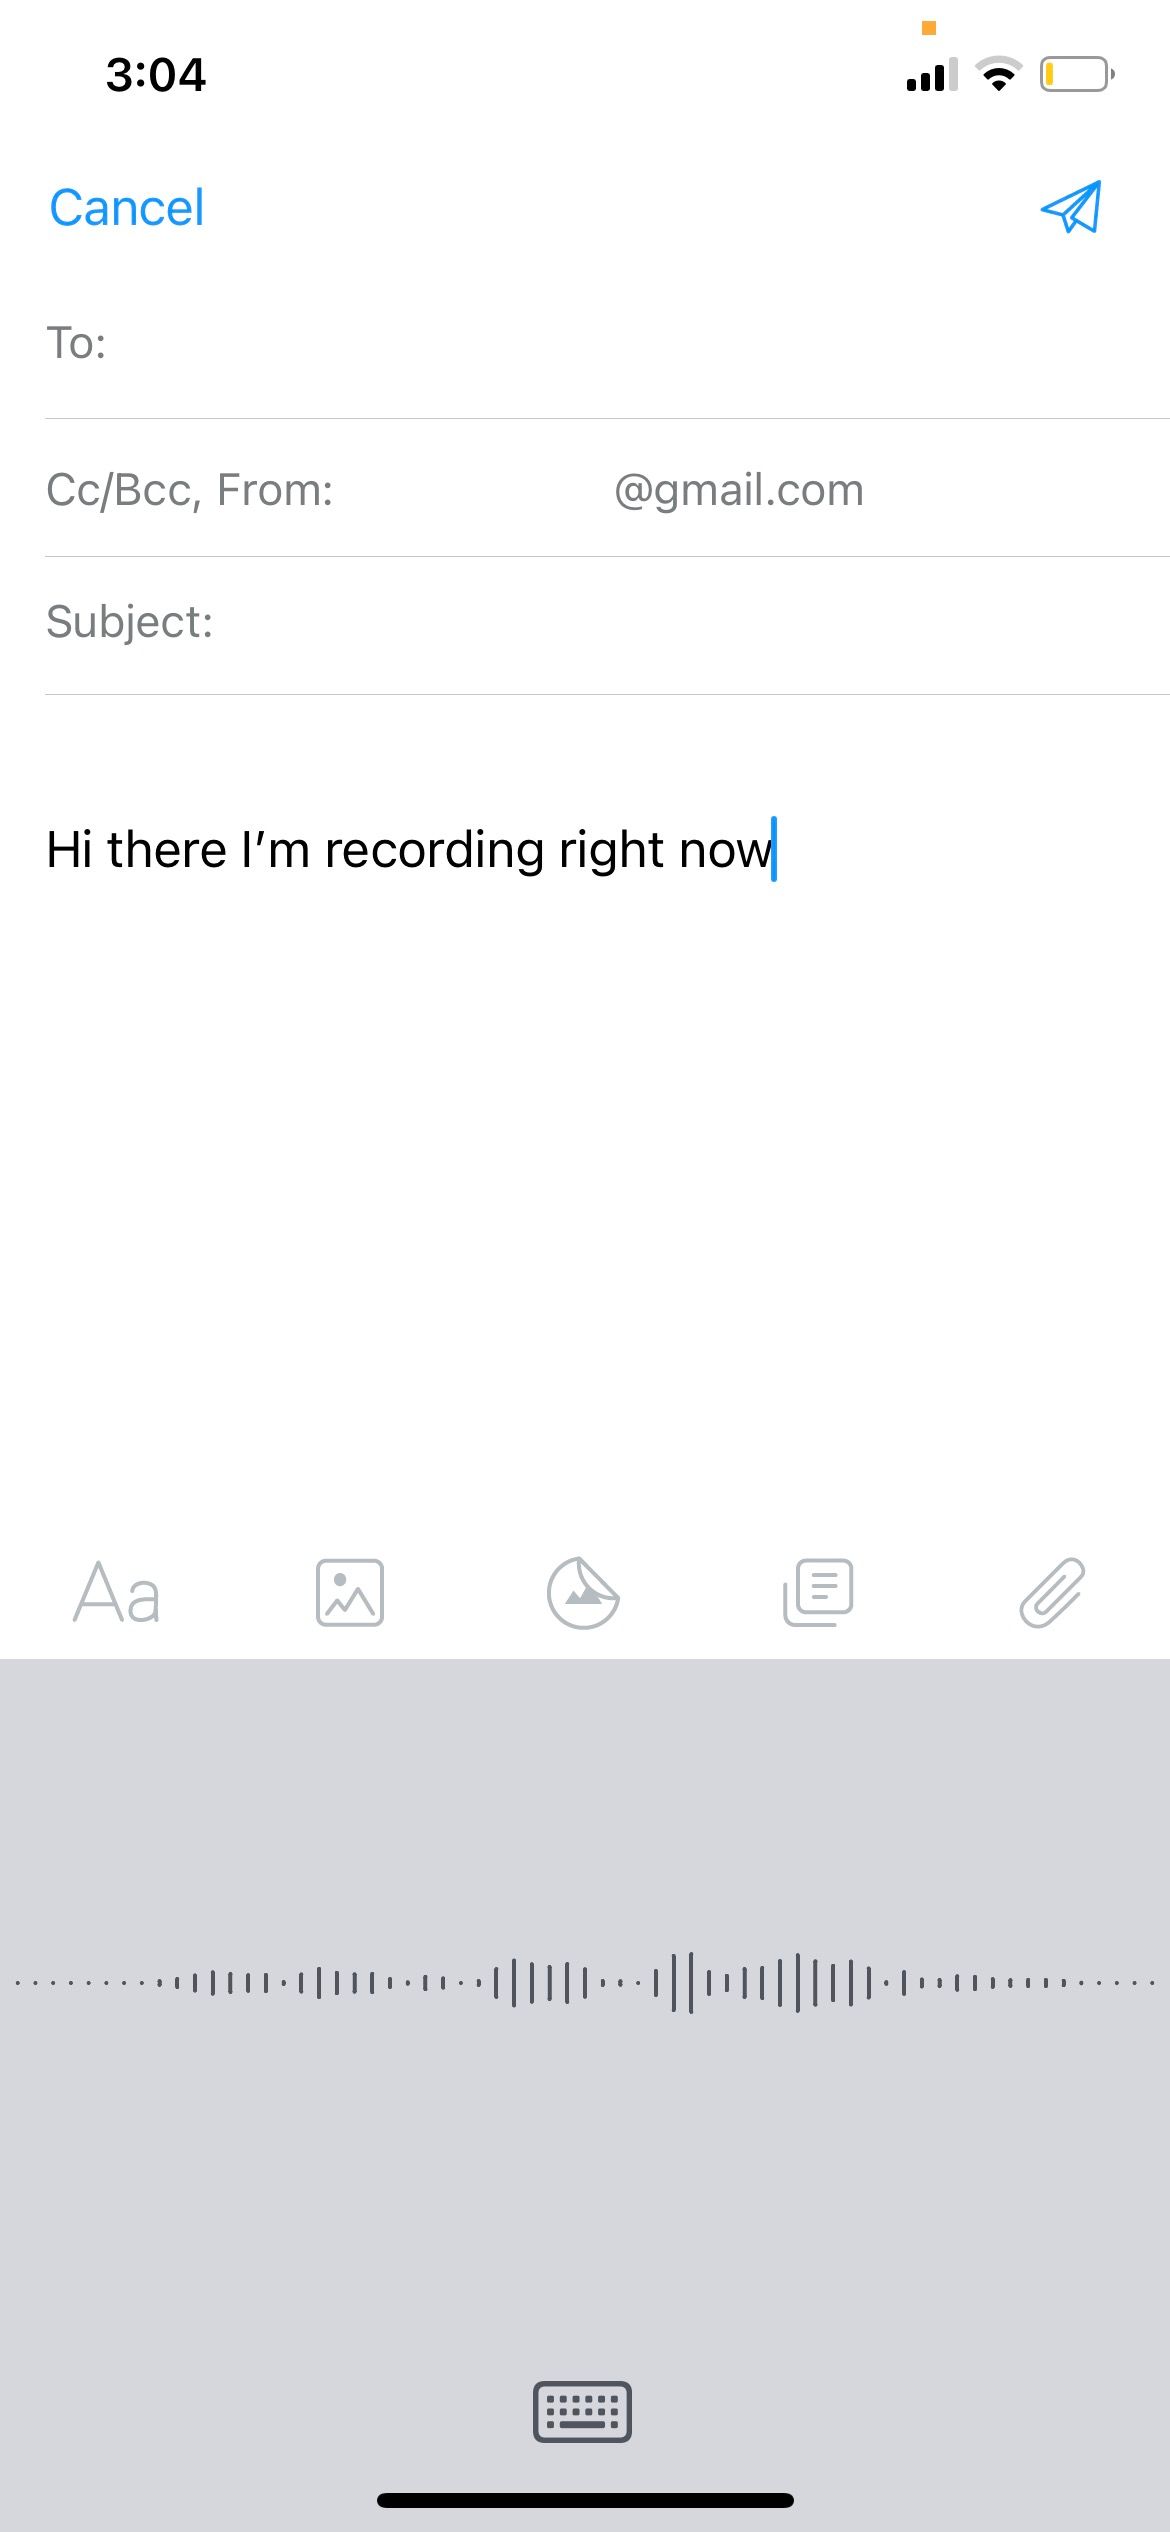
Conveniently, this feature is available in many features and apps that utilize the keyboard on your iPhone, including Messages, Notes, and Mail. Simply tap on any text field, look for themicrophone button, and start dictating.
Close
If you use an iPhone 6s or newer, you can use this feature even without an internet connection. Also, this feature supports over 30 languages.
8. Make Accessibility More Accessible
It’s understandable if you don’t want these accessibility features turned on all the time but want them to be accessible and ready to use when you need them.
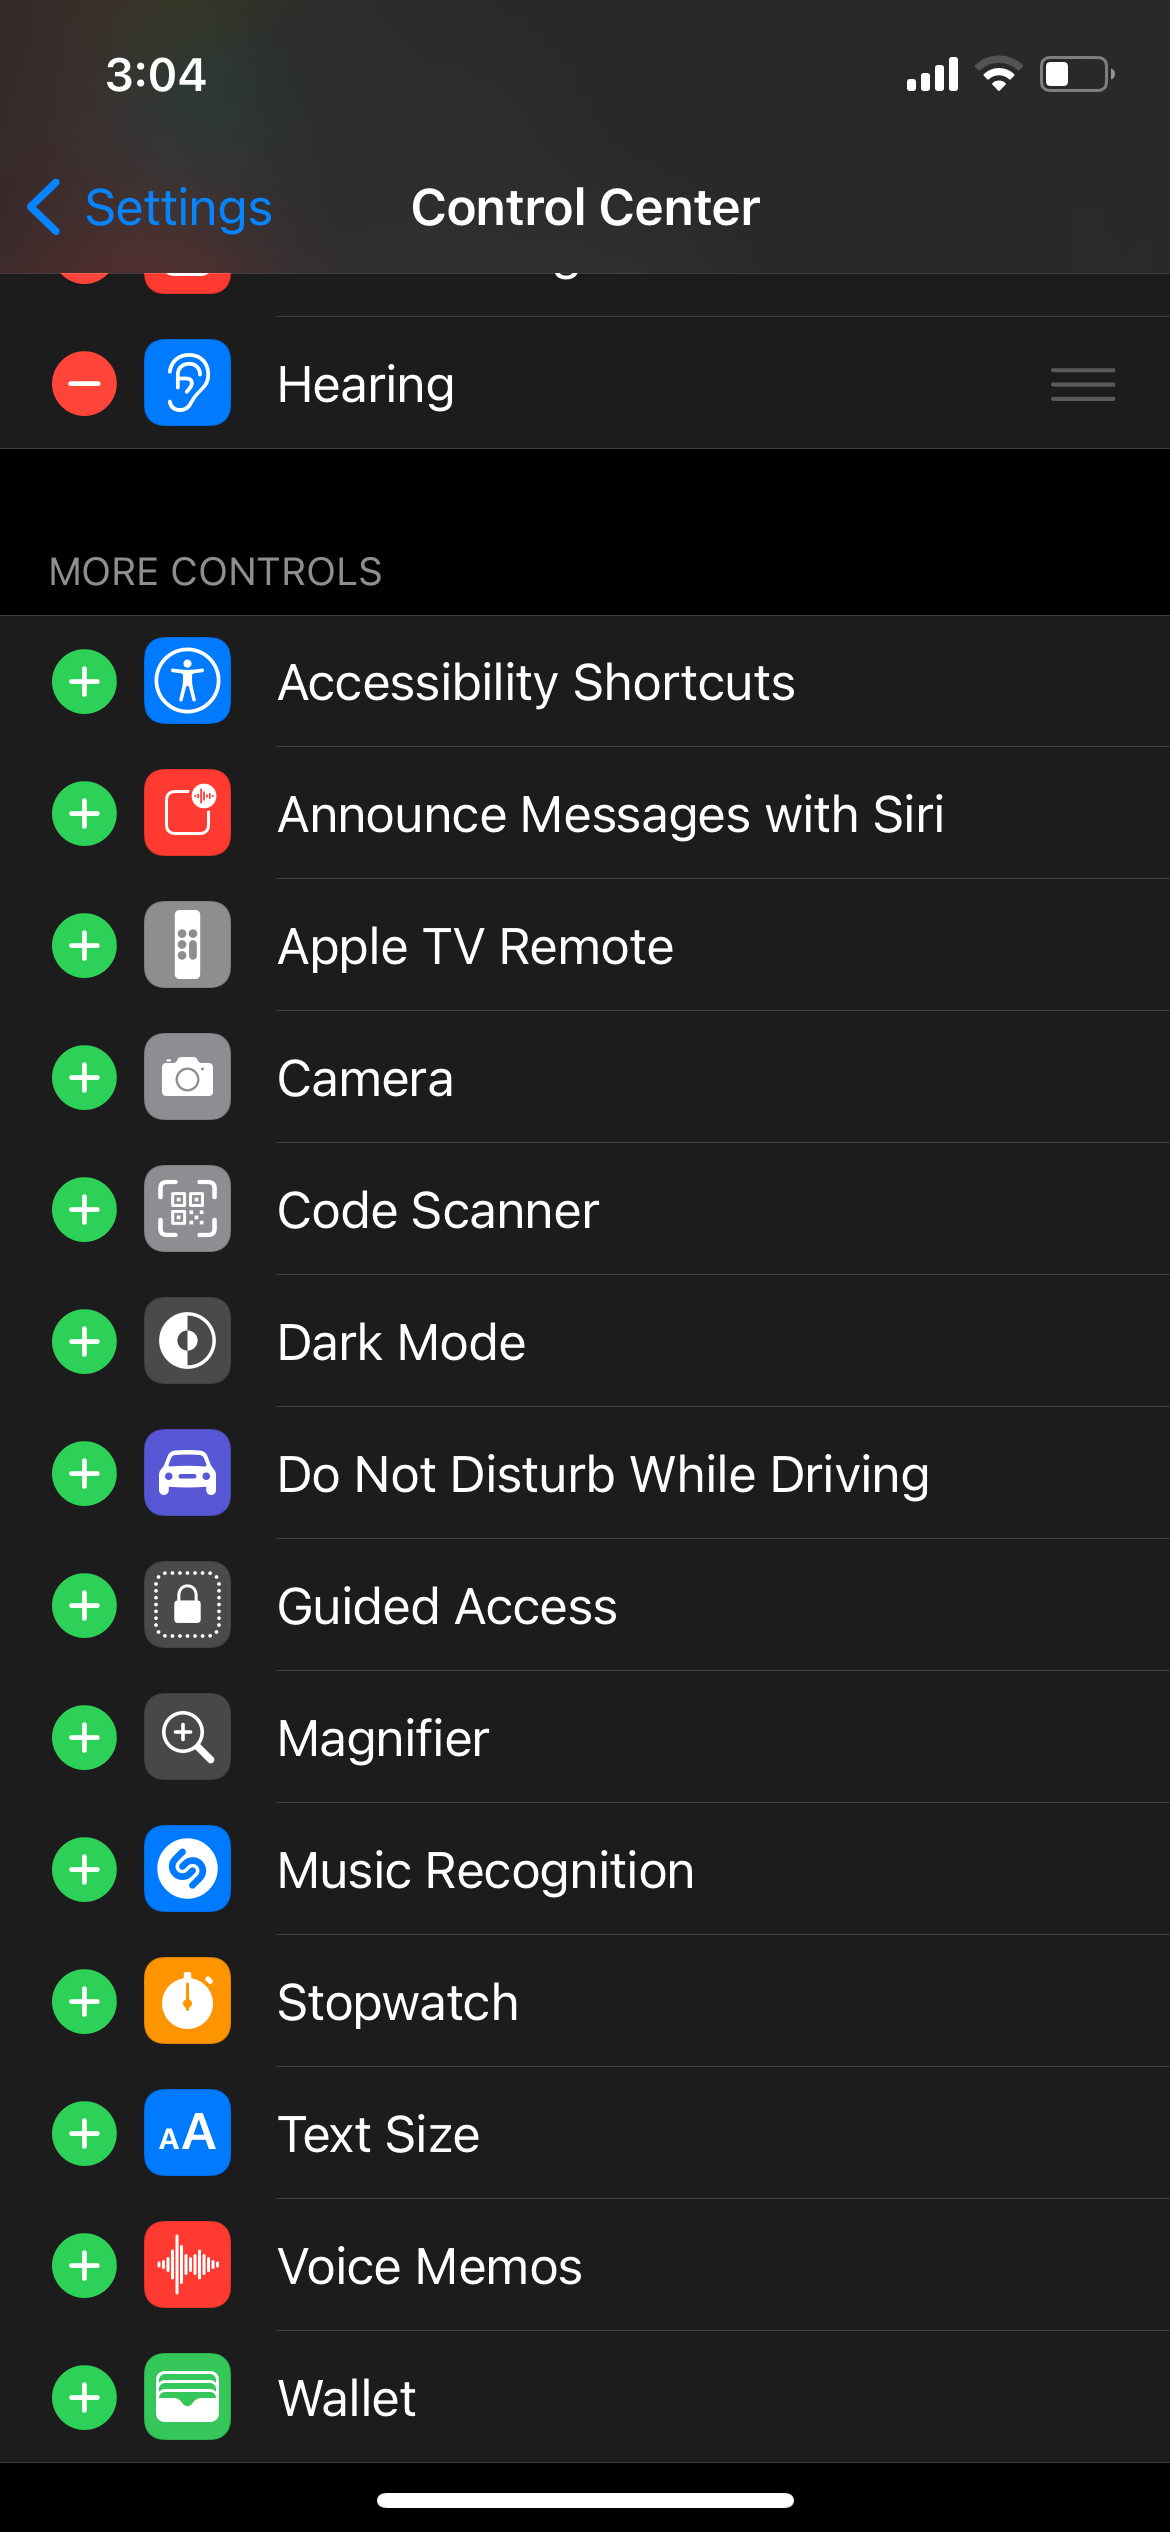
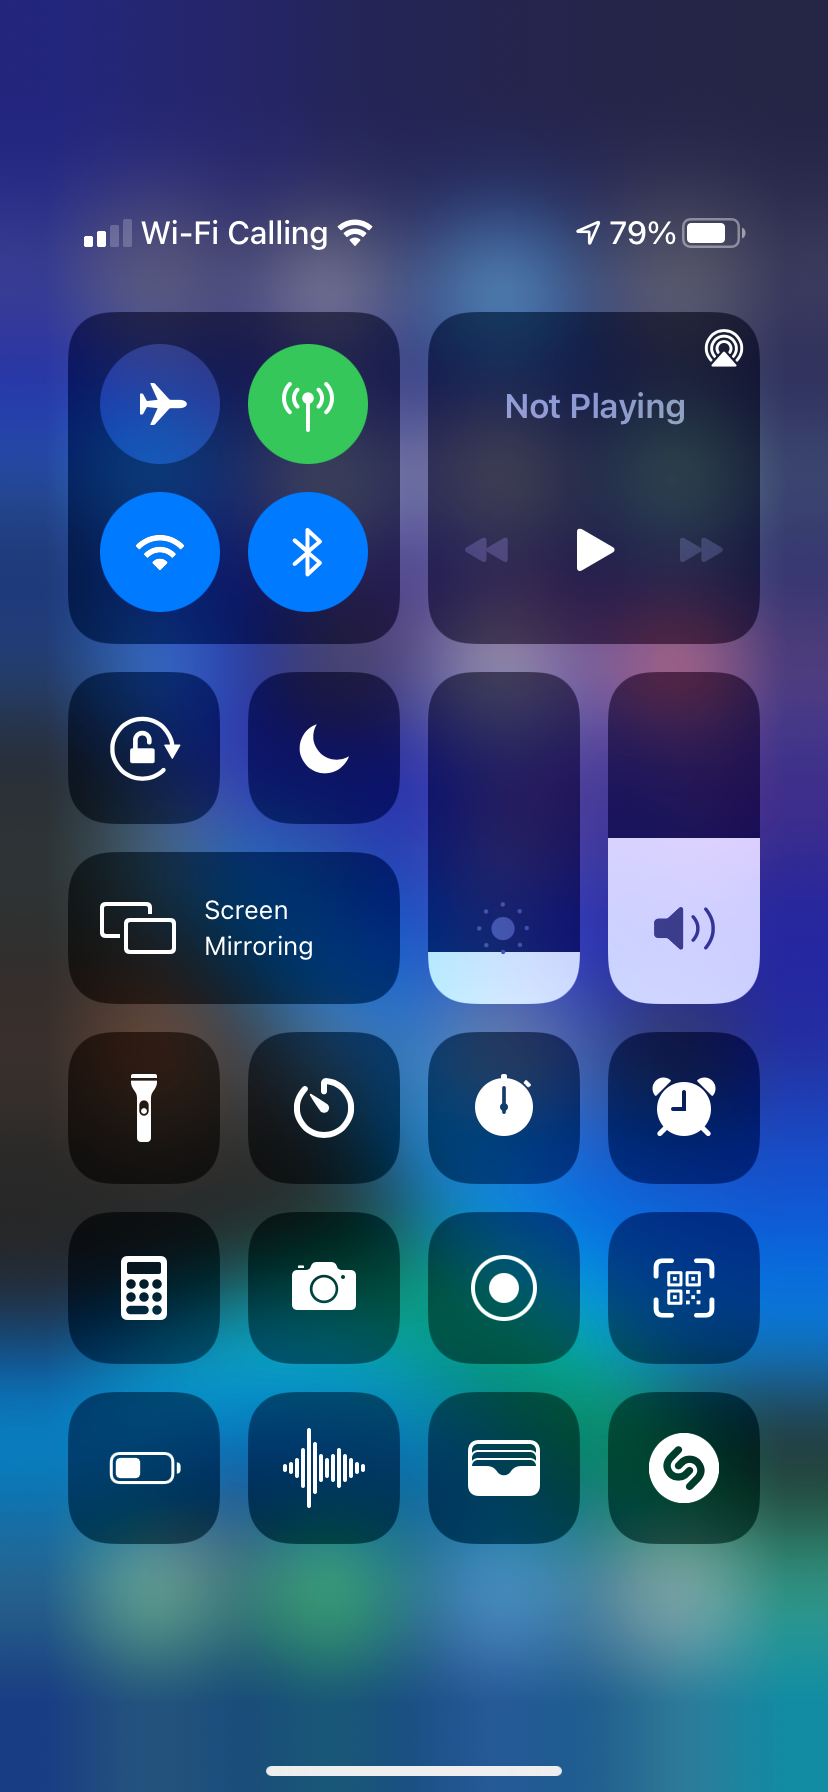
To keep them handy, add and organize the shortcuts and accessibility features you commonly use on your iPhone’s Control Center. To start customizing, simply go toSettings >Control Center , choose the controls and tap theadd (+) orminus (–) buttons to choose which controls you want.
Close
Make sure to turn onAccess Within Apps so you can quickly access them by swiping a finger down from the top-right edge of your screen even without leaving the app you’re currently using.
Use Your iPhone With Ease
Accessibility features remove these barriers so that everyone—including people with visual impairments—can make the most of their iPhones, and more importantly, engage with the people and the world around them.
- Title: Essential iPhone Settings for Improved Visual Impairment Support
- Author: Edward
- Created at : 2024-09-17 19:04:09
- Updated at : 2024-09-20 17:09:37
- Link: https://fox-that.techidaily.com/essential-iphone-settings-for-improved-visual-impairment-support/
- License: This work is licensed under CC BY-NC-SA 4.0.