
Revive Your Broken iPhone Torch: 12 Step Fix Guide
Revive Your Broken iPhone Torch: 12 Step Fix Guide
Long gone are the days when you need to search for a flashlight in some forgotten drawer or storage box, worry whether you still have the correct batteries to turn it on, or groan in frustration when it’s not bright enough anyway. Nowadays, you can just turn to the multi-functional iPhone you have in your hand. That is, provided your iPhone’s flashlight is working.
It’s a massive hindrance when your iPhone’s flashlight stops working and you see a grayed-out flashlight icon. So, let’s look at the various solutions you can try to get your iPhone torch working again.
Your browser does not support the video tag.
1. Turn Off Low Power Mode
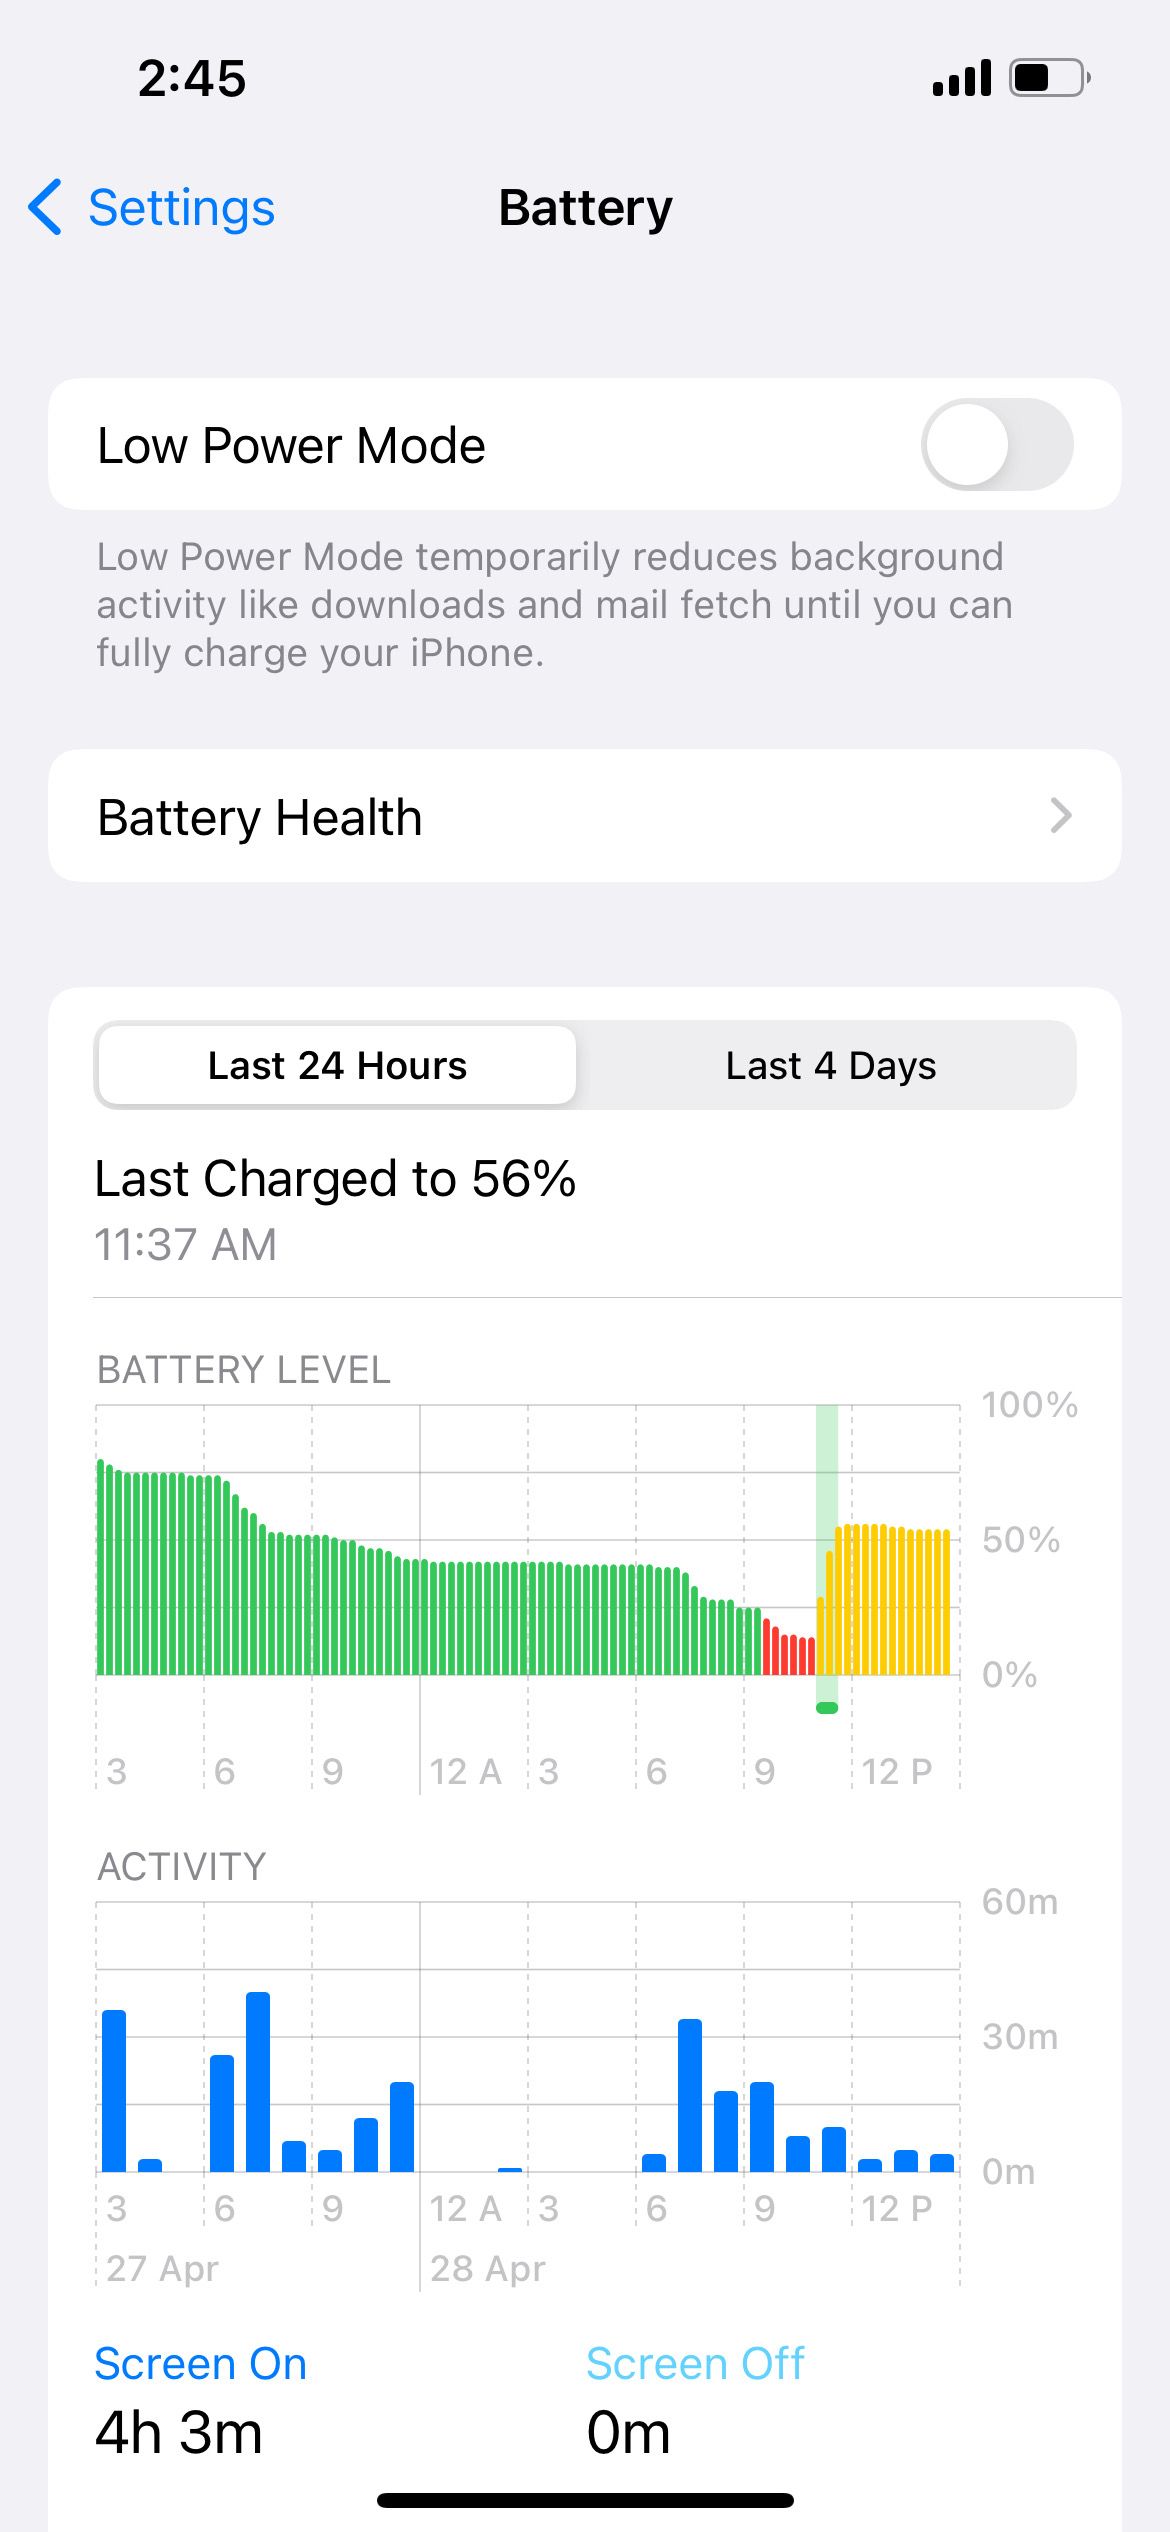
Low Power Mode disables some features on your iPhone to conserve battery power. When it’s activated, the color of your battery level appears yellow instead of green.
The Low Power Mode prompt automatically comes up when your battery percentage falls below 20 percent. If you want to save battery life, you may also choose to keep your iPhone in Low Power Mode all the time .
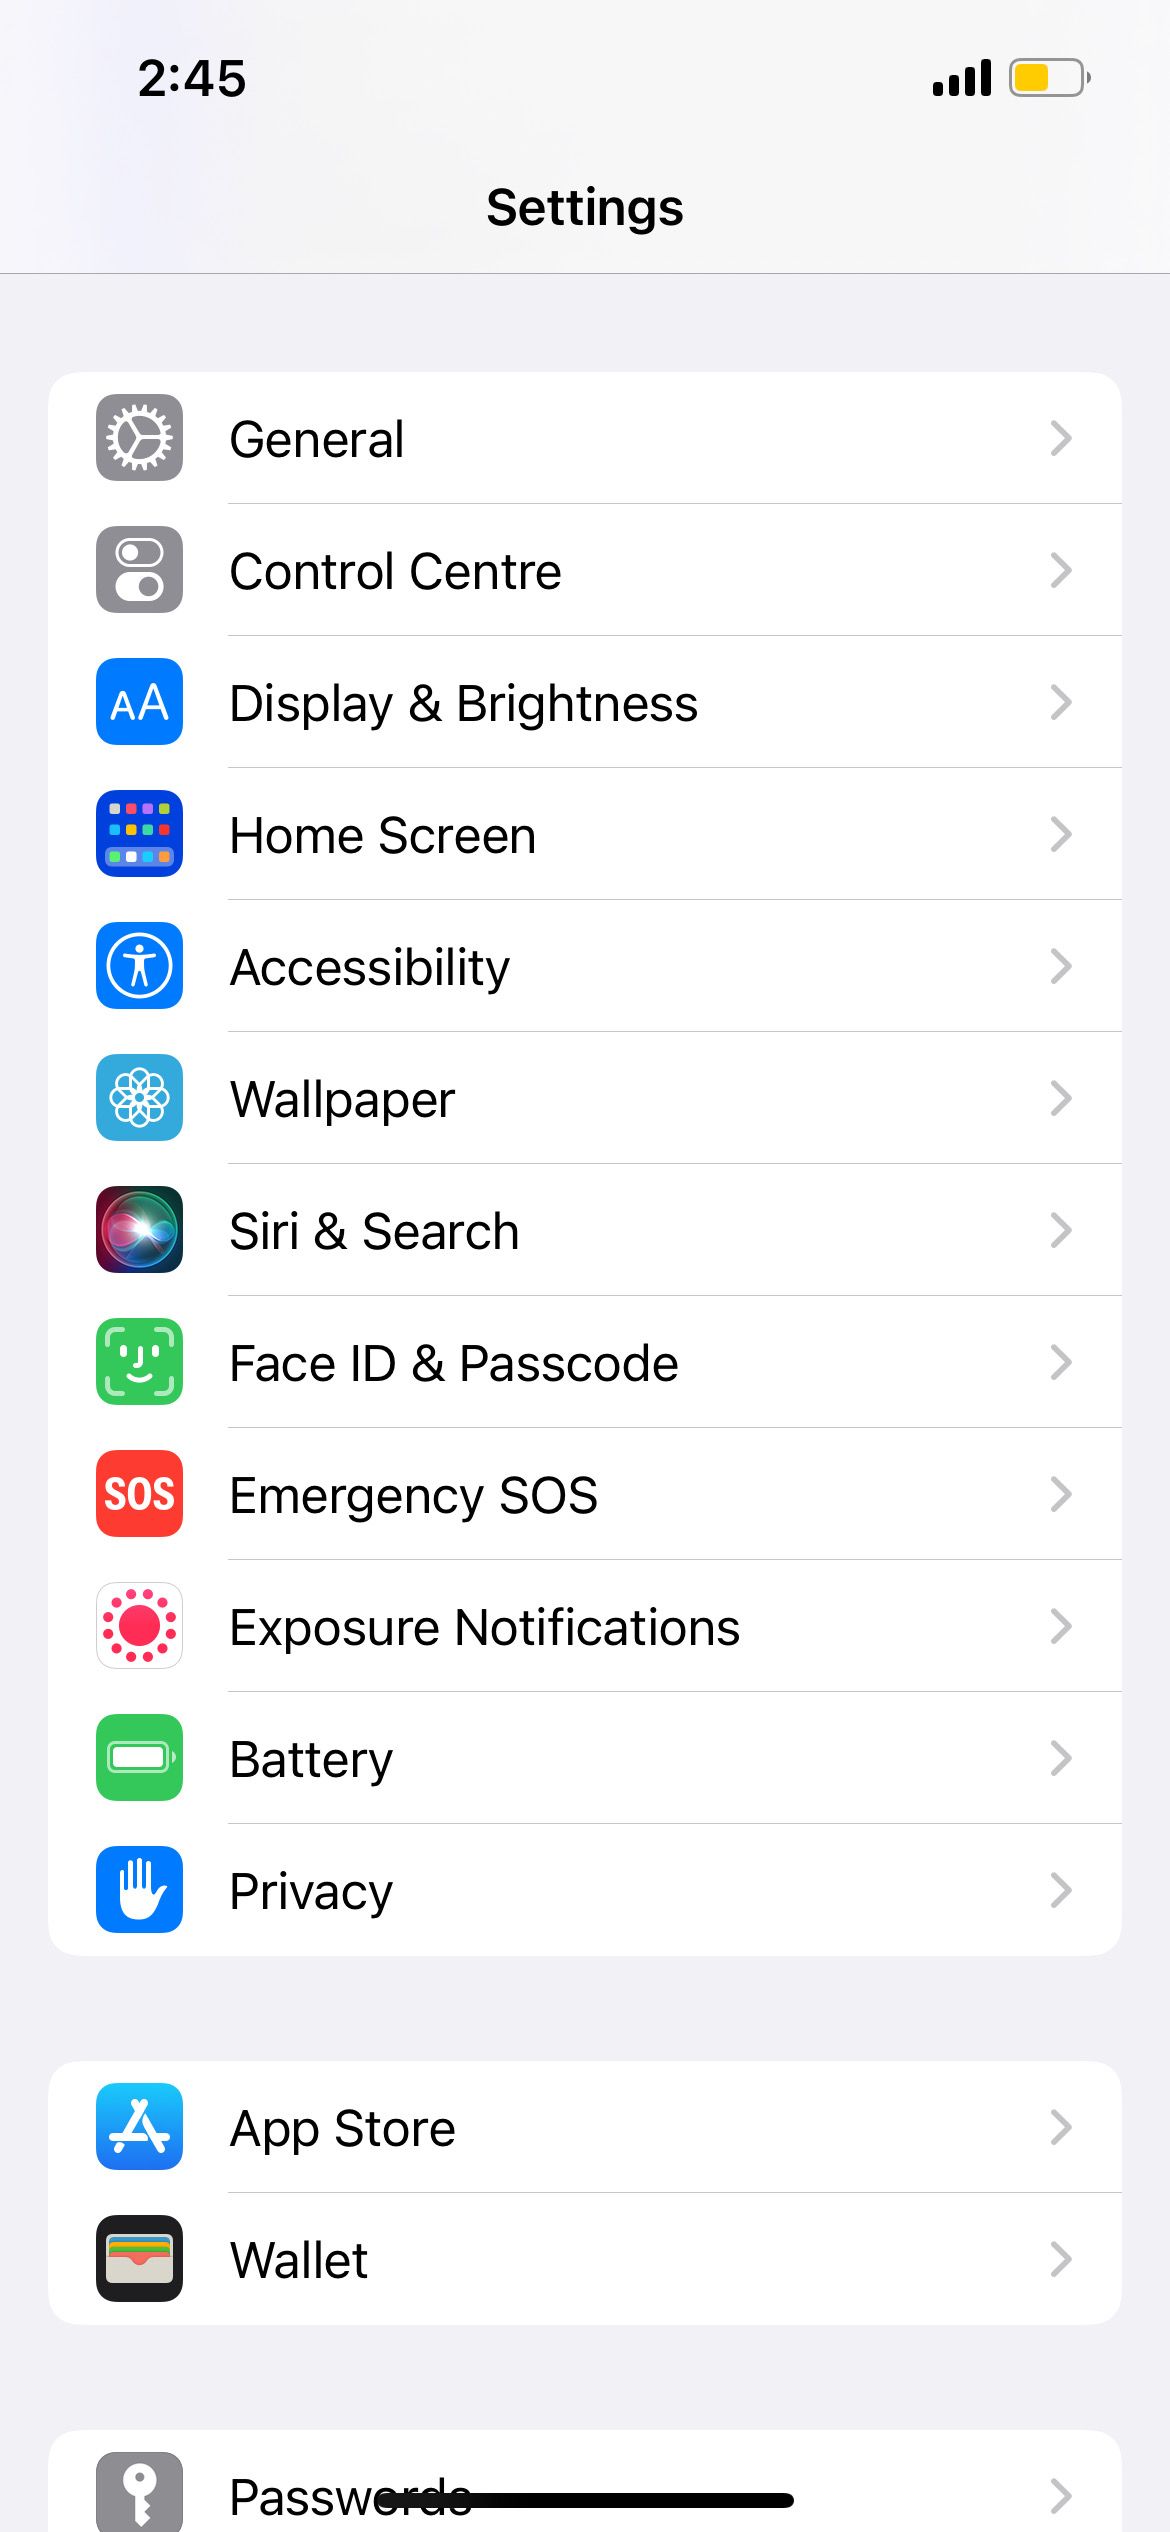
But your iPhone’s flashlight is often one of those features that get disabled by this mode. To turn off Low Power Mode, go to theSettings app, selectBattery , and tap to toggle offLow Power Mode .
Close
2. Charge Your iPhone
Even after you turn off Low Power Mode, you may find that your iPhone’s flashlight still doesn’t work. This may be simply because your device doesn’t have enough battery power left to support the feature at that moment. Therefore, you should plug your iPhone into a power source and start charging it.
The flashlight feature should start working again once your iPhone has sufficient power.
3. Check Your iPhone Isn’t Too Hot
When your iPhone gets too hot, the flashlight may stop working. It’s not advisable to continue using an overheating iPhone. If your device exceeds a particular temperature limit, it will eventually shut down until it cools off. You’ll also see a warning appear on your screen if the temperature gets too high.
To allow your device’s temperature to drop naturally, place your iPhone in a cool, dry place away from direct sunlight. Do not attempt to put your device into the fridge, though, as this will cause damage to it. Just find somewhere that’s naturally cool and shady. Once your device cools down, your iPhone’s flashlight should start working again.
4. Remove the Flashlight From the Control Center
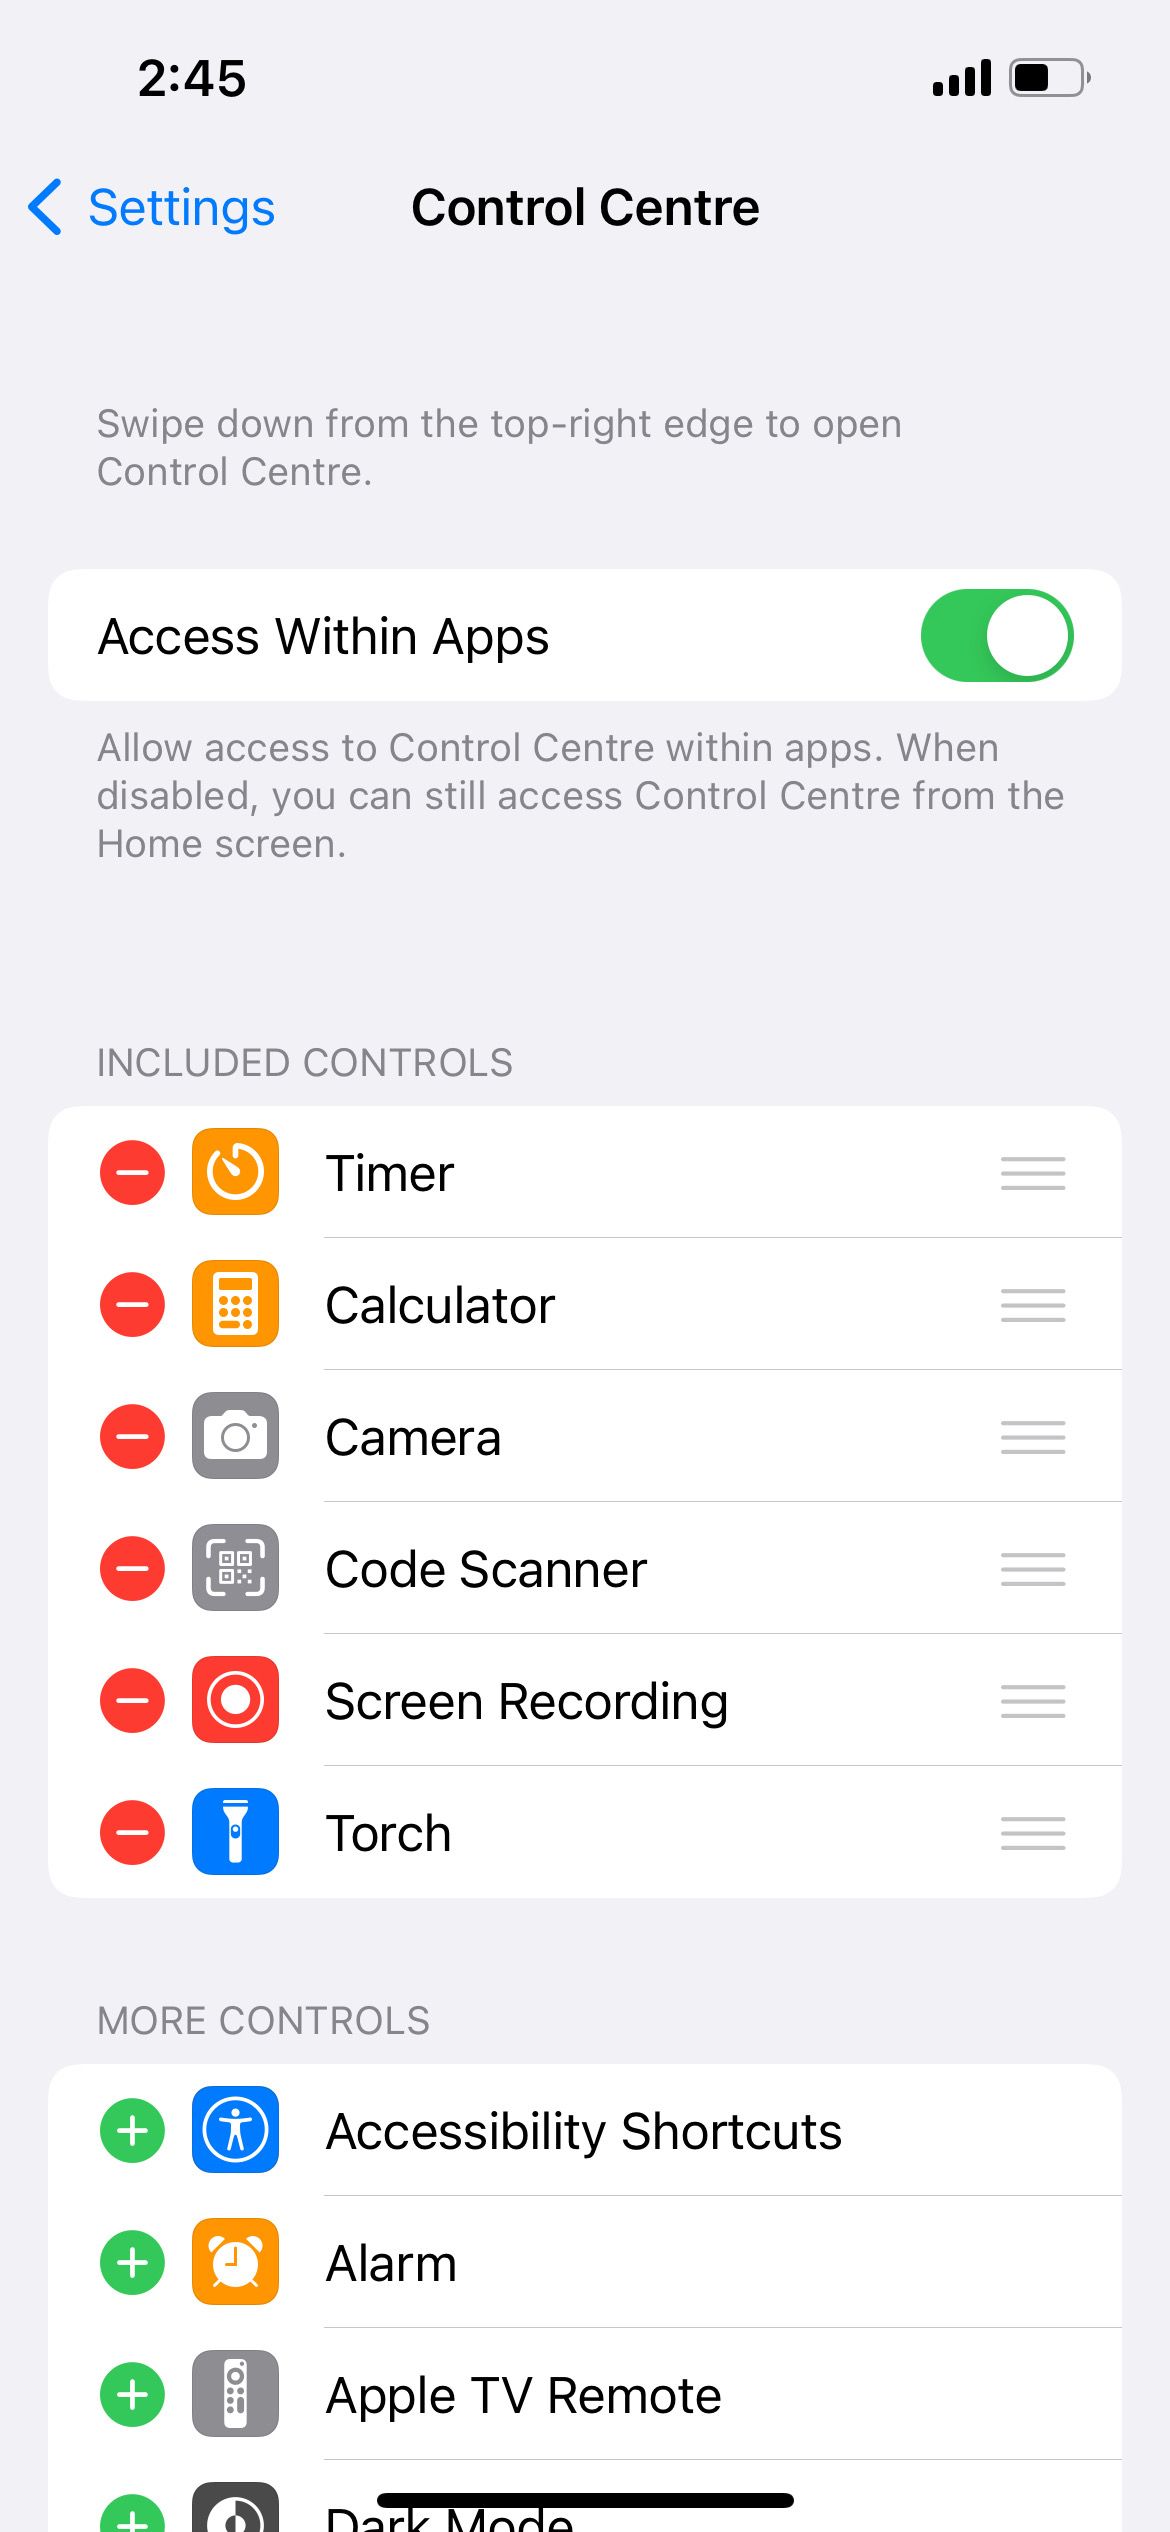
If your iPhone’s torch still isn’t working, another potential fix is to remove the flashlight option from the Control Center and then add it back again. Here’s how:
- Go to theSettings app. SelectControl Center .
- UnderIncluded Controls , tap the redminus (–) icon forFlashlight (orTorch , in some regions). TapRemove to confirm.
- To add the flashlight back, scroll down to theMore Controls section.
- Tap theplus (+) icon forFlashlight (orTorch).

Close
5. Close Your iPhone’s Camera App
Your iPhone’s camera’s flash function uses the same light as the flashlight. If you have theCamera app opened, it’s normal to see the Control Center’s flashlight icon grayed out. This is because you can’t use both features at the same time.
To solve this, just exit theCamera app and access yourControl Center again. You should see that the flashlight button can once more be selected as usual.
6. Turn On Your Flashlight Using the Camera Flash
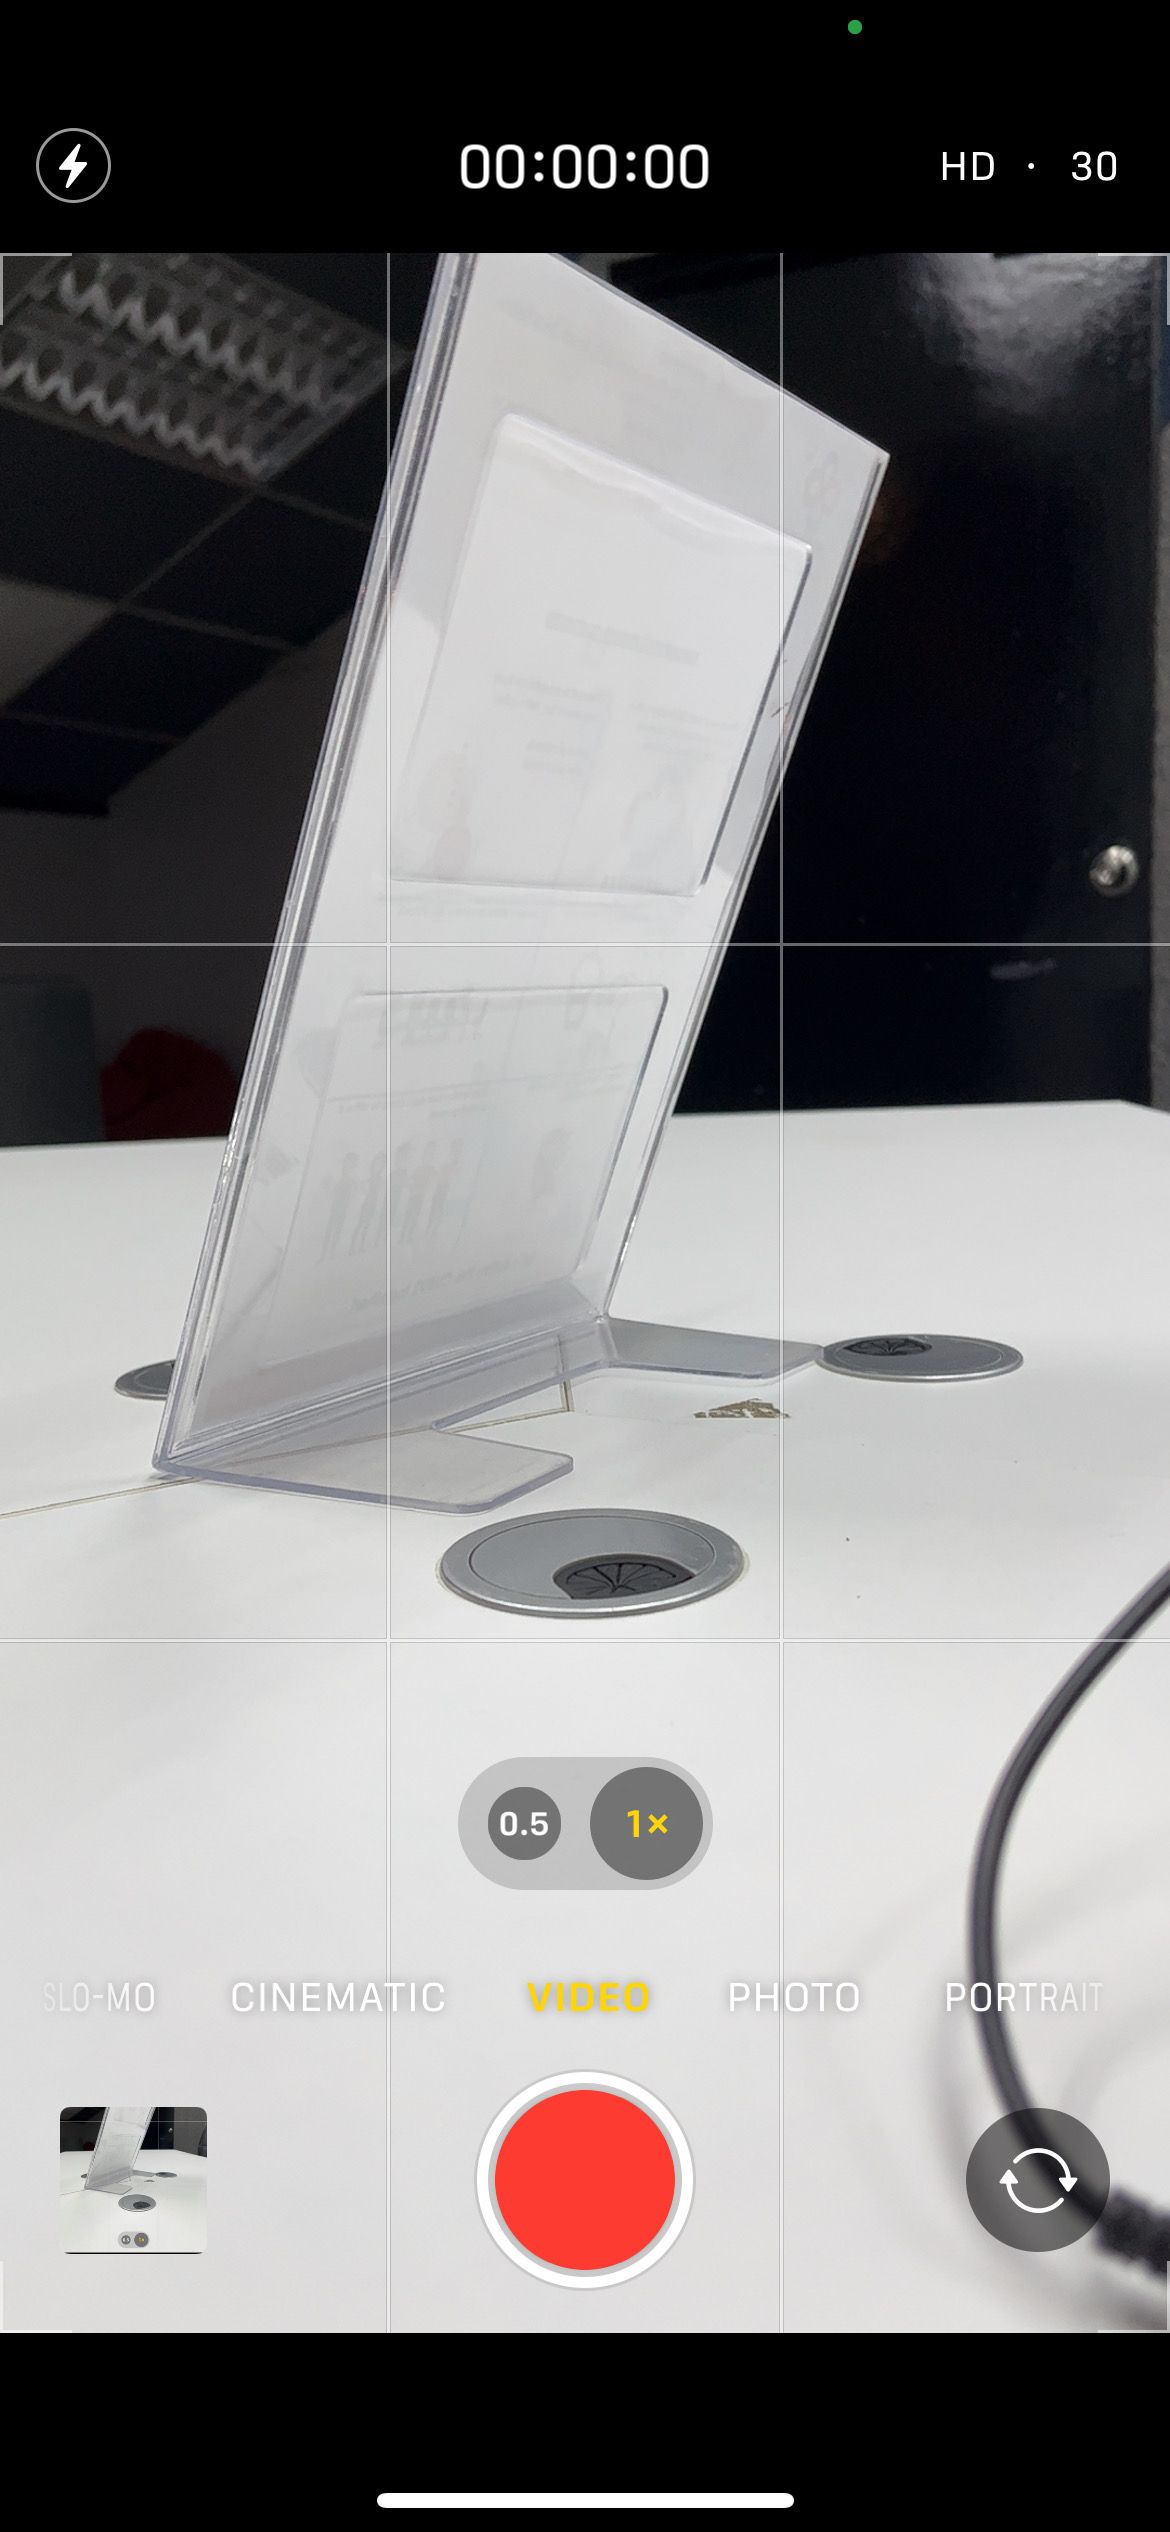
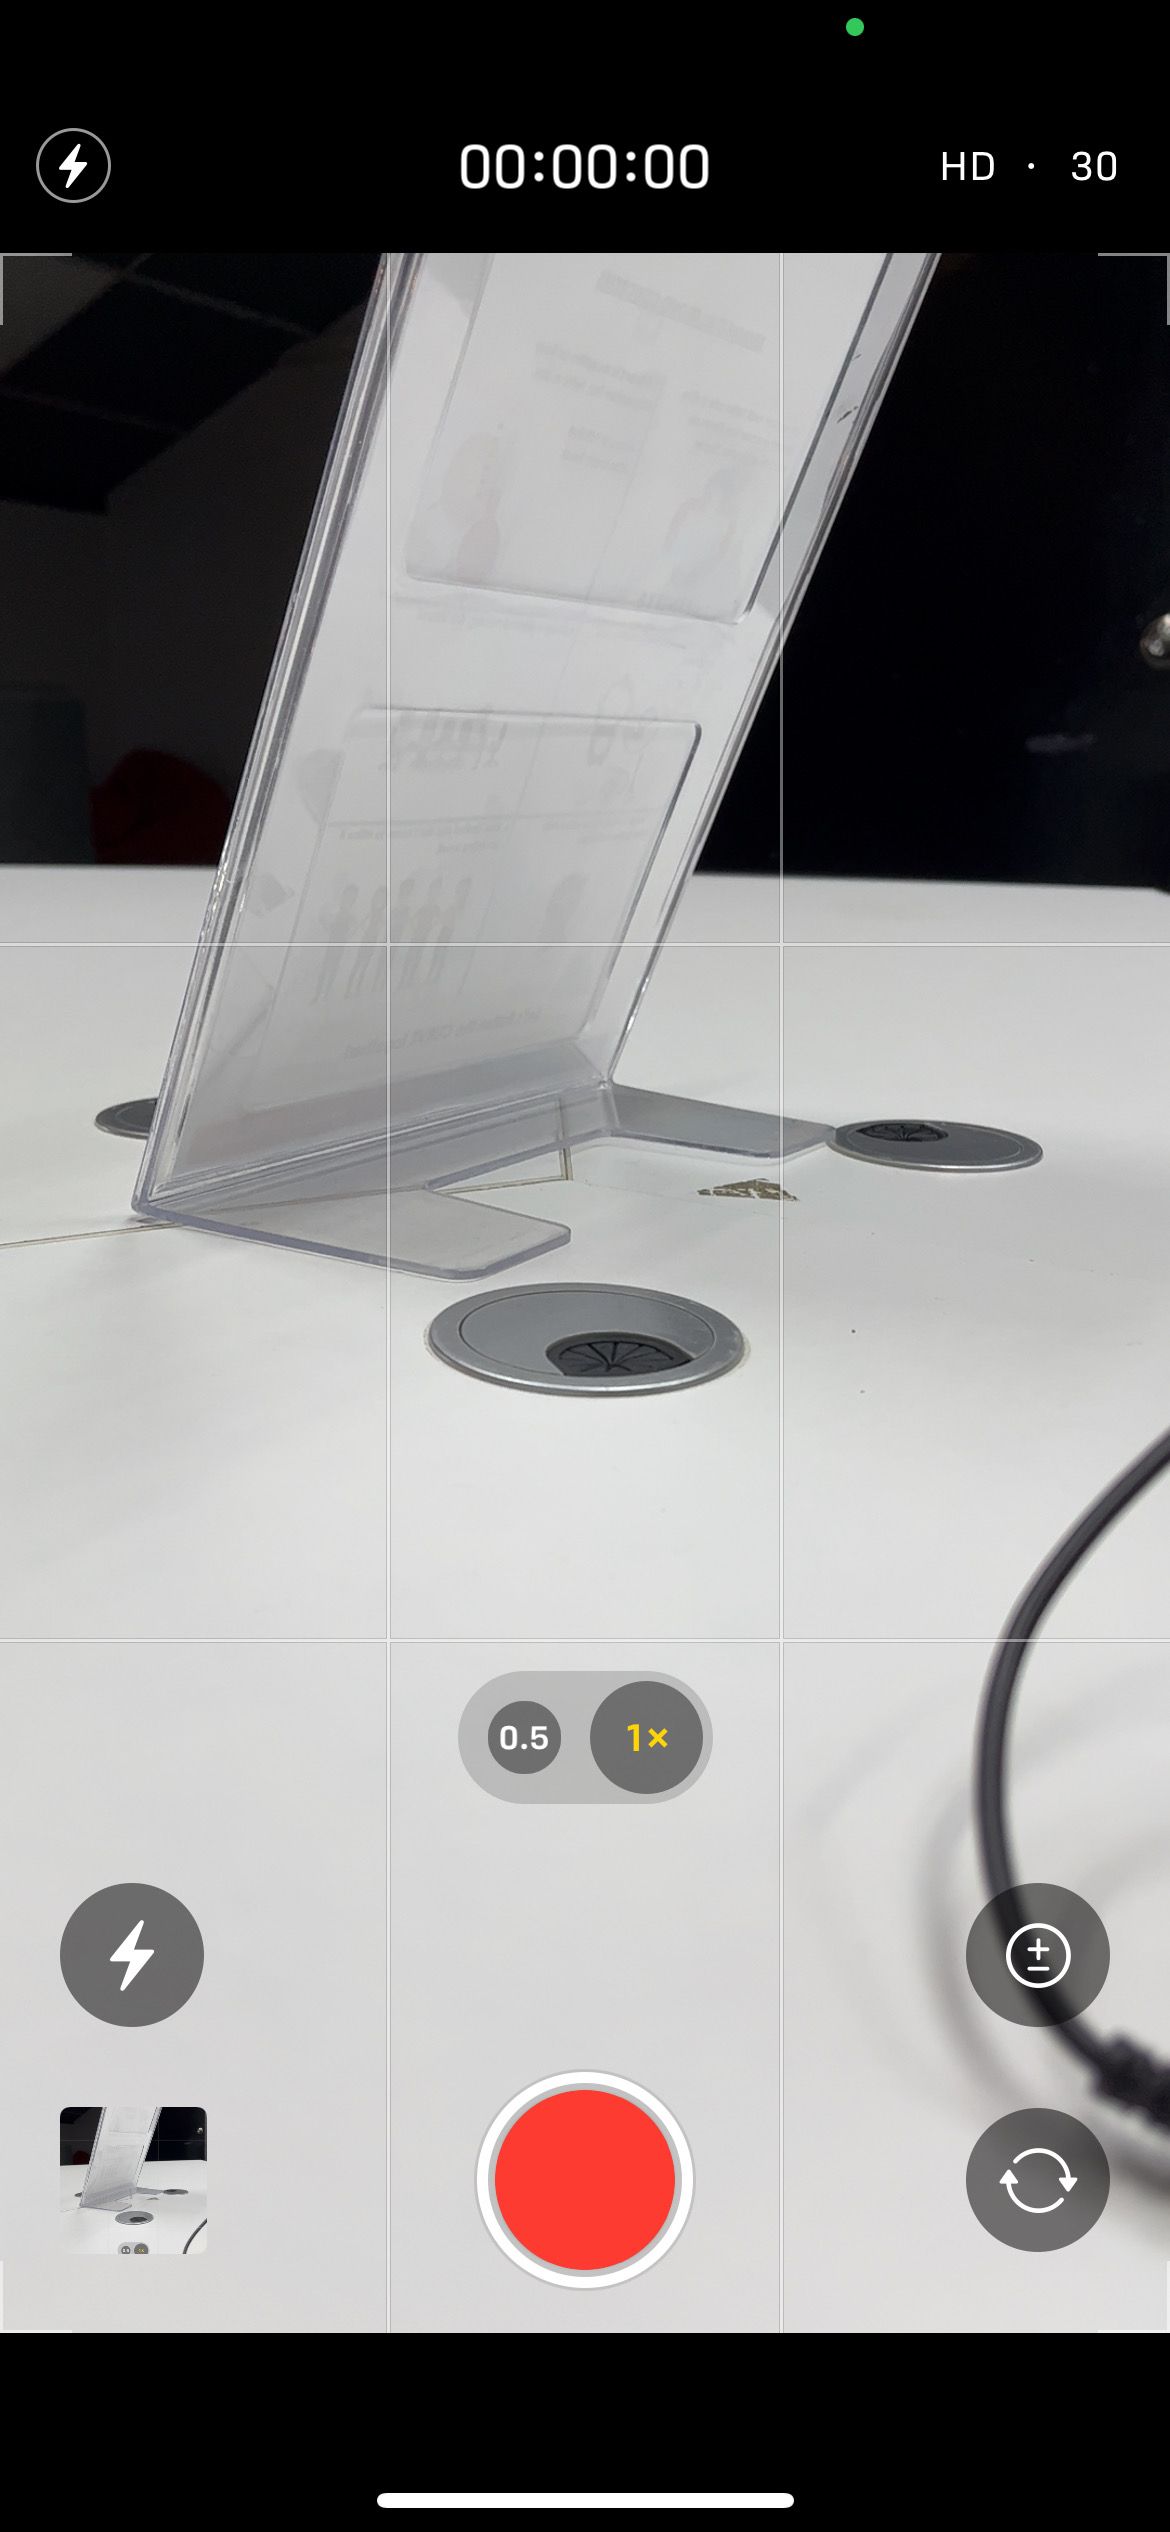
If you can’t turn on your iPhone’s flashlight from the Control Center, a workaround is to turn it on in theCamera app by activating the flash function. Here’s how:
- In theCamera app, go toVideo mode.
- Swipe up from the bottom menu (on the word,Video) to bring up more options.
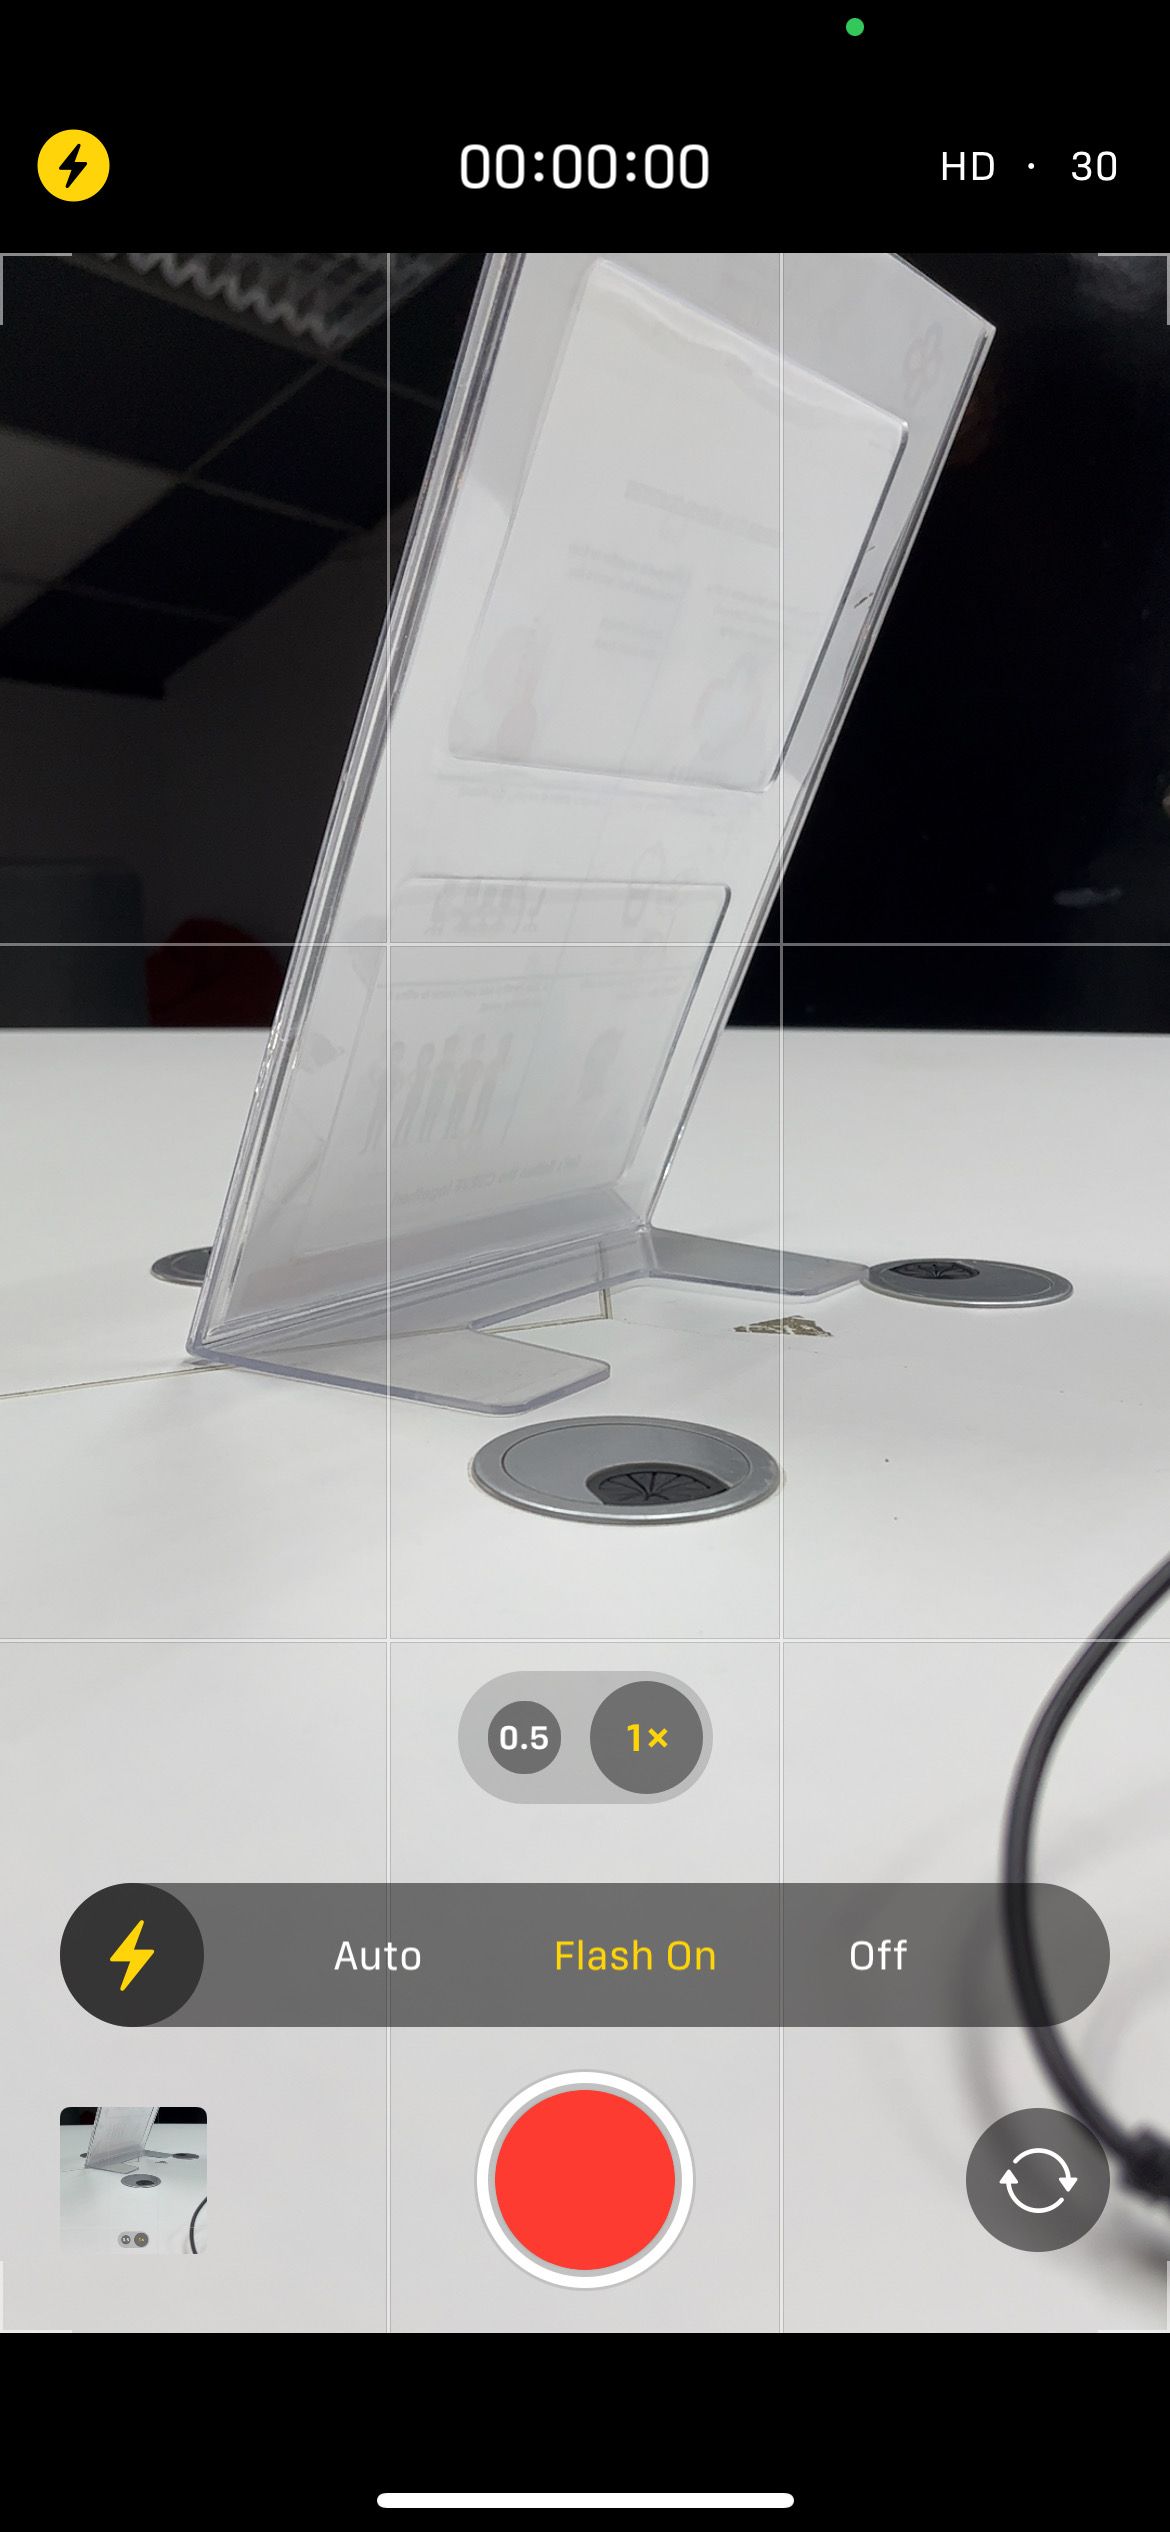
- Tap theFlash icon. SelectOn .
Close
7. Toggle the Flash in Your iPhone’s Camera App
To get rid of glitches that stop your iPhone’s flashlight from working, you can also try turning your camera flash on and off. The steps are the same as the workaround to turn on your iPhone’s camera flash, as discussed in the previous solution. But instead of leaving theFlash set toOn , toggle betweenOn andOff a few times.
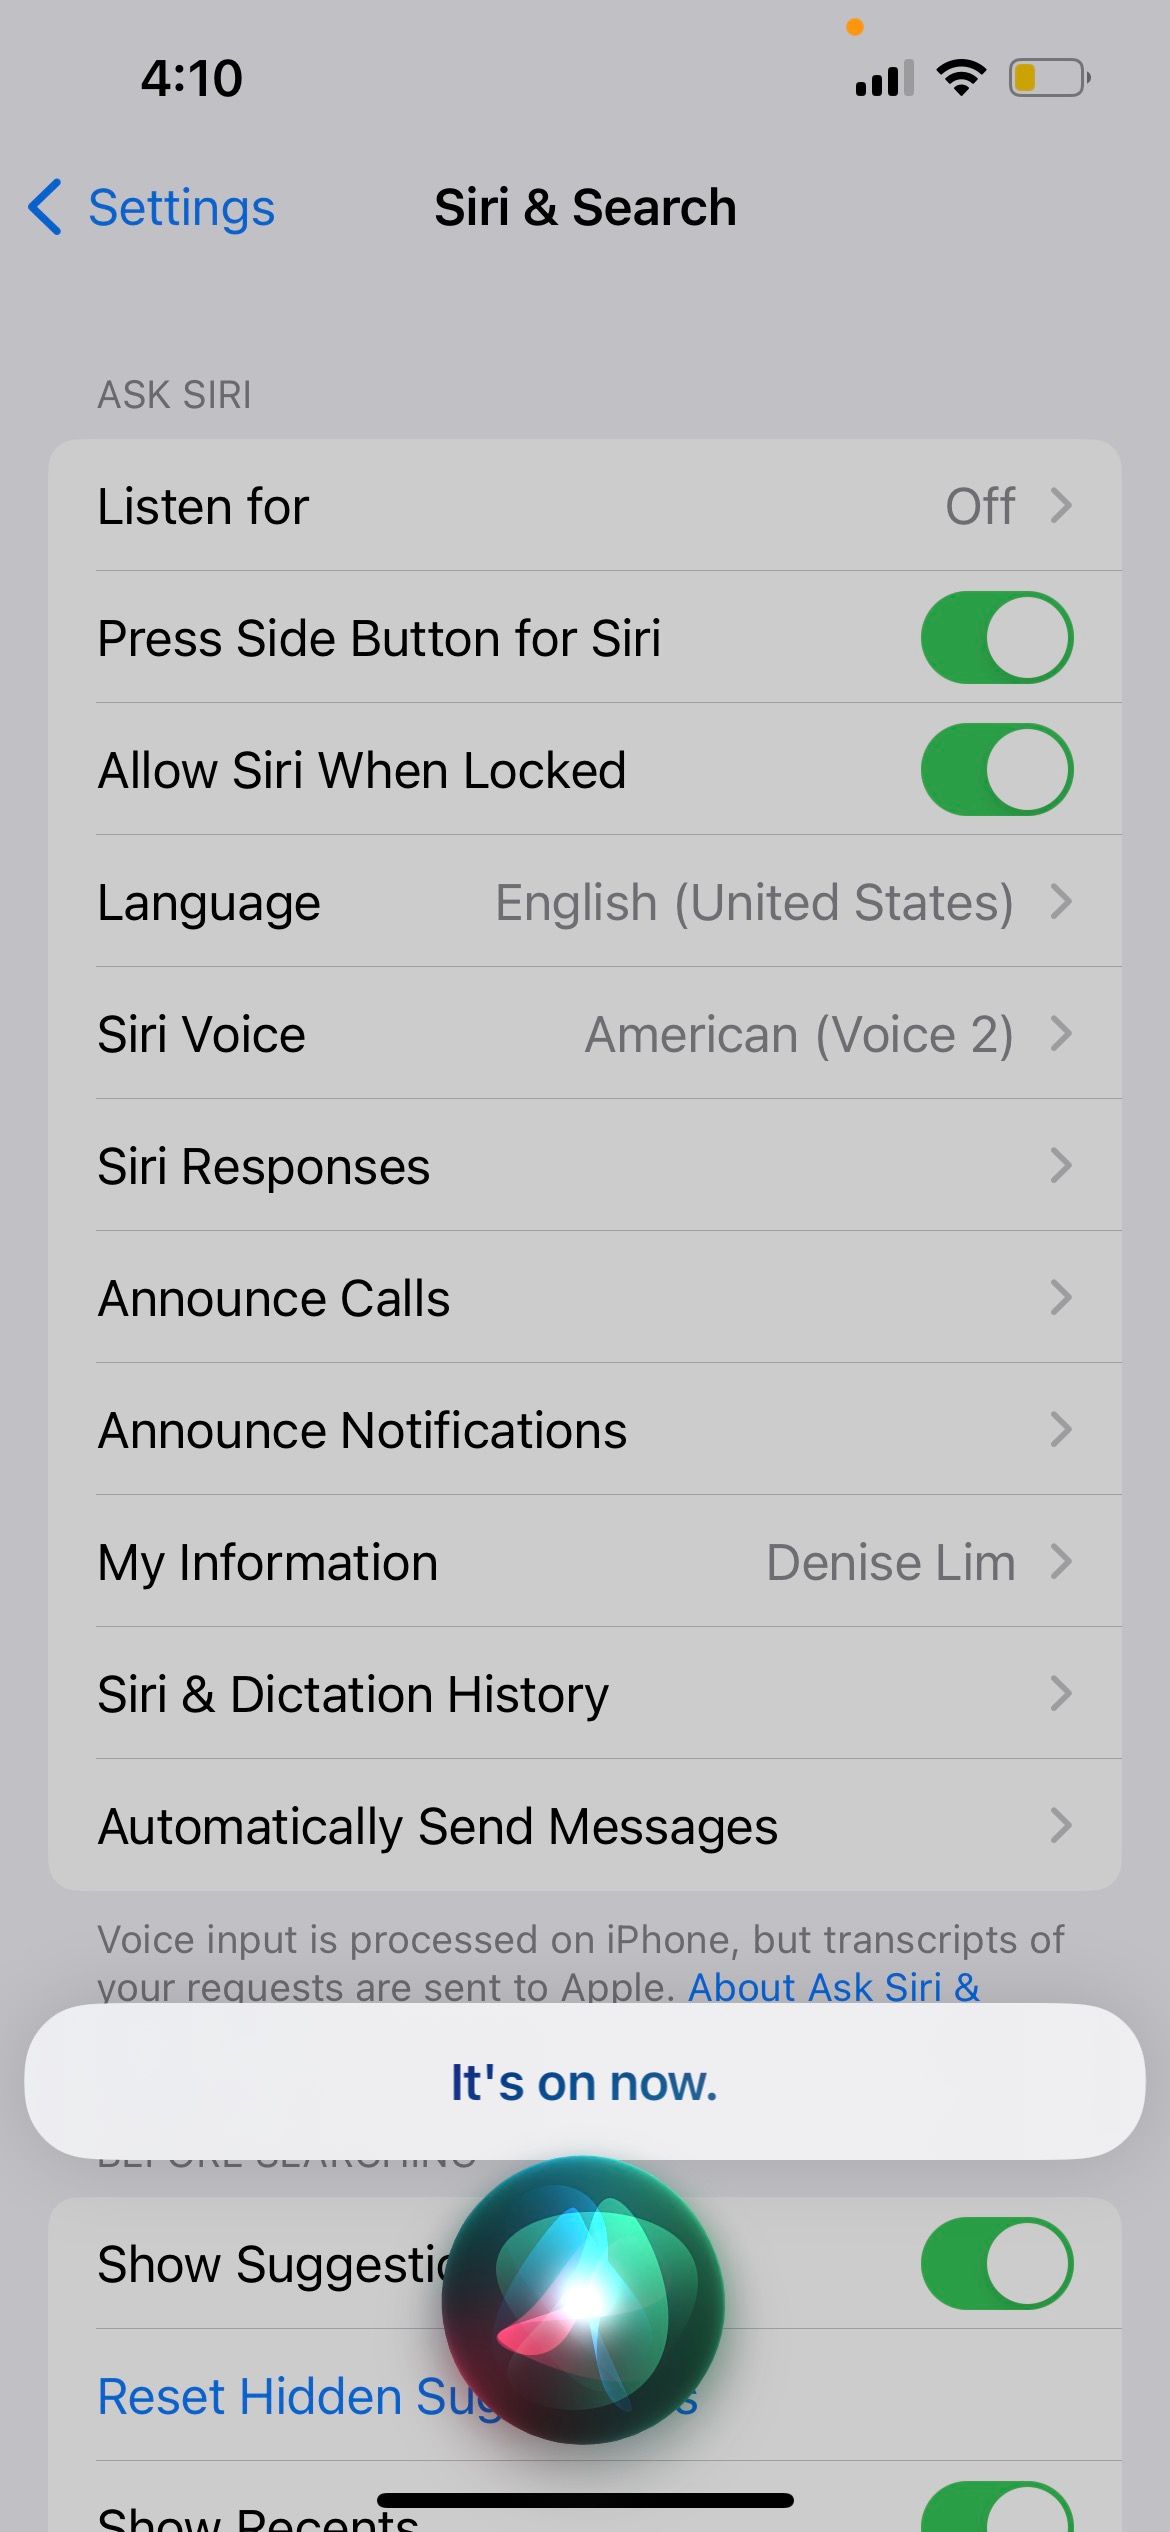
8. Ask Siri to Turn On Your iPhone’s Flashlight
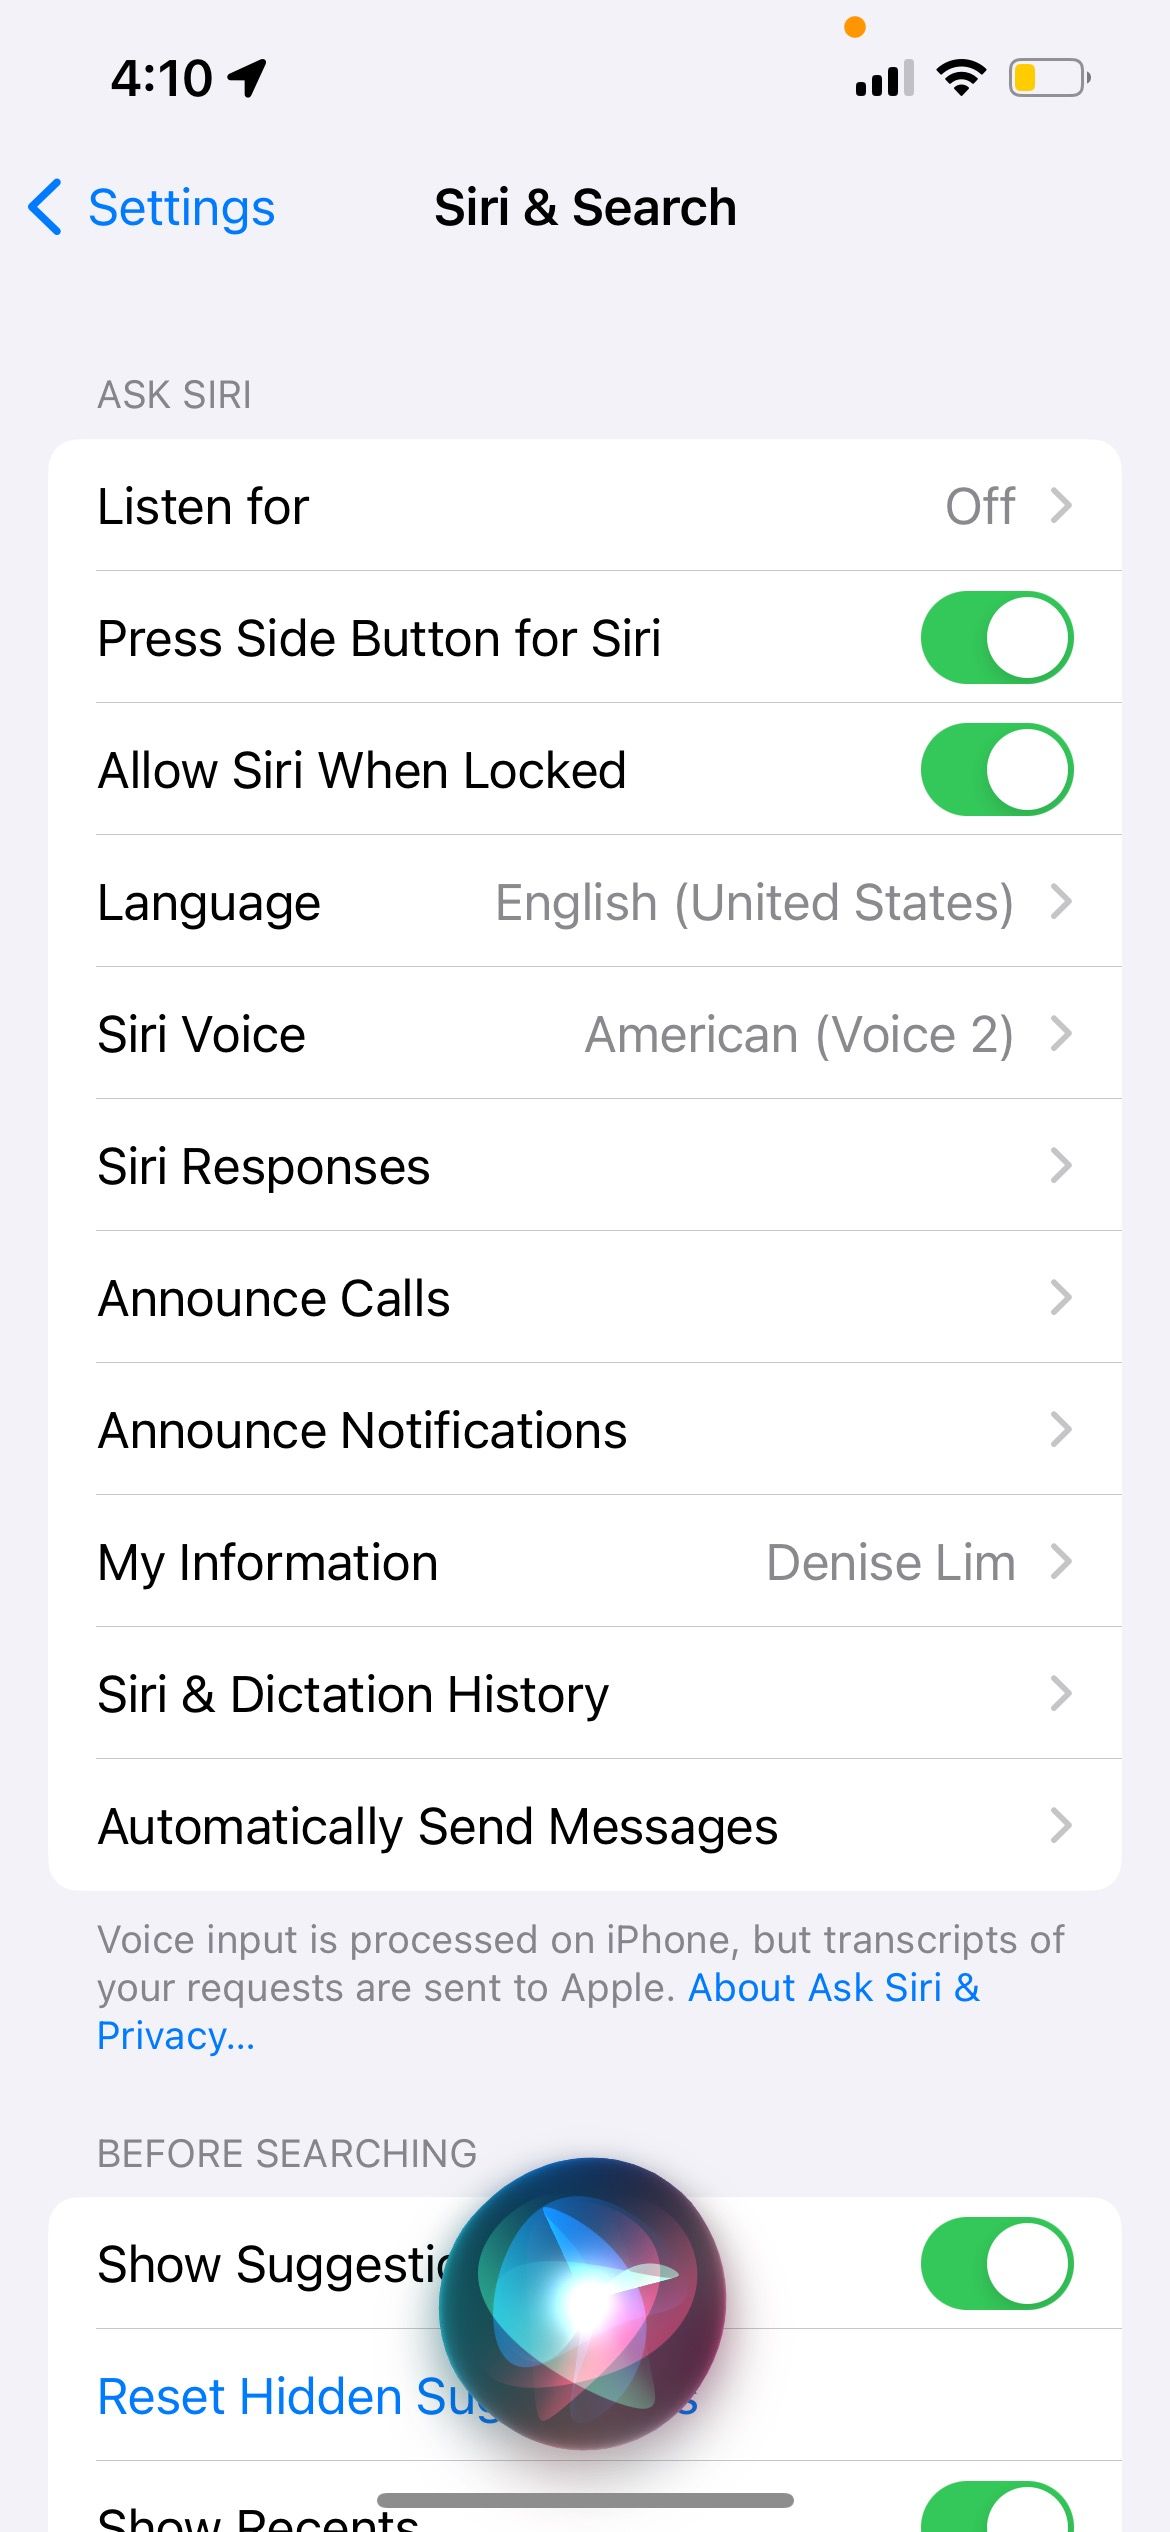
If your camera flash doesn’t seem to be working either, there’s another way to enable your iPhone’s flashlight: Siri. Unless your device is absolutely low on battery, Siri can help you turn on your iPhone’s flashlight even if the icon is grayed out.
First,set up Siri on your iPhone . Next, long-press the Side button on your iPhone or say, “Hey Siri.” When theSiri icon pops up on your iPhone screen, say, “Turn on the flashlight.” Your flashlight should turn on instantly, and Siri will also say that it’s on now.
Close
9. Update Your iPhone’s iOS
iOS updates usually come with fixes for performance bugs and various glitches. So, perhaps all you need to do to fix your iPhone’s flashlight is to update your iPhone to the latest version of iOS .
Go toSettings > General > Software Update to see if an update is available for your iPhone. Make sure your iPhone is charging or has more than 50% battery before you proceed with the update process.
10. Restart Your iPhone
If the above methods don’t solve the problem and your iPhone’s flashlight still isn’t working, the next step you should try is restarting your iPhone .

The method you need to follow varies depending on the iPhone model you have. But in general, you can go to Settings > General > Shut Down > Slide to power off . Then, hold theSide button to restart your iPhone once it powers off.
11. Restore Your iPhone to a Previous Backup
Besides updating and restarting your iPhone, you can also try restoring your iPhone to a previous backup from when the flashlight was still working as usual. However, when you use this method, keep in mind that you will also lose any new data that was added to your device since you made that backup.
12. Reset All Settings on Your iPhone
If all else fails, the last solution you can attempt is to reset your iPhone’s settings by going toSettings > General > Transfer or Reset iPhone . TapReset and chooseReset All Settings from the pop-up menu. You won’t lose any data from your iPhone; all this does is revert your iPhone’s settings to factory default values.
Take note that the reset process can take a long time, especially if you have a lot of data on your iPhone. So, if you’re stuck in the dark and urgently need a flashlight, don’t rely on resetting your iPhone right there and then!
Make sure you don’t accidentally chooseErase All Content and Settings from theReset menu. Doing that would delete all the data on your device.
Effective Solutions When Your iPhone’s Flashlight Is Not Working
If you’ve been stuck wondering why the flashlight won’t work on your iPhone, we hope this list of fixes has helped you resolve the problem effectively.
However, if the issue persists, it’s best for you to contact an Apple Authorized Service Provider. A technician will then examine your device and determine the potential hardware repairs that are needed.
Also read:
- [New] Dive Deep Into Video Creation with These Top 12 Vlogger-Friendly Cameras for 2024
- 2024 Approved Why AV1 May Outshine VP9 in Video Compression
- Can’t Capture Memories on Your iPhone? Fix These Common Camera Issues Now
- Diagnose & Repair Your iPhone's Silent Mic Problem Today
- Enhancing Beauty on Streams via Color Grading
- How to Build a Showstopper iPhone Photomosaic with Ease and Fun
- IPhone Flashlight Woes? Try These 12 Quick Fixes
- Mastering iPhone Picture Processing: A Comprehensive Troubleshooting & Fixes Handbook
- Mesothelioma Is Associated with Asbestos Exposure and Affects the Pleura Rather than Lung Parenchyma.
- Remove Google FRP Lock on OnePlus
- Struggling with Your iPhone's Cell Service? Try These 10 Troubleshooting Steps
- Top 8 Multi-Subtitles Translators You Can Use
- Title: Revive Your Broken iPhone Torch: 12 Step Fix Guide
- Author: Edward
- Created at : 2024-12-02 18:37:05
- Updated at : 2024-12-04 08:45:50
- Link: https://fox-that.techidaily.com/revive-your-broken-iphone-torch-12-step-fix-guide/
- License: This work is licensed under CC BY-NC-SA 4.0.